Tubing
on Odin
- Motivation
- Attempt 1: Reservoir -> Drain (Freehand)
- Attempt 2: Reservoir -> Drain (Monsoon Kit)
- Pump
- PSU Side Radiator -> CPU
- PSU Radiator -> MB Radiator
- MB Radiator -> Reservoir
- Fillport
- GPU -> CPU
Motivation
Each build, I try to expand my skillset and do something new.
This will be my second watercooled build. The first one, I used flexible tubing. This time I decided to try hardline tubing in the fom of PETG.
Like last time, I am once again concerned about leaks. Last time I did quick disconnects everywhere. This time I am using Monsoon EV2 fittings.
I am hoping that this build will evolve over time and not just remain stagnant for the next 7 years - so I am likely to tweak some of these later as I learn more.
Attempt 1: Reservoir -> Drain (Freehand)
Before starting, I had spent months looking around the internet at various builds. There were a couple that stood out as just fantastic, to me and everyone else commenting on the pictures. While they were still hardline, they looked more organic and fluid. It didn’t look like random flex tubing or anything like that. If anything, I would say that it looked more advanced. I wish I could remember where I saw it, but I seem to have lost the bookmark.
I decided I owed it to myself to at least try to do it freehand first. I think in the long run I might mix-n-match; but…
I couldn’t figure out what temperature to do this at (everyone just says ‘low’ like that’s a number). I knew my first attempt would be rough - but this took hours and my hands were starting to burn through the IronClad gloves.
Let’s try the other way…
Attempt 2: Reservoir -> Drain (Monsoon Kit)
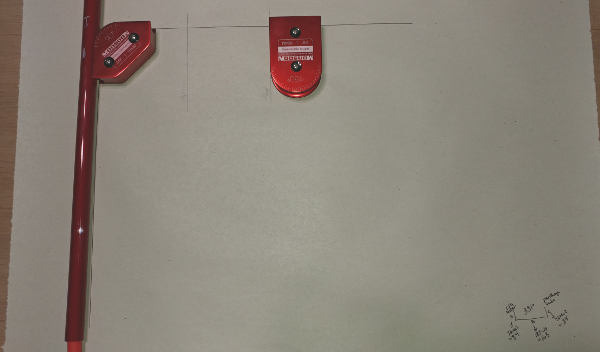
Making a Tube with the Project Board
As I mentioned before, Gene has made some informative videos on how to use their kit. If you are going to use it, I’d suggest watching them.
Among the videos, he talked about setting up a project board and how to transfer measurements from the measuring kit to the mandrels.
I picked up a decent 24x24 piece of mahogony plywood and a roll of newsprint from HomeDepot. I could have probably gotten the paper a lot cheaper if I just went to the local newspaper and got their leftovers, but this was delivered while I was working. I am using some of my 3M 401+ tape to hold it down, though I should probably buy some cheapo masking tape.
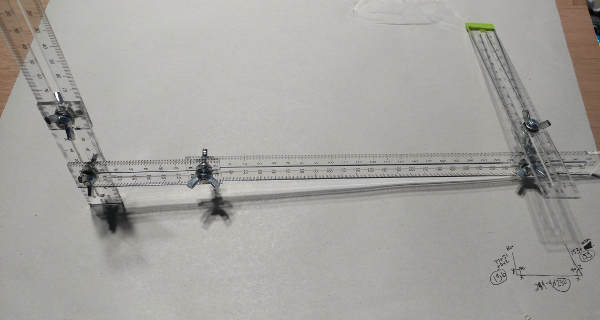
Transfer Measurements
I decided to start with one of the easier tubes. I guess I should have also shown how this relates to the inside of the case, but we’ll do that at another time.
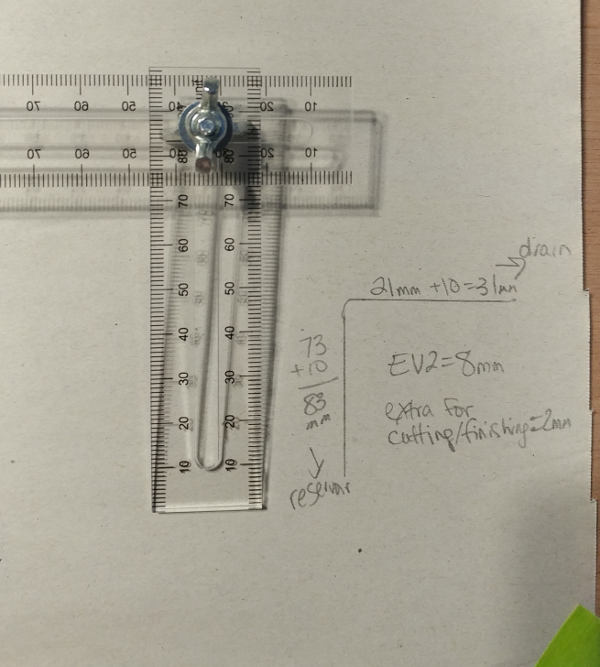
Per his recommendation, I did start with this in pencil. Since I have so much paper and pen shows up better, I’m now doing that part in pen.
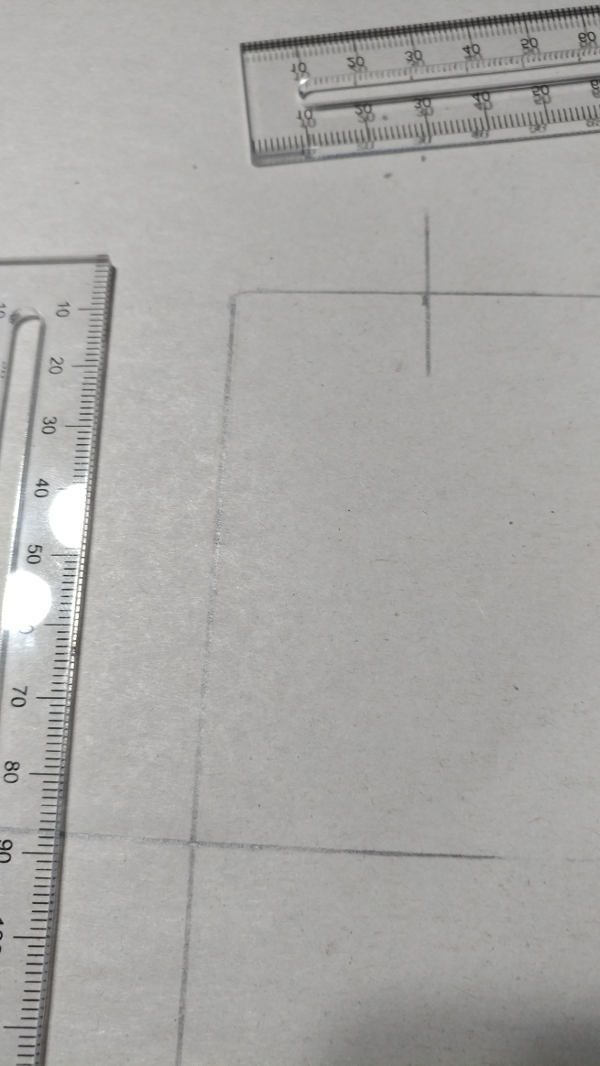
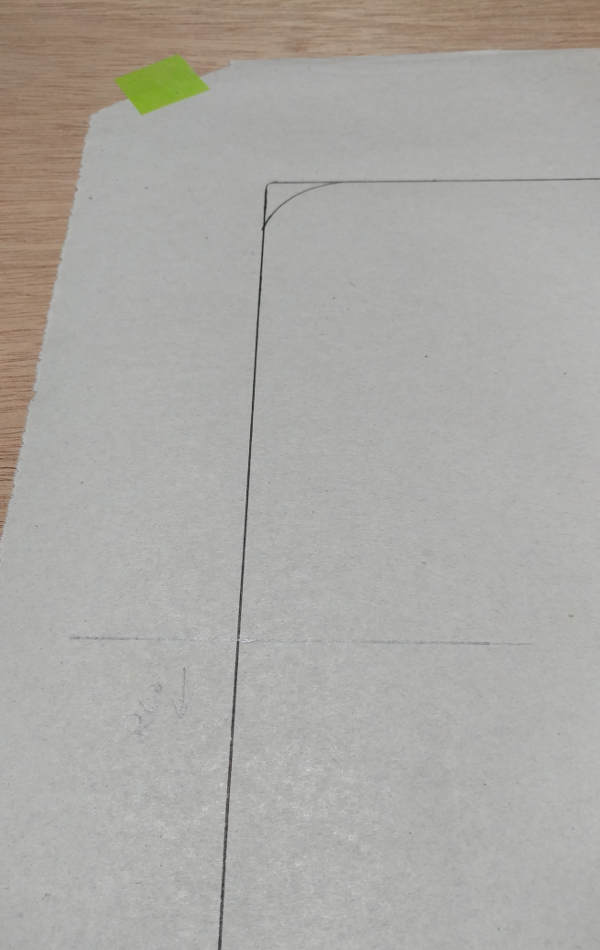
Drawing the Baseline
I originally did the corner and extensions in pencil - but I am now doing those in pen as well. Those don’t change.

Once you have the corner, extend the lines out.
Mark the Lengths
At this point, I switch back to pencil.
Mark the lengths on the lines. If you are only doing a single bend, it doesn’t seem to matter which leg you use - may just be preference. However, once you go to do your second bend on the same piece, it starts to matter. If you are going to do more than one bend, think ahead about where you want to place you other mandrels.
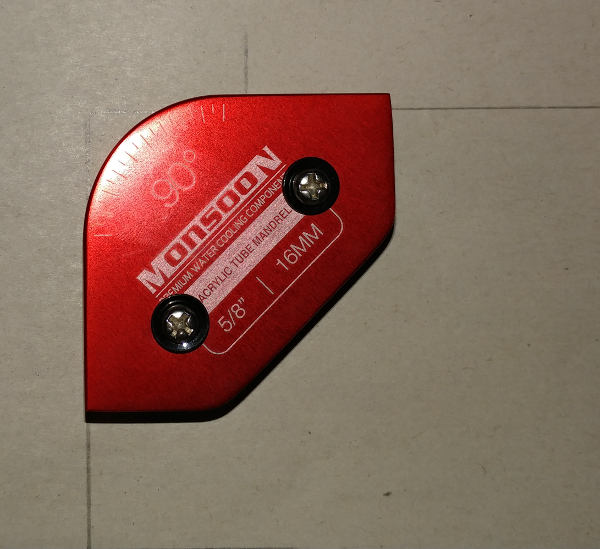
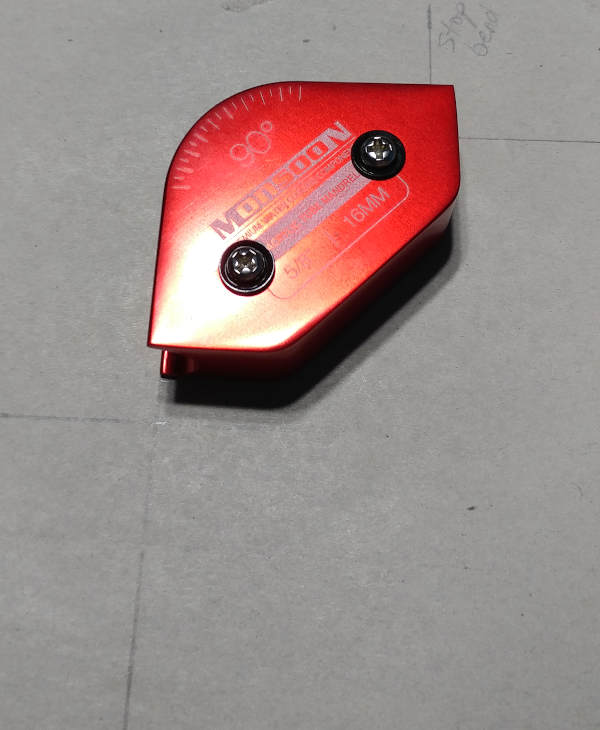
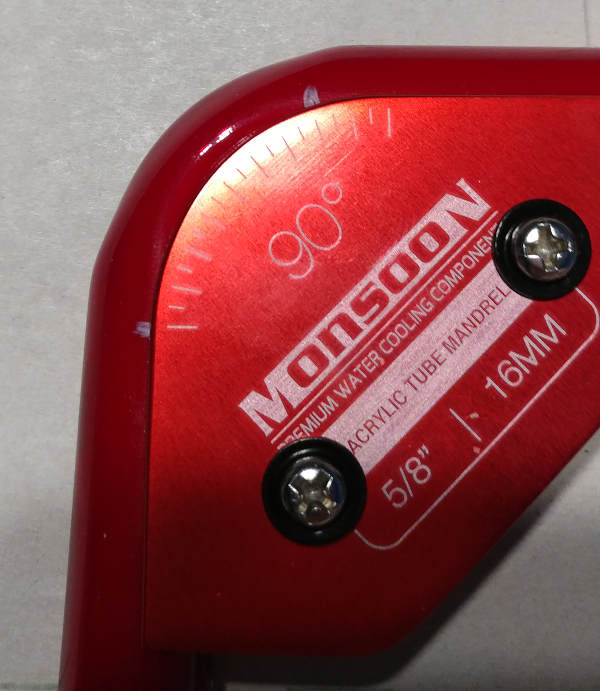
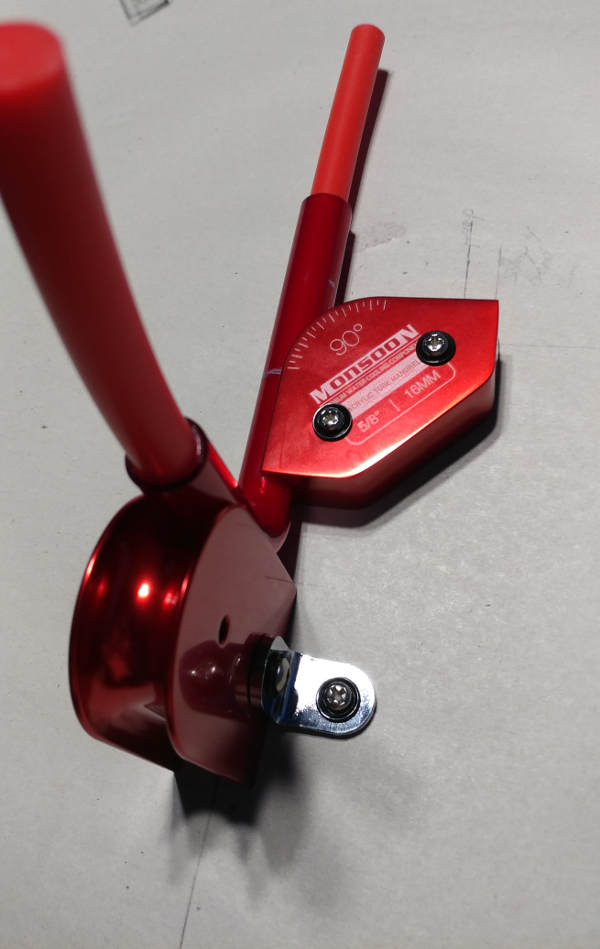
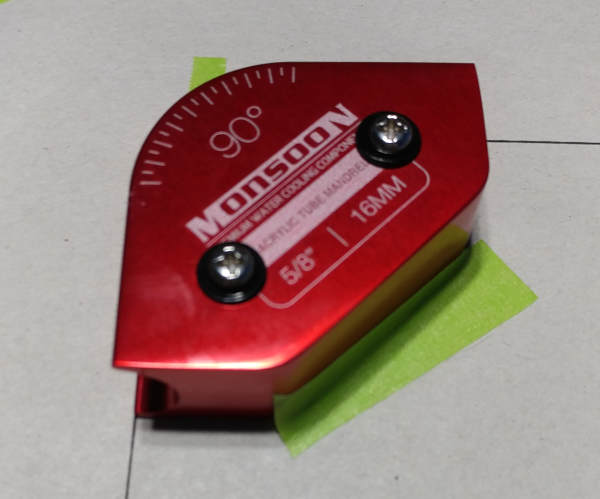
We’ll start by placing the 90* mandrel in the corner. I have only used two of them so far.
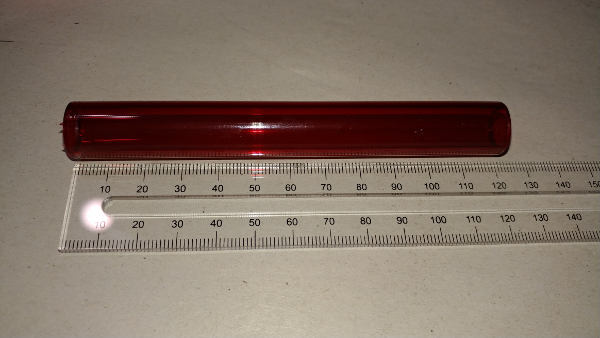
When cutting the tube, I left a little extra. I’d rather cut some off the end than come up short. In the last couple days, I have noticed that the tube tends to shrink a bit when heating and bending it as well.
Gene had recommended marking, in pencil, on the tube to indicate the area you would like to be heating and bending. I found the pencil to be very difficult to see and difficult to get off the tube. I have switched to using a white Listo marking pencil. It’s highly visible, wipes off easily with the Dynaflo Liquid Armor Microfiber Cloth 8” x 8”, even after heating. There is also the added benefit that I had bought a box of them and can choose whichever color I need - but white seems to work well.
Originally, I was just drawing two straight lines as indicated by the walking the tube around the mandrel before heating it. Unfortunately, the tube shortens when heating/bending, so the second line is always off. I’ve now changed up my marking to show a start arrow that is precise and a more fuzzy scribble after the end of the mandrel markings to indicate that the heat should be down there-ish.
Don’t forget the Silicon Tube!
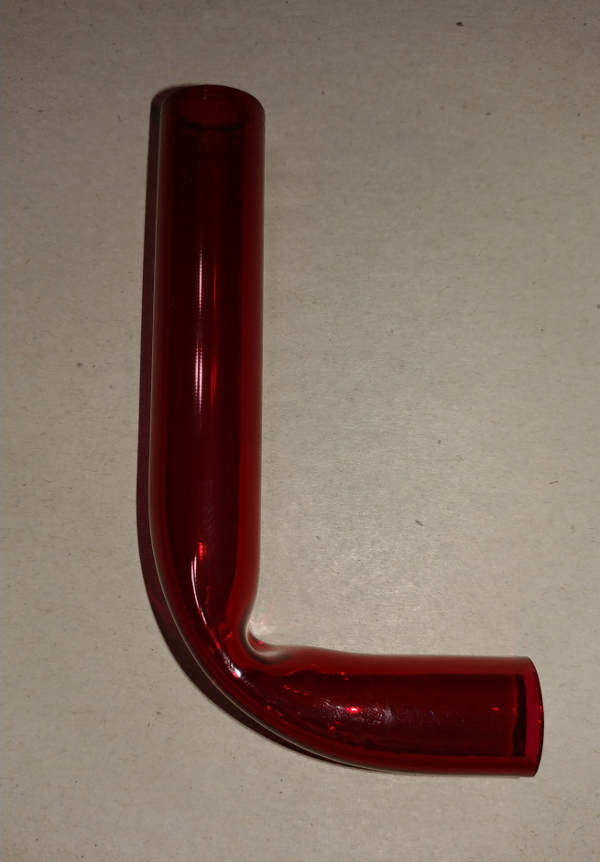
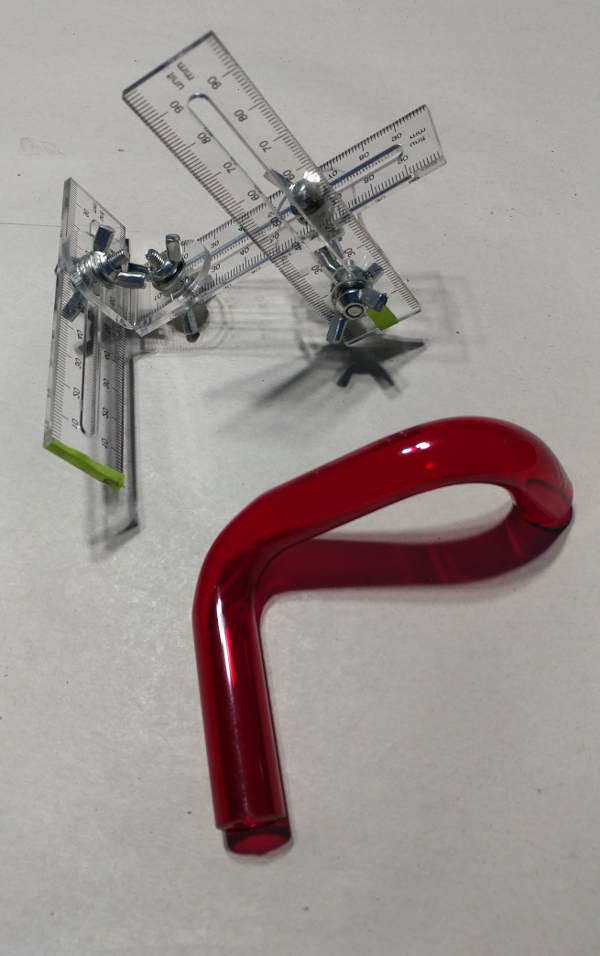
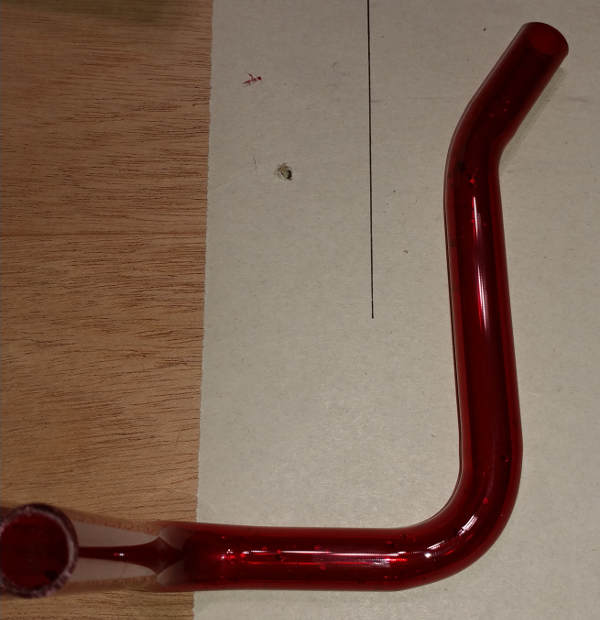
And Success!
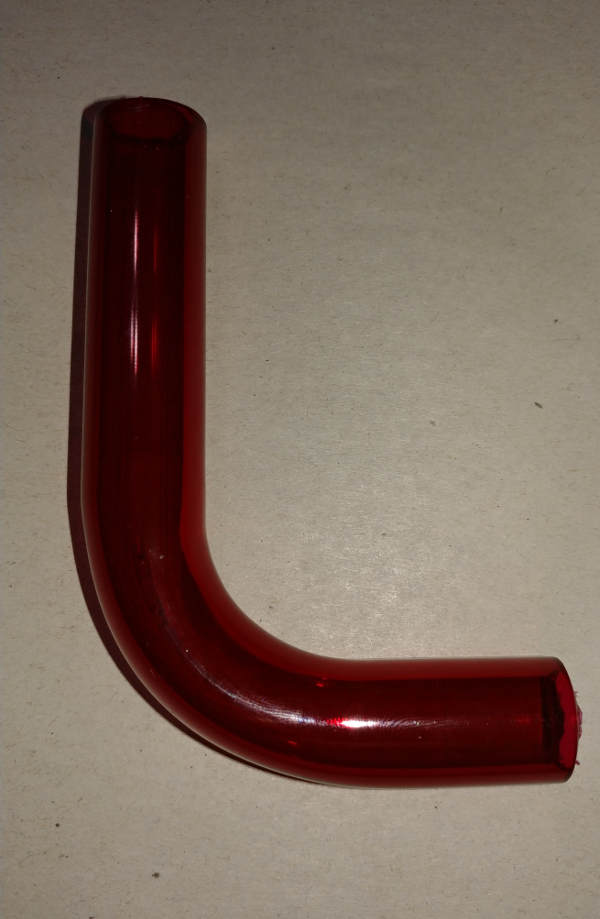
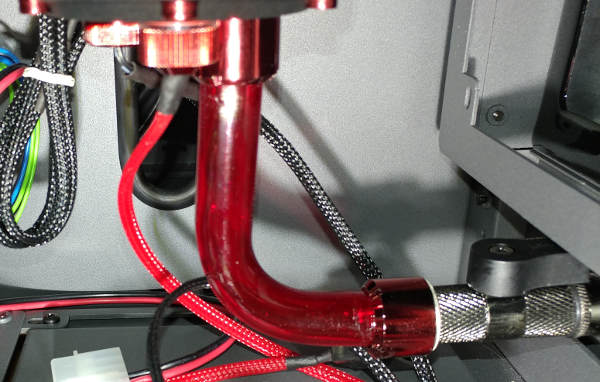
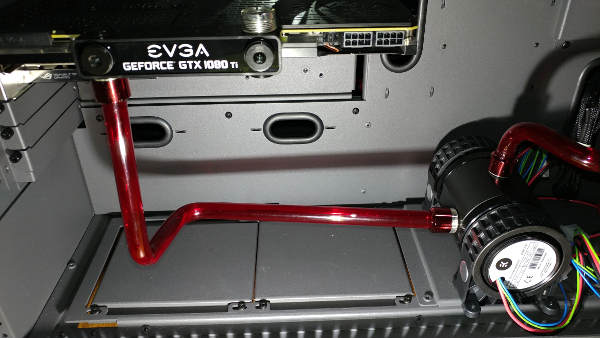
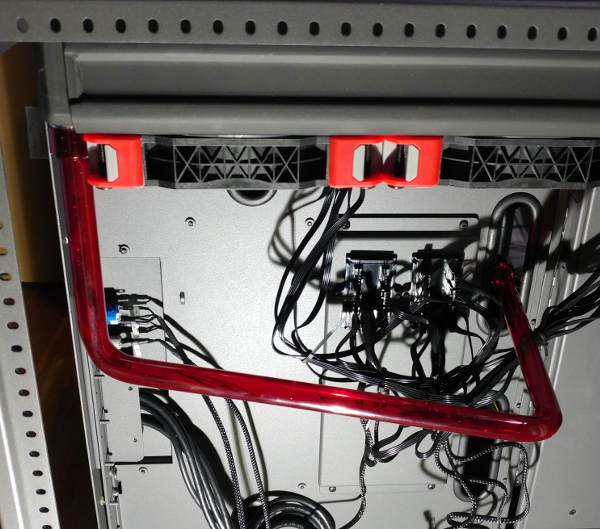
Installing the Tube
This particular tube is to connect the reservoir to the drain.
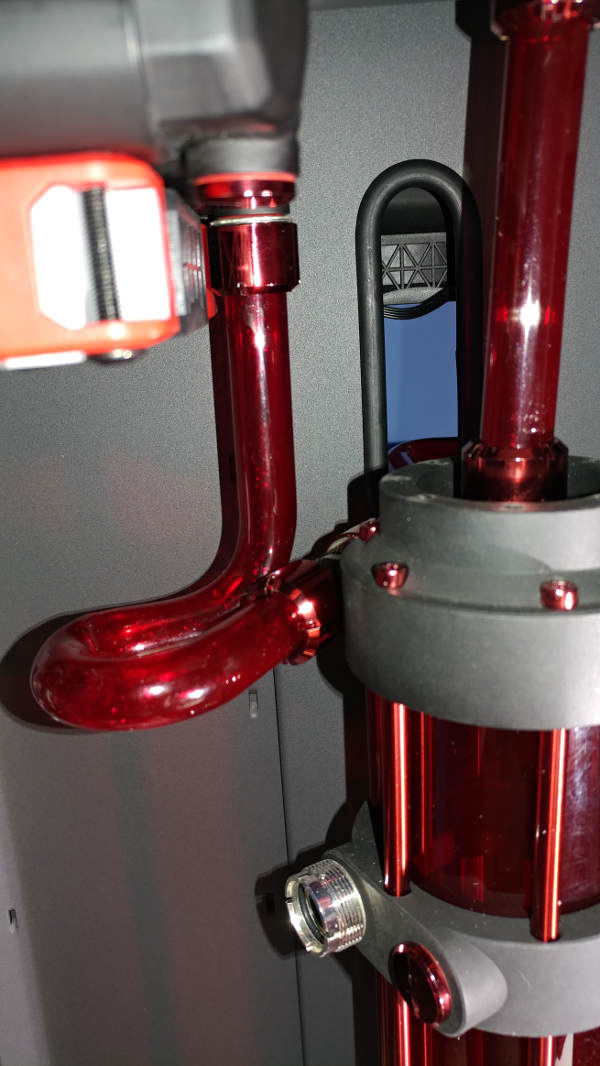
Pump
From Reservoir
This tube is going from the reservoir and down into the pump.
Transfer the measurements to the project board.

Setup the mandrel.
Remember I said that the tube length doesn’t match up after bending? These marks were at the end of the mandrel marks before I bent it.
Prepare to make a second bend. Remember, direction matters.
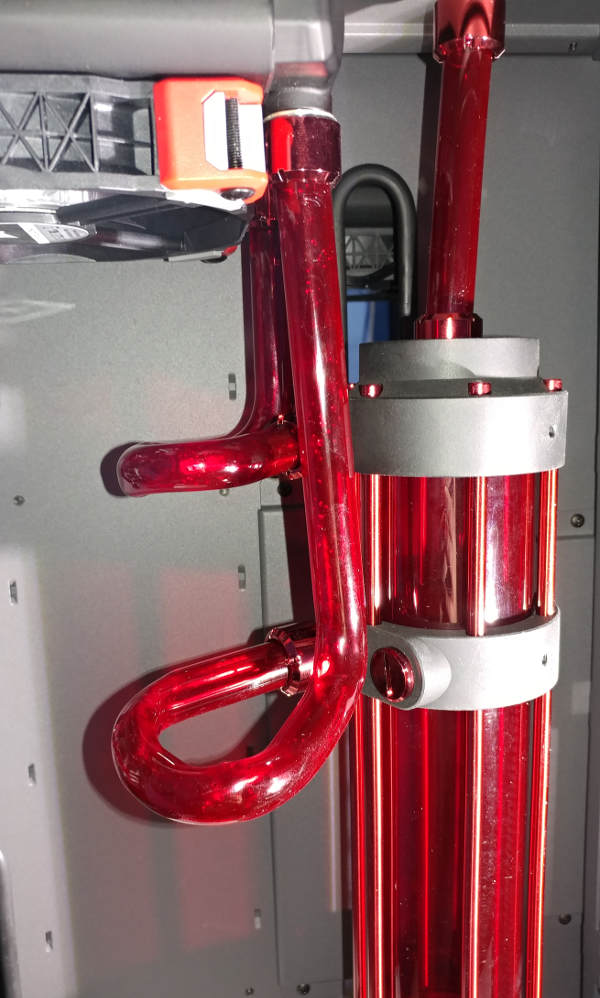
It ended up looking like this:
It was too long for where I needed it. I swapped the plugs on the bottom of the reservoir and made it work – but I suspect that after the leak test I may want to replace this piece.

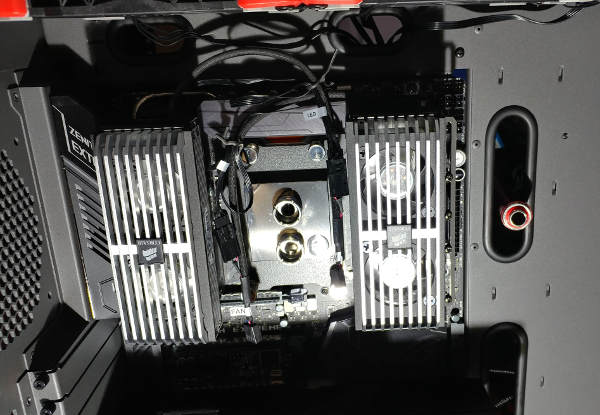
To GPU
Obviously, this didn’t seat correctly. Might want to redo it.
PSU Side Radiator -> CPU
PSU Side
This one was a bit tricky. I had just started bending this weekend, and I did not think I was ready to try a 8-9 point bend. As such, for this attempt, I decided to make a tube go from the radiator to the center wall, and another tube from the CPU to the center wall - then marry them with a female-to-female coupling adapter. Unfortunately, the adapters I had on hand were bought at the same time as the RFB so they were the wrong size; so another order in progress.
I think long term, I may redo this yet again with a bulkhead fitting in the wall instead. However, for now, I wasted 3 full tubes trying to do this one.
Transfer the measurements.
As mentioned earlier, I am now doing the baselines in pen.
Attaching the mandrel can be a bit tricky. It really likes to move just a smidge as you are screwing it down.
The reason I tried this tube 3 times is that the length of the middle section kept not working out correctly.
I ordered some more tubes - so maybe I will redo it - but I have wasted enough for now.
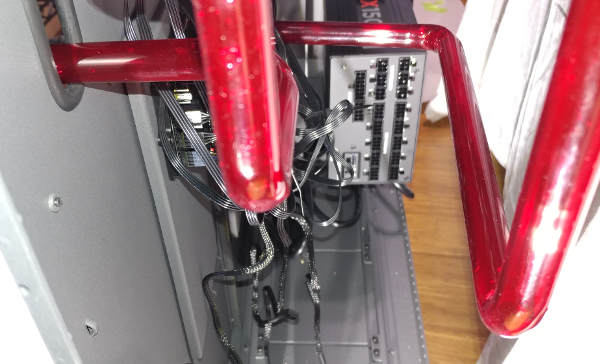
And this is where it comes out on the other side of the case.
I’ll make another tube to connect to it.
One advantage of this approach is that it makes it slightly easier if I need to remove the motherboard from the case.
CPU Side
On the other side of the case, we want to connect the CPU to the radiator extension we left behind.
We’ll transfer the measurements.
While applying the pressure here, I realized that one of the problems I keep encountering is that I fail to keep the tube taught against the bracing mandrel. It made me think that next time, maybe I should find a way to wrap the tube around the OTHER side of the mandrel instead?
It’s more obvious when you look at the cooled piece.
Installed, it looks pretty good. I might eventually replace the two part tube with a single multi-bend; but for now this is not bad.
PSU Radiator -> MB Radiator
PSU Side
I am going to take the same approach to connect the two radiators through the center of the case. Again, I think later I will replace these tubes with bulkhead mounted fittings instead.
That last little bit may look freehand, but it’s not entirely. I was trying to bend it around the 90* mandrel while not putting any pressure on the end. I ended up squishing one end of a tube slightly earlier and it made it really hard to get into the pump.
I thought about making these come down the same distance, but the holes they are going through are not the same height.
Maybe I will reconsider that when I do the bulkheads.
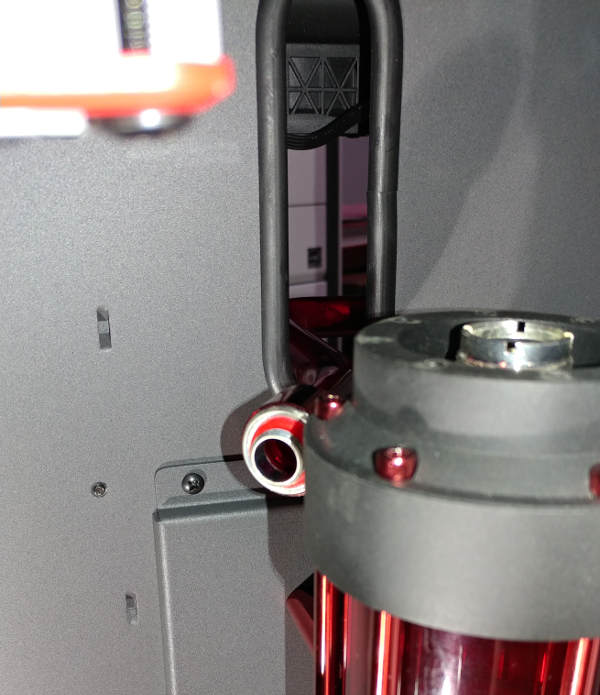
Here’s the end of that tube, ready for connection.
MB Side
This one is a bit tricky. To be honest, it had be debating whether I should remake the other half of the tube.
As you can tell, I have some pretty tight quarters to work in.
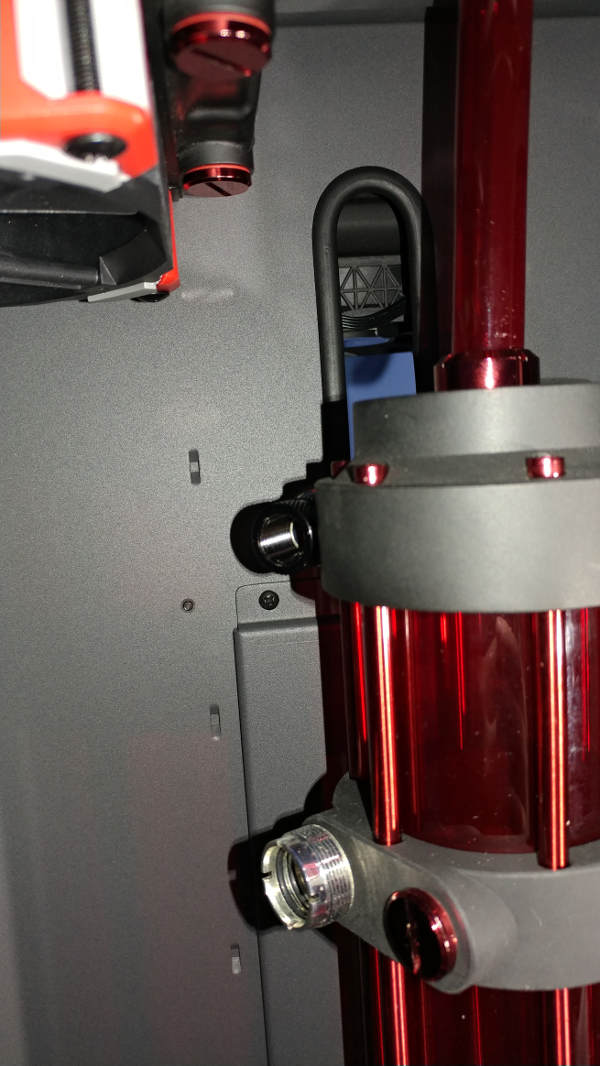
So tight, in fact, that I couldn’t get the 100mm acrylic rulers from the measuring kit into the space to measure it. I was going to have to eyeball this.
I tried using the 360* mandrel, but it couldn’t make the turn. I ended up freehanding the tube.
While not completely happy with this tube, I had already acknowledged that I will likely have to redo tubes once I do the water leak test – so let’s move on.
MB Radiator -> Reservoir
As I said, the quarters were too tight to get the measuring kit into this space.
I was even less excited about the results of this tube - but I needed a break and just wanted to move forward.
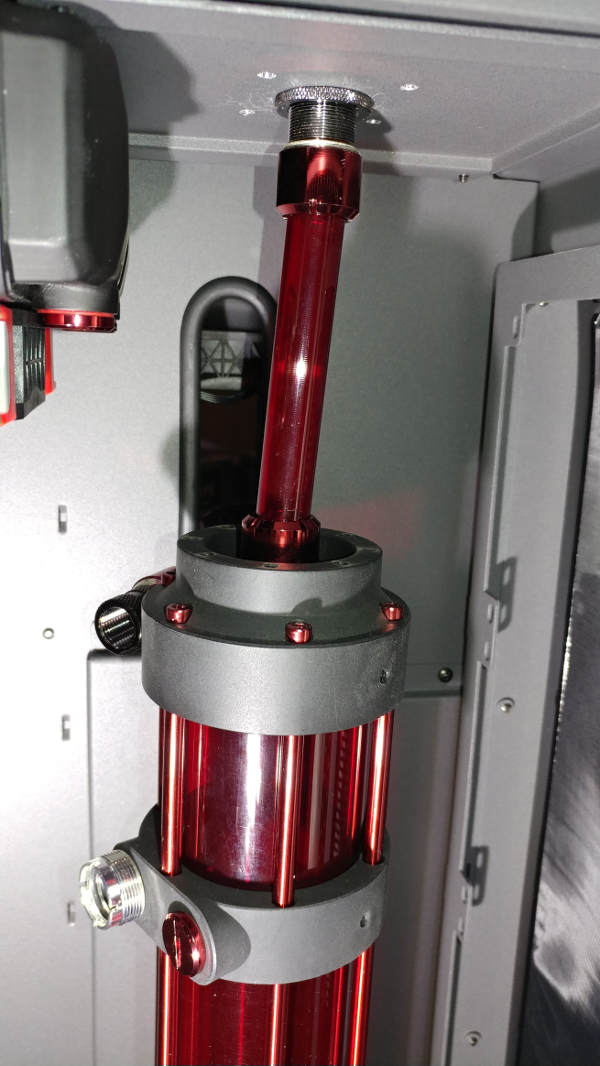
Fillport
I debated whether to try a couple slight bends in this. At the moment, there is enough pressure between the top plate and the reservoir, I think it’ll be OK.
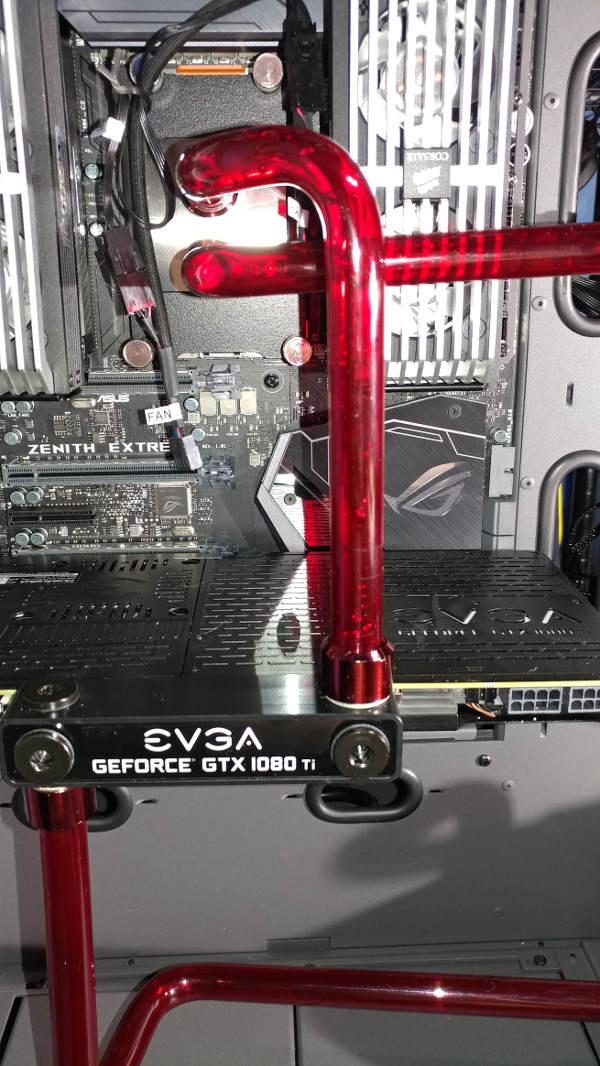
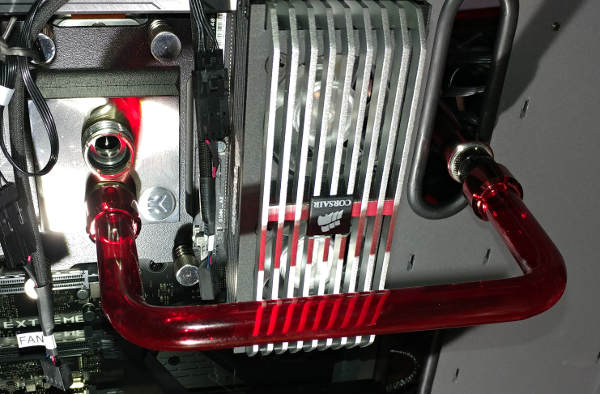
GPU -> CPU
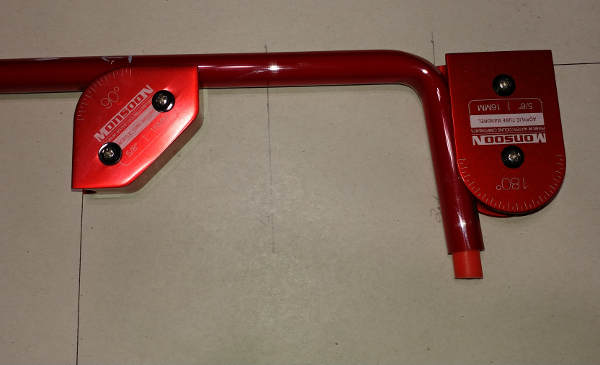
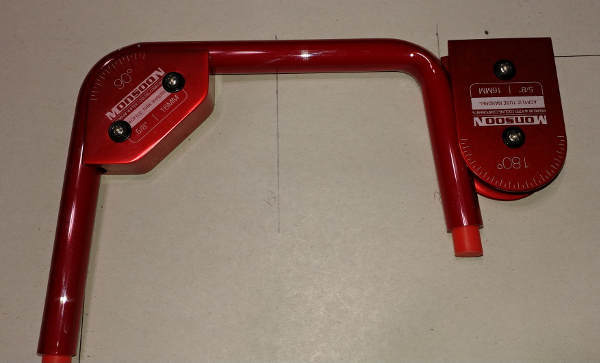
This one took a few tries to get it right. The problem was that when doing two 90* angles, the middle tube has to be less than 50mm. The mandrels make it a bit difficult to get anything short.
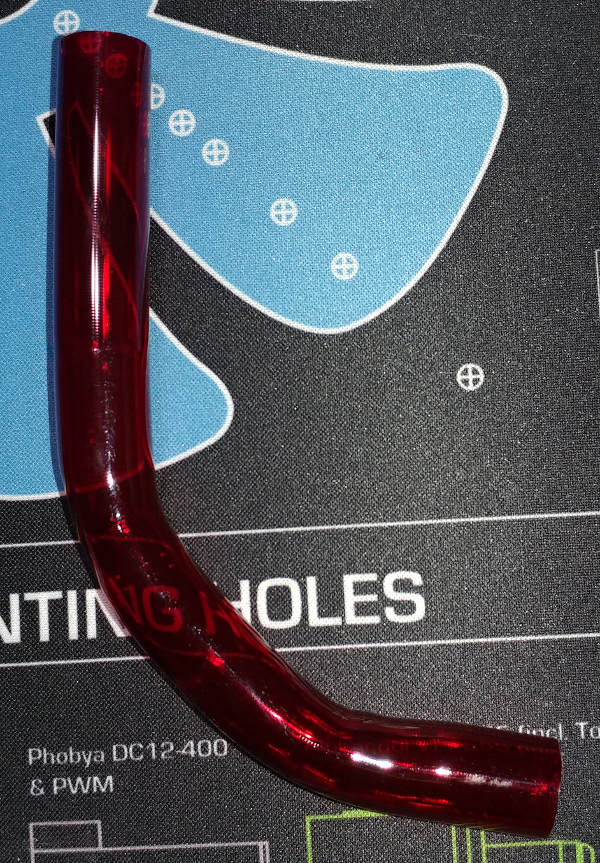
In the end, I did both a 45* angle and a 90* angle.
The interesting thing is that after making the 45* bend, the 45* mandrel is not the one you want to help hold it in place. You want the 90* bend to hold it in place. Also, you can’t use the 90* bend for the second 90* angle, because it’s too wide, so you need to use the 180* mandrel for the 90* bend.
Point is, be flexible and creative.