EVGA GeForce GTX 1080 TI FTW3 iCX Hydro Copper GAMING
on Odin
Motivation
For the graphics, I chose a pair of EVGA GeForce GTX 1080 TI FTW3 iCX Hydro Copper GAMING, 11G-P4-6699-KR. Unfortunately, EVGA would not allow me to buy a pair.
I contacted multiple online retailers about trying to get a second one - but no luck.
I was pretty peeved about it because I have been using SLI for so long that the idea of not using SLI seemed like a real downgrade. This board even has two full x16 slots for it.
In the end, I decided to move forward with what I have and plan on upgrading later.
It turns out that using SLI is a bit more problematic on this board anyway because the primary x16 slot has no clearance at all.
Unboxing
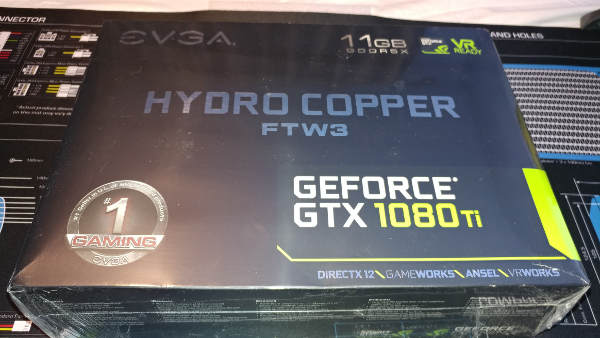
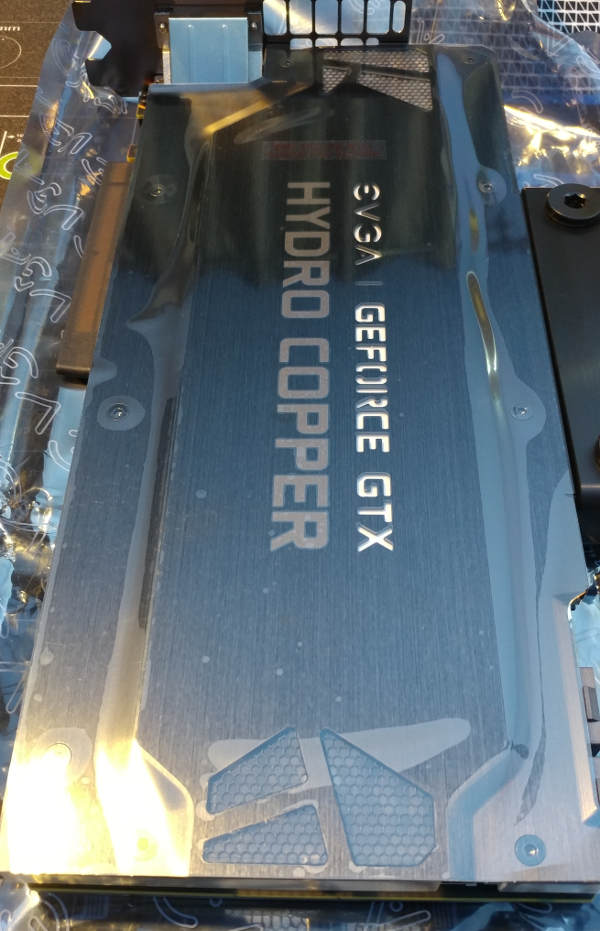
Let’s break down some of those labels. Hydro Copper because it is the watercooled card - and not the fan or AIO solution. FTW, ie “For the Win” has a higher clock speed. Ti is the chemical symbol for Titanium, mostly a marketing thing most likely. iCX is EVGA’s patented design for interactive cooling - ie: base the cooling on various thermistors, not just the GPU temps.
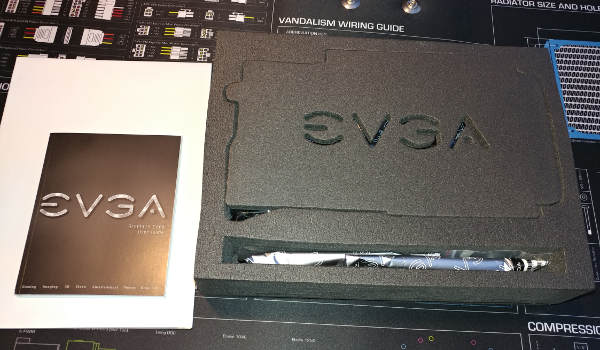
Opening the box, we have a terse manual in multiple languages, a poster, some stickers and this foam container.
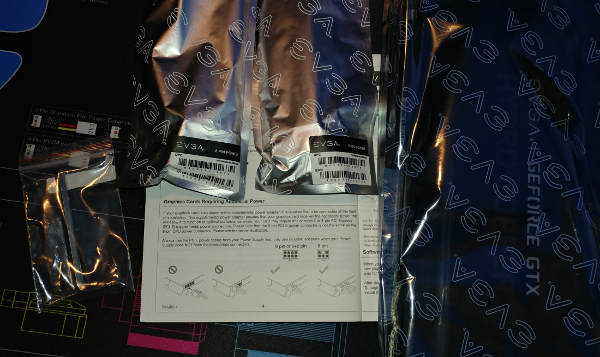
Interestingly enough, the manual specifically tells you to not use the included cables, except as a last resort. They want you to use the ones that came from your PSU instead.
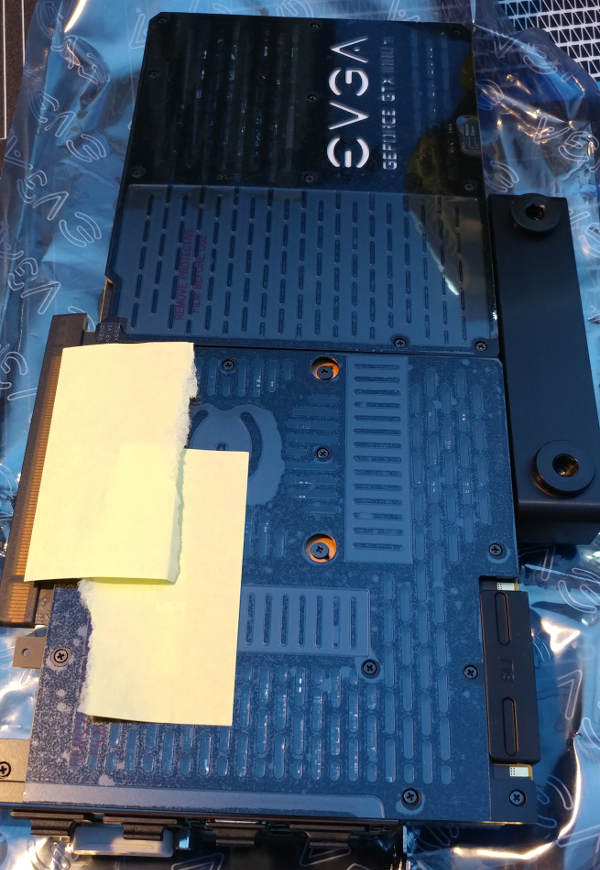
There are multiple protective covers that must be removed.
One on the front.
One on the back.
There is also one on the top. I’d recommend removing it before installing any fittings.
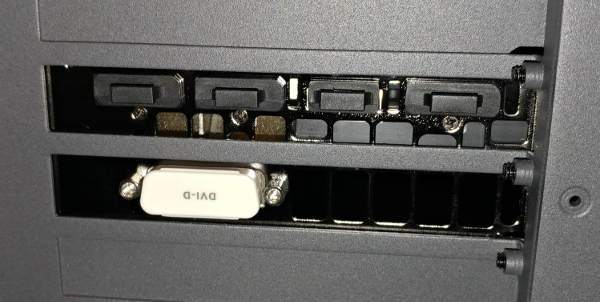
There is a silicon one on the slot edge. You’ll need to remove it before installing into the case.
There are a couple others that I left installed for now - one for SLI, one on the DVI, one on each HDMI, etc.
Install
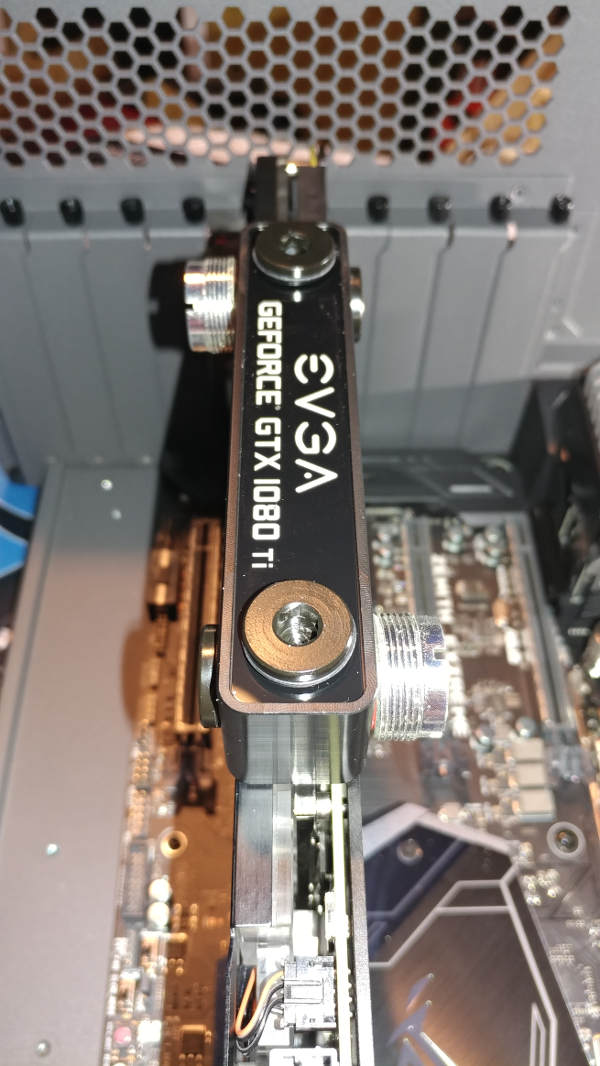
Initially, I installed my EV2 fittings into the open ports on the top.

That turned out to not be ideal, as we will see later.
I spent quite awhile trying to get the card to seat in the first slot. I just could not get it to sit down all the way.
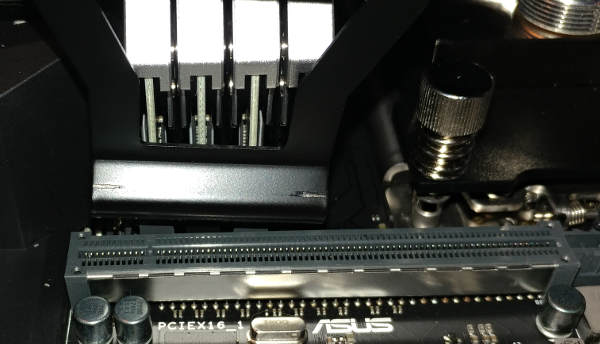
Turns out the fan for the Corsair was preventing it from seating. I had a choice to make.
Option 1 - Remove the cooling from the memory and use the first slot. I really wanted to use the first slot - but even if I removed that cooling block, the graphics card is then shoved into a tight space, which can’t be good for cooling (CPU, memory or GPU).
Option 2 - Use slot 3. It’s also x16. There is a DIP to disable the first slot anyway Not ideal, but until I switch back to my SLI plans; it’s probably the best option.
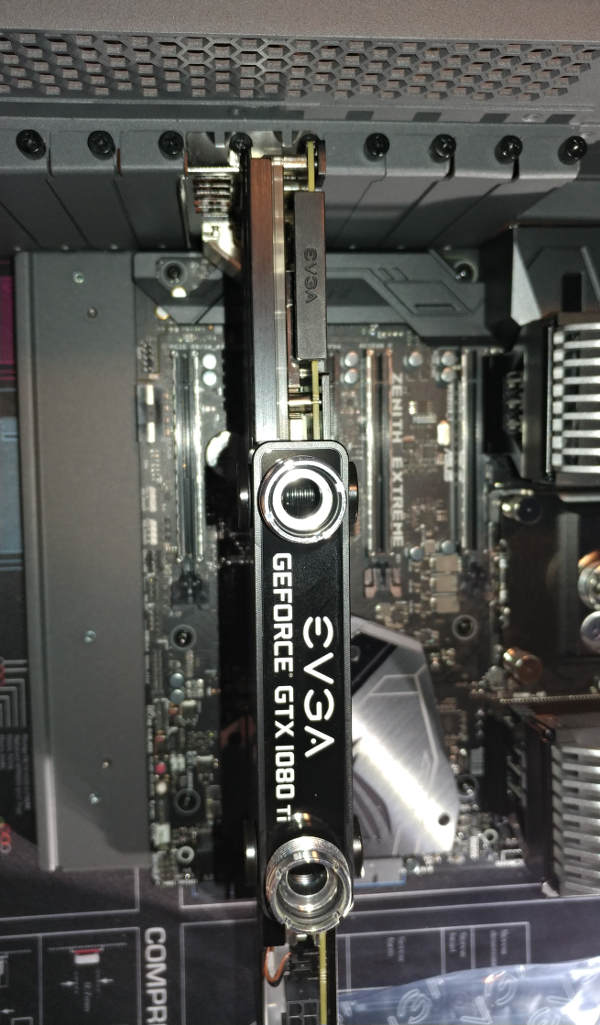
When sliding it back into the case, I notice a problem.

There is absolutely no clearance. Even with a 90* bend, that’s going to be tight for the tubing. I moved the EV2 to the sides. There is a large allen wrench in the box for removing the existing caps. I haven’t decided whether I will leave them as-is or replace them with the metallic red Monsoon ones.
Once installed into the case, you will notice that the ports have little dust protectors on them. Might as well leave those on there until I am ready to use them.