Adventures in RMA
on Odin
Motivation
In May of 2019, I was in the middle of typing and the computer rebooted.
Odd? yes. Annoying? definitely. A concern? Not sure yet.
When the computer came back up, it went into the BIOS and everything looked OK.
- CPU was at 31°C (87.8°F).
- MB was at 27°C (80.6°F)
- Memory was at 24°C (75.2°F)
- PCH was at 43°C (109.4°F)
- Sensor was at 23°C (73.4°F)
I wasn’t able to find the official thermal limits for the PCH, but from everything I read this is well below any expected problems.
I booted back up and a few minutes later it shut down again.
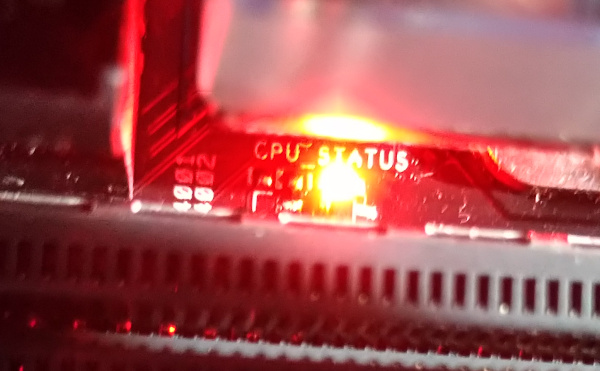
This time, it wouldn’t POST. I tried shutting down and unplugging the power. Tried removing all the cables. Though I have a buzzer
installed, there was no audible POST codes and no screen. Looking at the diagnostic OLED, it said Code 00. According to the
Asus Website that is an unused code.
I took a video of the diagnostic code to include in my support request.
Note: the fans were running, the board lit up, just the Code 00 and no POST.
Since everything is watercooled and I didn’t have a spare Ryzen MB or CPU, I didn’t have an easy way to test anything in isolation.
I contacted Asus. They told me, since I couldn’t try a different CPU in the existing board, that I should RMA both the motherboard AND the cpu.
As such, I filed an RMA with both Asus and AMD.
Replacements
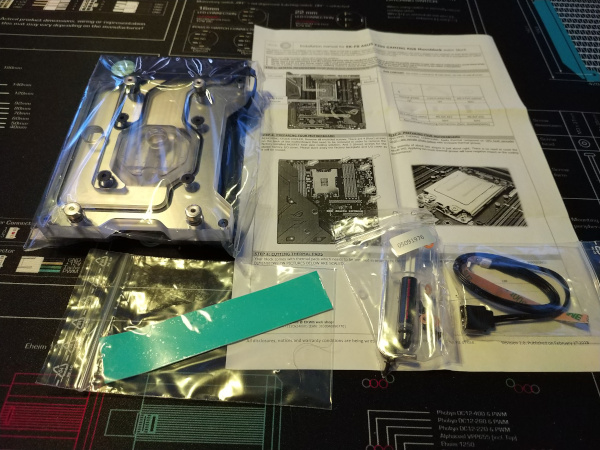
I received my replacement motherboard from Asus and processor from AMD.

The motherboard appeared to be someone else’s RMA. It had permanent marker writing on it. A couple of the barcode stickers on it also keep trying to fall off. The thermal compound inside the M.2 cover was also applied already.
The processor appeared to be NIB.
Additional Changes
Due to the fact that I had to RMA the motherboard, this was going to be a complete rebuild - even if using mostly the same parts. As such, I thought now would be a good time to upgrade a few things.
Carbonaut
When I took the cpu off the motherboard, I was… displeased? with the spread of the thermal compound.
I decided to try a slightly different approach.

While the reviews of the Thermal Grizzly Carbonaut show that the temperatures will likely be slightly higher; it also looks like it will have a more consistent spread and require less long term maintenance. Specifically, while I know I should replace the thermal compound once in awhile, it requires tearing everything down and so is less likely to happen.
Monoblock
After I had built my system, EKWB had issued an apology. At the time, I had just finished my build and was not in a place to start over.
Thinking that this might have been part of the problem I ran into here, I decided to replace it since I was tearing apart my system.
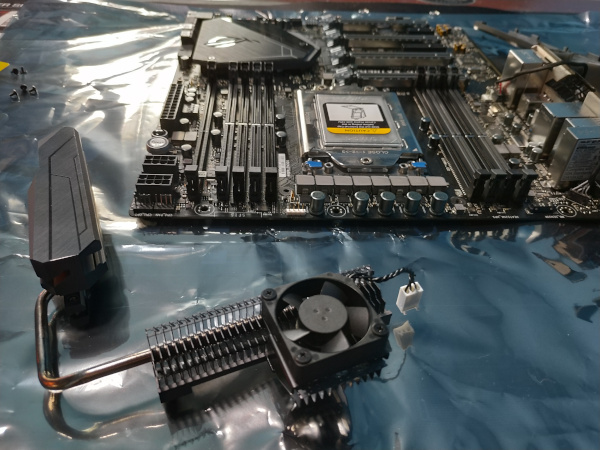
I decided to replace my prior cold plate with a monoblock. Specifically, the EK-FB ASUS X399 GAMING RGB Monoblock - Nickel.
This meant replacing the stock heatpipe that comes with the motherboard.
Bulkhead fittings
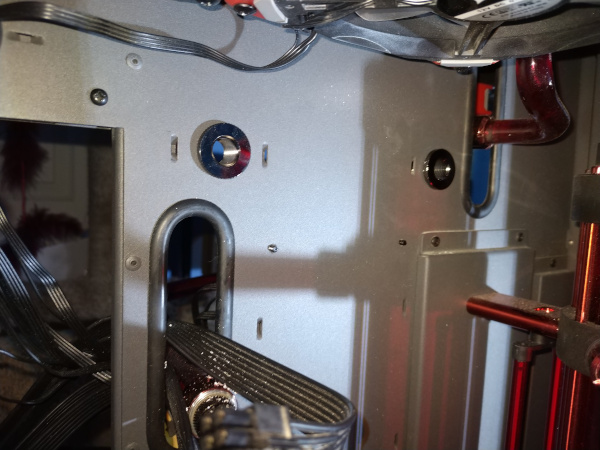
The Caselabs (RIP) case has some large holes that allow cabling and pipes to run from one side to the other. In the prior build, I had run rather large complicated water tubing through those holes.
I decided to simplify my build and make it a bit more aesthetically pleasing by adding two bulkhead fittings using the Primochill FillPort / Pass Thru Fitting. This would allow the tubing to terminate on either side, giving each tube a shorter less complicated design.
Alphacool Eiskoffer
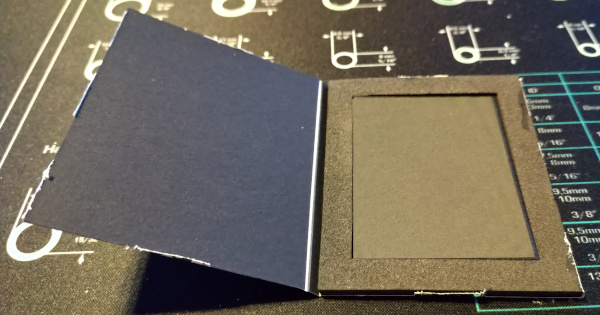
On the tooling side, I decided to try the Alphacool Eiskoffer Professional - bending & measuring kit.
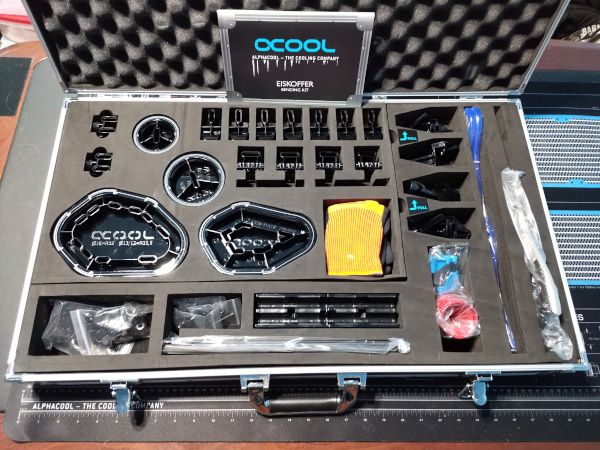
I really should do a separate post for that. A couple quick thoughts.
I really liked the full color image-filled book. The plate itself was really nice, though it could have been larger. Actually, I would have preferred if it was taller as well so that I could change the nuts without lifting it up. The feet kept falling off, which were a little tricky to put back on. I really liked the adjustability of the different pieces, but would have really liked if they were metal instead of plastic. The one piece I had the most problem with was the end-cap piece because the tube rarely stayed in place with it.
Overall though, pretty nice kit.
Rebuild
After getting everything put back together and filled with water, it wouldn’t boot. I wasn’t sure why exactly. I would get the red cpu led; but given the reason for the RMA, I wasn’t convinced if that was a CPU or MB problem.
After trying everything I could think of (cables, etc), I eventually tore it all down again to check for bent pins.
I didn’t see any problems, though I think I maybe have gotten a tiny bit of dust on the Carbonaut getting it put back together.
After getting it all put back together again, it booted! W00t!
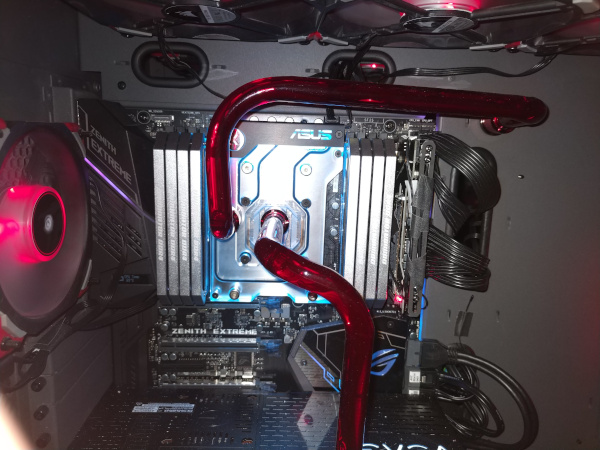
The monoblock and bulkhead fittings are working pretty well. Need to do some RGB control of the monoblock still.
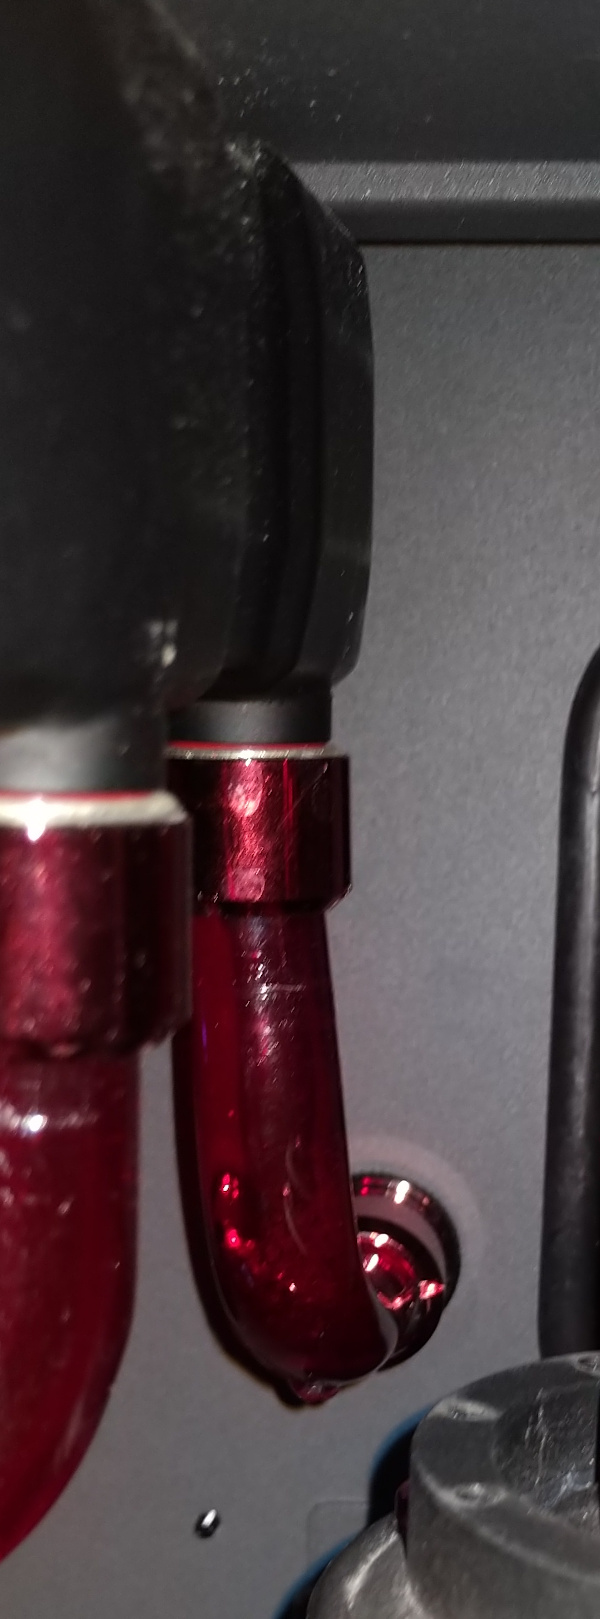
I do have a slight leak I’ll need to fix. Those tiny short tubes are very hard to get right.
What’s next?
I’m thinking of trying my hands at cable modding so I can clean up the other side of the case.


