DEMCiflex Filter
on Odin
Motivation
My room gets dusty. I’ve replaced the carpet with bamboo flooring, but it still gets pretty dusty.
On my last build, I had the radiator blowing the hot air out of the top of the case. That, of course, led to me finding my cat sleeping on it all of the time. To combat that particular issue, I am going to be sucking air in through the radiator rather than pushing it out of the case. I have watched quite a few videos showing that both scenarios end up with a similar heat profile, so I hope they are correct. If there is no heat blowing out, my cat should find it less enticing.
I am going to attempt positive airflow pressure. CaseLabs has a nice writeup about it with pretty pictures.
The majority of the incoming air will be from the top of the case where I will have the push-pull radiator setup. This will include a 560 radiator, a 420 radiator and 14 incoming fans. This is obviously the most significant point of dust entry.
There might also be some incoming air through a couple front flexbay grills. I haven’t decided yet. I bought a filter for a 120 Flex Bay and a 140 Flex Bay, just in case.
The bottom of the case will not have any air intake as that is where most of the dust tends to be. It’ll be solid for mounting the pump, etc.
The sides will not have any air intake as they have full size windows.
That leaves the rear for exhaut. There is a grill above the motherboard and the one for the power supply. That may be too little exhaust, to be honest, but should help with the positive pressure. It’s not like the case is airtight. In fact, one of the side panels is a bit warped, so the back corner doesn’t even seal properly.
So… in the end, I decided to put filters anywhere that I am purposefully drawing air into the case. I wanted filters that would be easy to maintain/clean.
CaseLabs recommended DEMCiflex Filters. They are magnetic, but the CaseLabs cases are aluminum. As such, they ship with a magnetic mounting sticker. Steel cases would not need that.
Picking the Filters
Depending on your case, DEMCifilter has many of the filters you need pre-sized and ready to go. In some cases, you can even get a kit for your entire case in one go.
For the CaseLabs THW10, it’s not quite that easy.
I contacted them for help in determining which filters I needed.
Hi Malachi
Thank you for your email.
Unfortunately, we will not be making a filter kit for this case, as there are too many flex-bay configuration options. This will make it impossible to have one standard set for this case.
Please send us the measurements you will need for any custom filter, and we will send you a quotation on that.
Kind regards, Roxanne
While it was unfortunate to find out that they didn’t know what I needed - it was very nice to see that I could order any custom size I wanted.
Flex Bay Grill Dust Filter
I only had 140mm fans. When I went to measure the Flex-Bay Fan/Radiator Mount that came with my case, it turns out it was the 120.1 version. It’s not that I planned on using it or anything – but I also didn’t plan on not using it either. I just had no 120mm fans.
So I ordered the 140.1 mount from CaseLabs and ordered both filters from DEMCifilter.
For the 120.1 mount there is a 120.1 filter.
For the 140.1 mount there is a 140.1 filter.
If I choose to use either mount, I’ll have a filter at the ready.
Top Cover
But what about the top of the case? Since I wanted to make sure it was easy to clean, I didn’t want to sandwhich the filter between the various layers of fan and radiator.
I decided I would mount it inside the CaseLabs Top Cover.
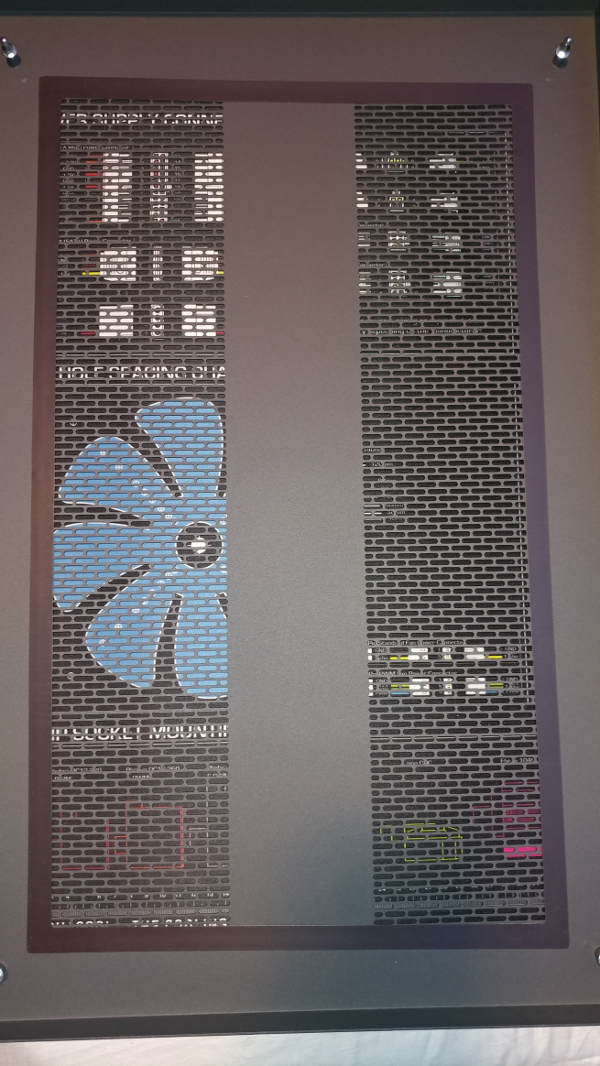
I measured the grill opening on the inside of the cover to be 330mm x 565mm.
I couldn’t make the filter fit the entire inside of the cover because we have those pins that snap it down into place. Maybe just add 5mm to each edge?
I ended up ordering a custom 575mm x 340mm filter with the Non-Ferrous option, since CaseLabs is aluminum.
I probably should have made it slightly larger, but we’ll get to that a little later.
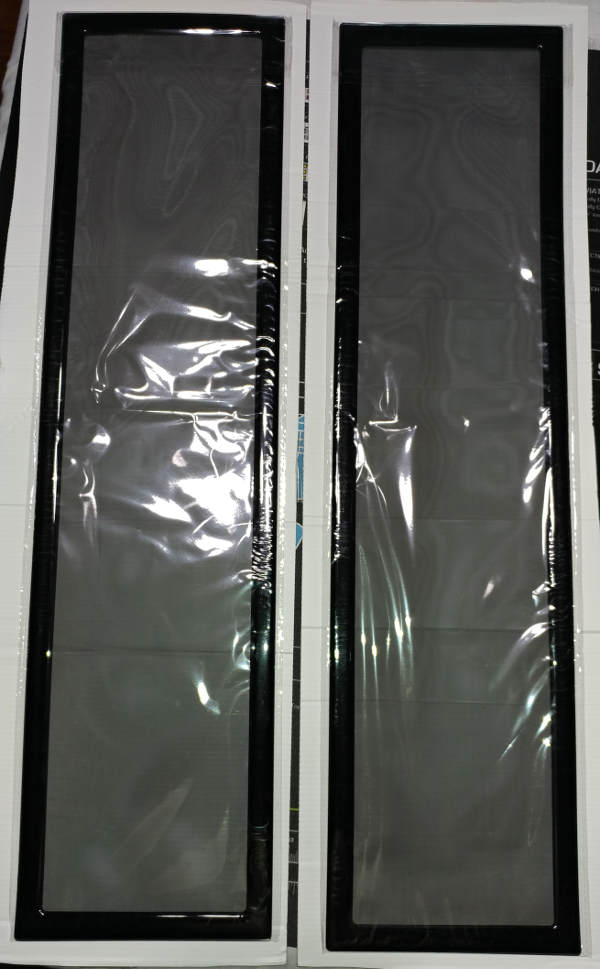
Unboxing
The package came via FedEx.
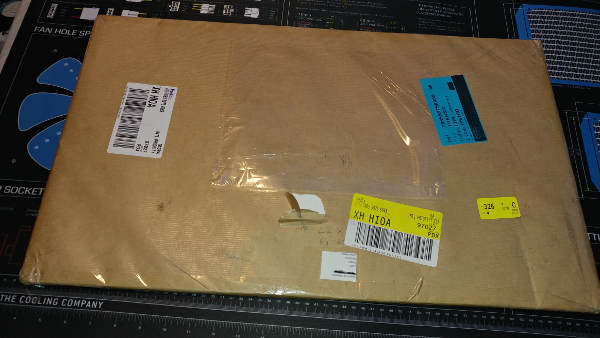
Inside the brown paper was some nice solid packaging.
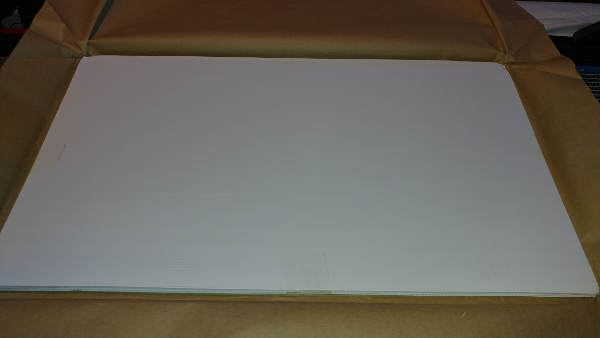
I tried to cut open the end of the plastic wrapping and slide it out, but that didn’t work. You have to cut at least two sides to remove it.
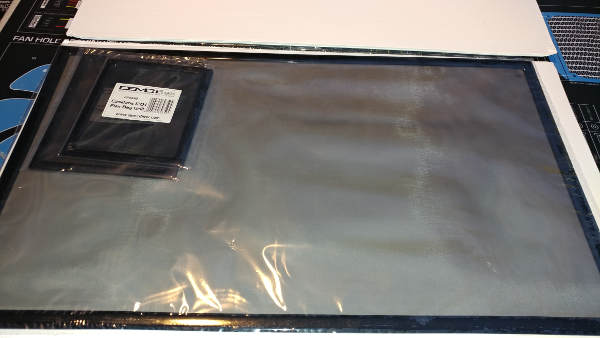
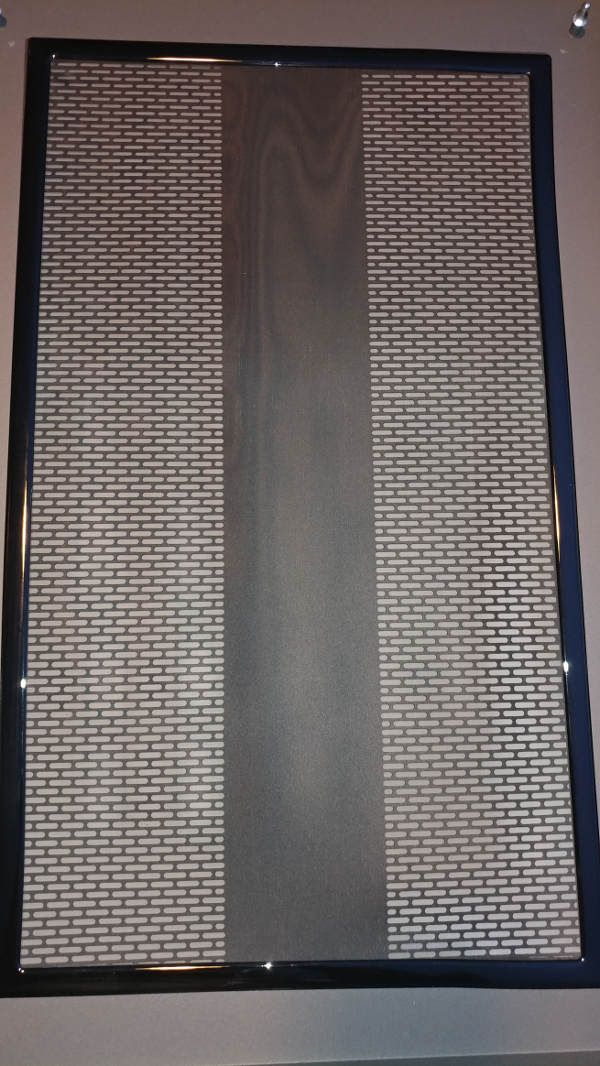
The frame won’t be visible once assembled, but it looks nice.
Theoretically I could put the filter on the outside of the case, but that would not survive the cats for very long.
Install
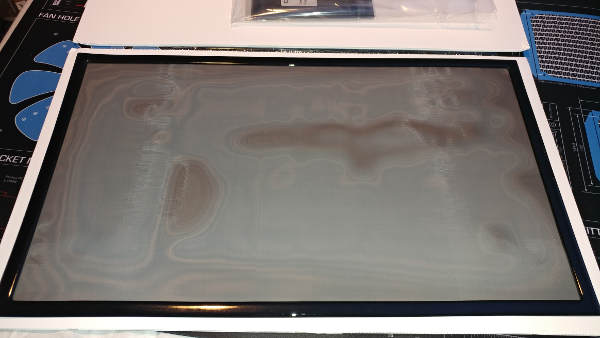
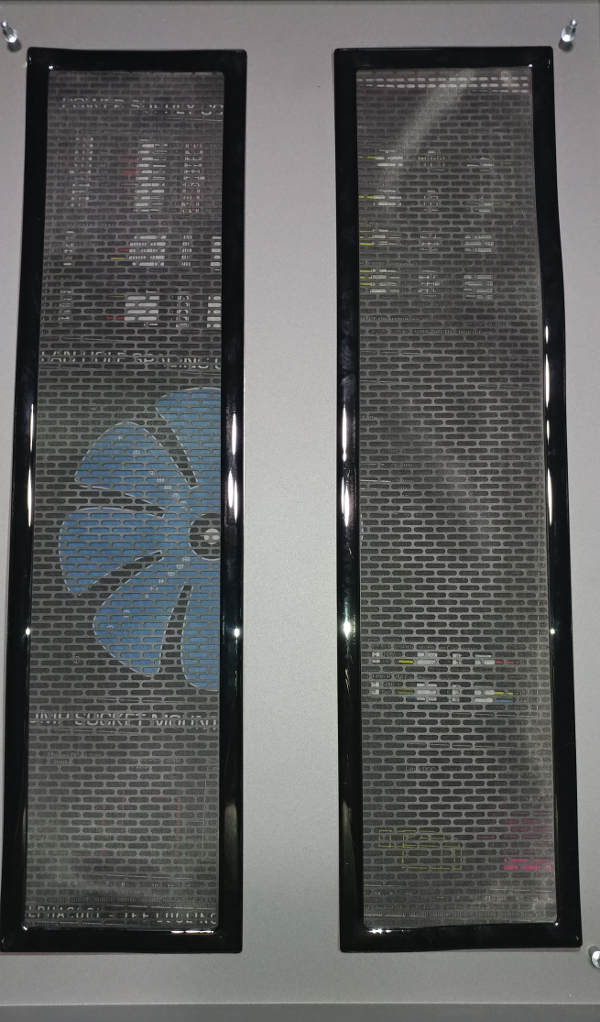
I removed the frame from the magnetic base and laid it on the inside of the case top. Once lined up, I removed the sticky back and got it into place.
I attached the frame to the base. It snapped on easily enough, but wasn’t quite straight in a couple places. It made me wonder if I should have kept them attached when mounting it – especially for something so large.
From the outside, you can see that it covers the entire grill… but part of the sticky bits are showing around the entire edge. I think I should have requested a larger size. It reminds me of the differences between ID and OD.
Update 10 Feb 2018
One of the things that annoyed me was that the sticky part showed through the grill. Even more so that when the cats jumped on the computer, their hair would stick to it.
Due to my conversations with DEMCiflex, they have added proper filters for the top of the CaseLabs THW10.
They arrived in similar packaging as before.
I removed the previous filter and took some time to remove the left over sticky residue.
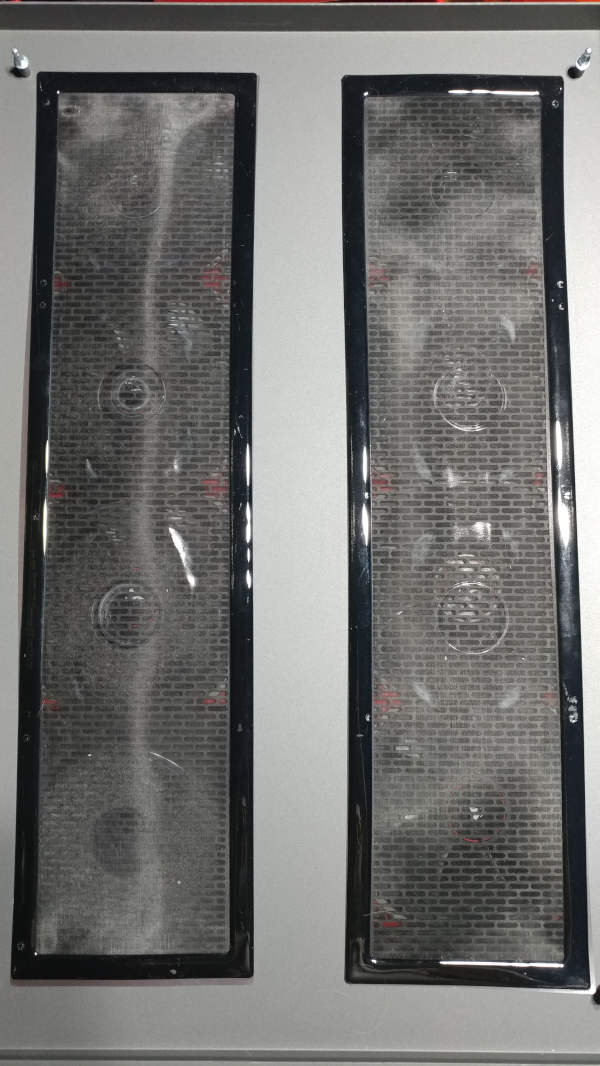
When I went to attach the new filters, I was really hopeful that they would not cover the grill themselves. Unfortunately they did. I made the mistake of forcing the magnetic sticker to fit the way I wanted it - which I was able to do. This caused the filter itself to not seat properly because it could not stretch in the same manner.
You’ll notice some slight bowing, for example on the far right side.
I ended up detaching and re-attaching the magnetic sticker multiple times to get it the best I could.
While I like the concept behind these filters, I am not a fan of what it takes to mount them to an aluminum case. Of course, none of that would have been necessary if CaseLabs were steel, for example… or using a ferro paint? hmmm… maybe next time.
Update 01 July 2018
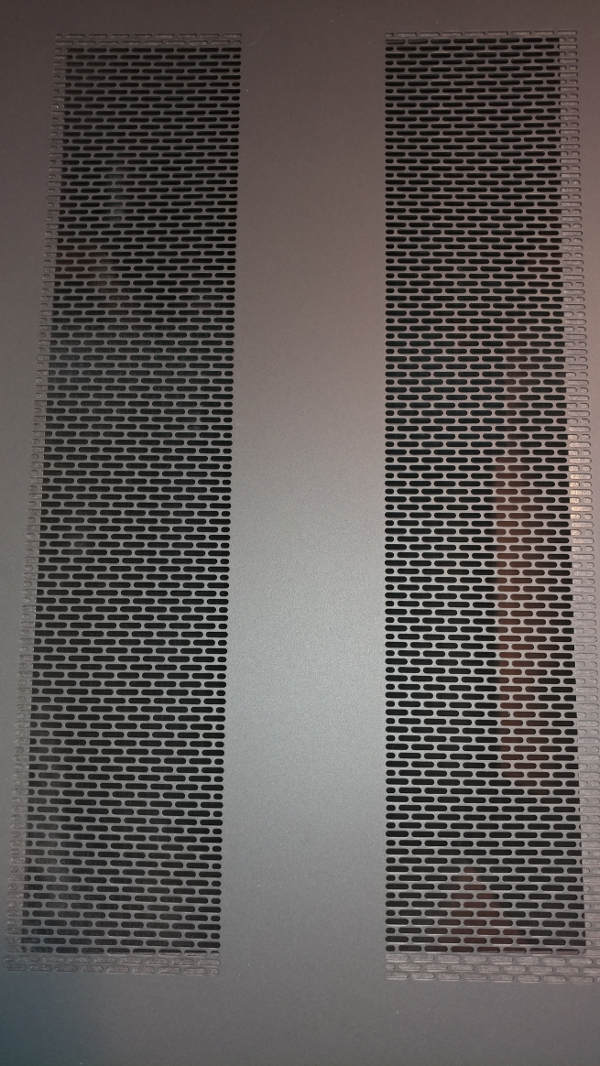
Four months in, we can see they are capturing the dust, as intended.
What is probably not so obvious at first glance is that the fans have been grinding away at the filters. There just is not enough clearance in the CaseLabs top. I have suggested to them that they provide an alternate top that is a little taller, but that is not an option right now. I might need to custom make one.
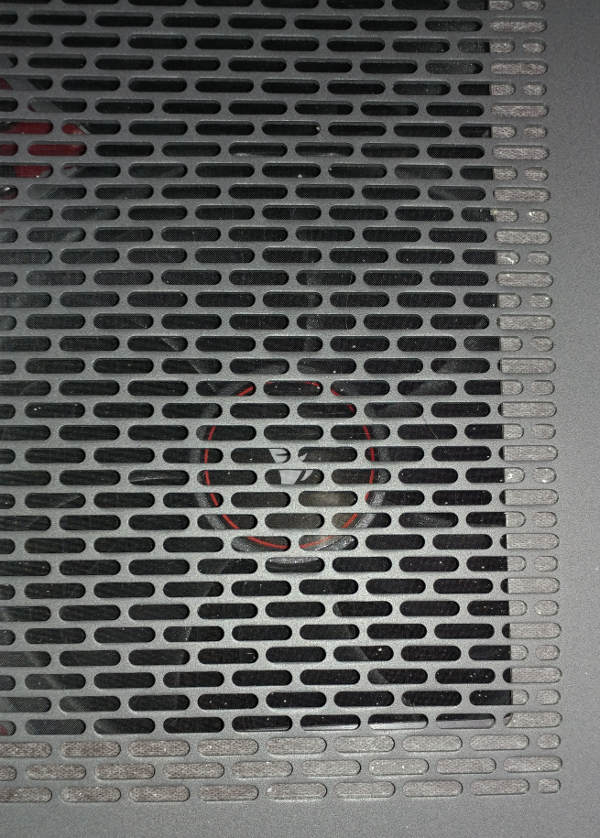
Not a great picture, due to me holding the top with one hand and the camera with the other, but you can sorta see how the filter is hanging down?
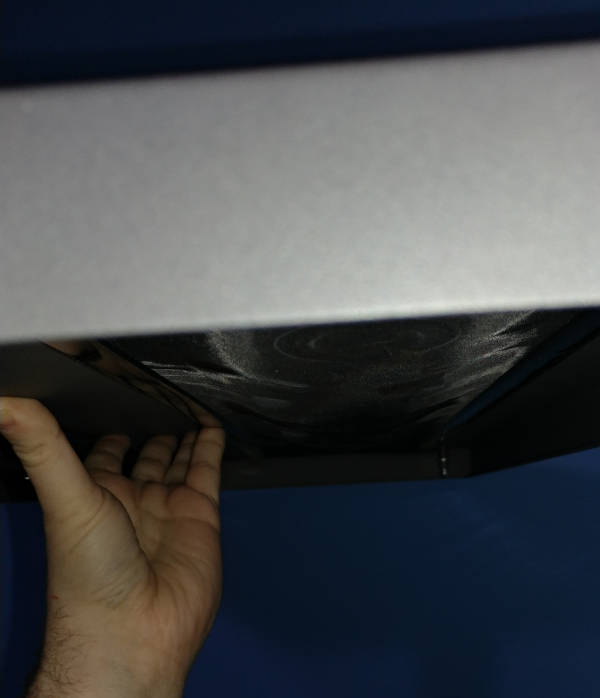
With there not being enough clearance AND the filter drooping, this is not only causing a lot of wear and tear on the filter, but an immense amount of noise.
Even though it will mean the sticky bits showing through (see cat reference above) and won’t give me one nice large clear view - I have decided to try to use multiple smaller filters in an attempt to combat the droopiness.
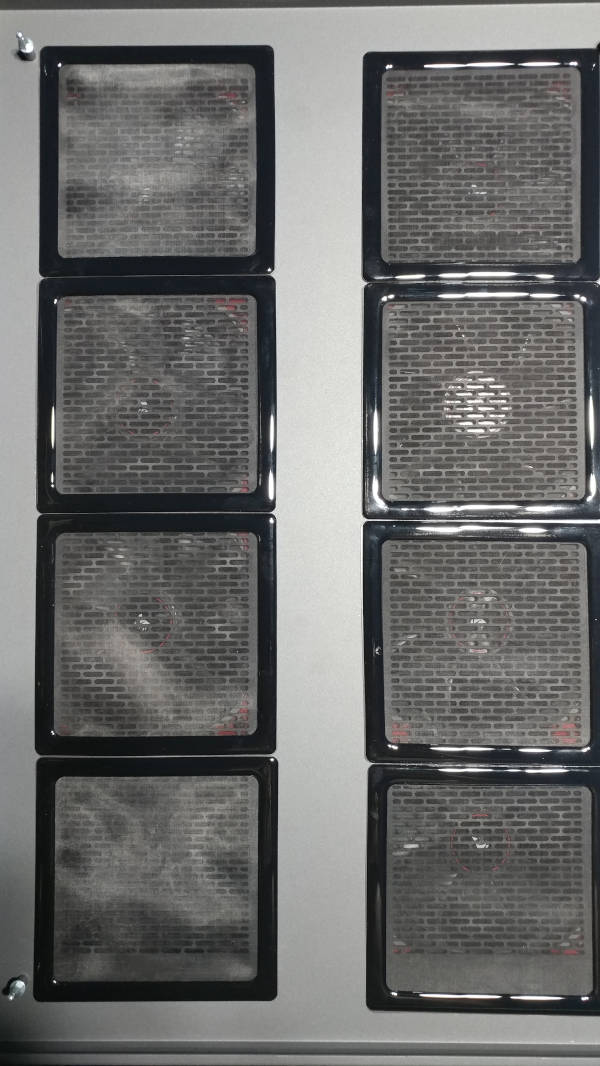
One thing to note if you go this route: 140mm filters are bigger than 140mm fans. IE, you can’t line four of them up properly above four fans that are touching.
We’ll see how it does though.


