A Custom Drain-Port
on Odin
Motivation
With my last water-cooled system, I never actually flushed the system. I added water once in awhile, but I never emptied it and gave it a good refresh. This was mostly due to the difficulty of doing so.
With the new build, I decided I wanted to take a few steps to encourage me to maintain it. I haven’t quite figured out what to do about the power supply yet, but I am adding a fill-port on the top and a custom drain port on the bottom.
Originally, I was going to put a Koolance Quick-Connect on the outside of the case. In fact, I purchased it. In the end, however, I decided I didn’t want anything sticking out from my case at foot height directly connected to the water loop.
Instead, I’m simply putting an external plug that will allow me to connect any G 1/4” adapter (be it a QC or something else) and will add a ball valve inside the case.
I always have the option of switching this up later since I put a G 1/4” passthrough into the case.
Unboxing
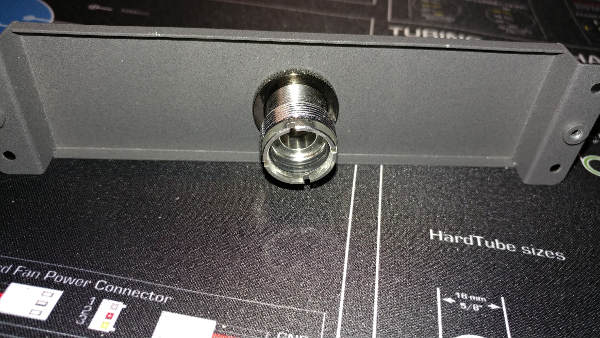
For the initial parts, we have a face plate from the CaseLabs case and a Primochill Fill/Drain Port.
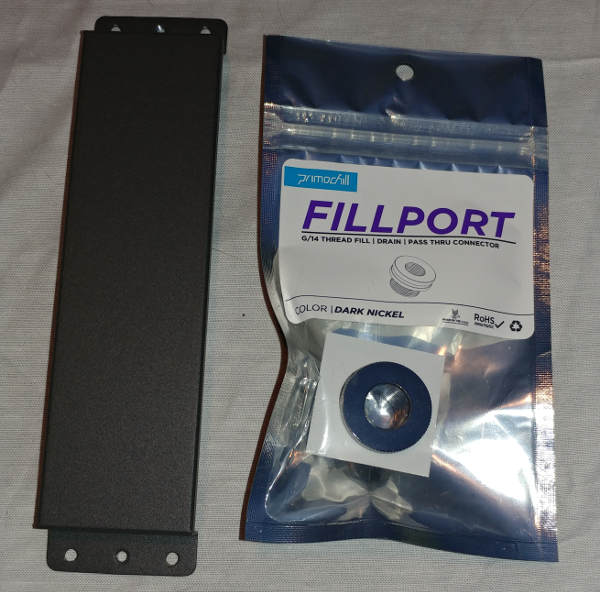
I am putting it into a faceplace instead of the actual case so that, over the years, I can choose to relocate where the drain port is. Maybe I will move it to the other side of the case, or up one slot. Who knows.
You can also check out the EV2 Unboxing for the fitting that will be used on the inside of the case.
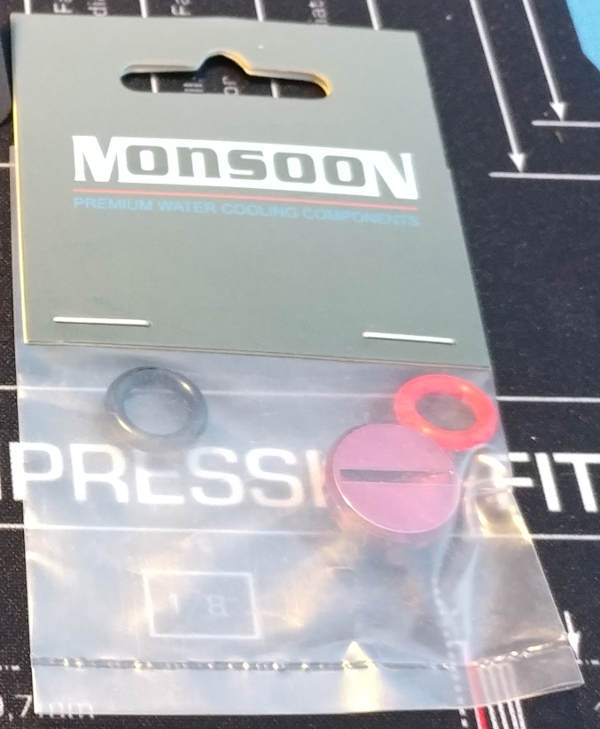
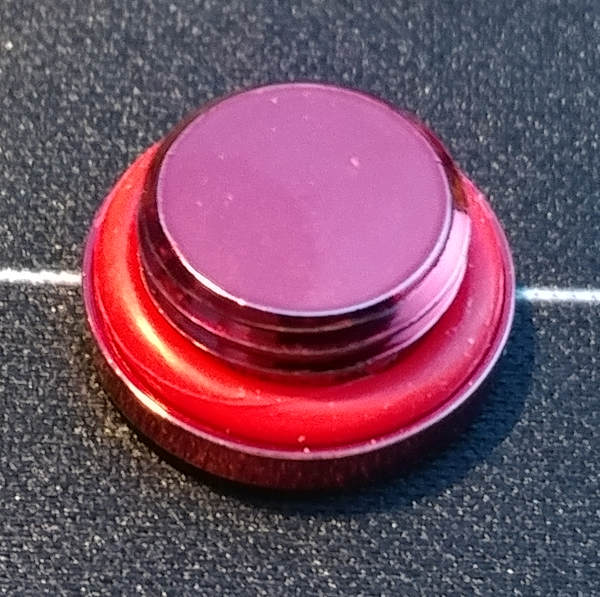
And the MMRS plug.
What I Did Wrong
Before I go into detail showing what I did, I think it is worth pointing out that I definitely did not do it the right way. I did not have the right tools for the job, safety or the cleanup.
Let’s dive into each of those.
For cutting the hole, I was just using standard drill bits. I did start with a tiny pilot hole, then slowly increased the size of the bits… but in the end, the largest bit wasn’t big enough and didn’t want to turn.
Looking back with 20/20 - I should have either used a hole bit or maybe a tap & die. Something designed for larger holes.
Secondly was the safety. I wasn’t using gloves or eyewear, etc. I also wasn’t using a clamp to hold the piece in place. I was lucky - it could have gone terribly wrong. I really noticed it on the larger bit that kept getting caught.
Also, I got little shards of metal in my hand while trying to clean up my workspace – and I am sure that I didn’t get all the pieces. A small handvac would have probably been a good idea. As well as gloves…
Modding
Ok, now that’s out of the way…
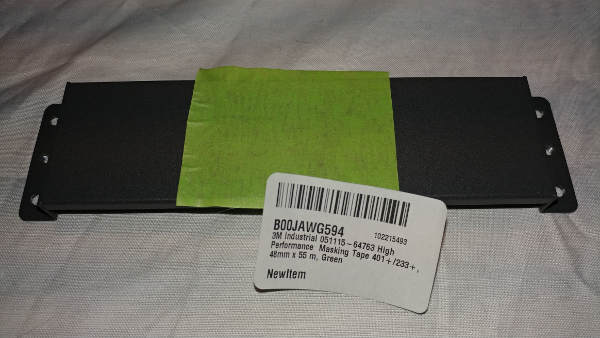
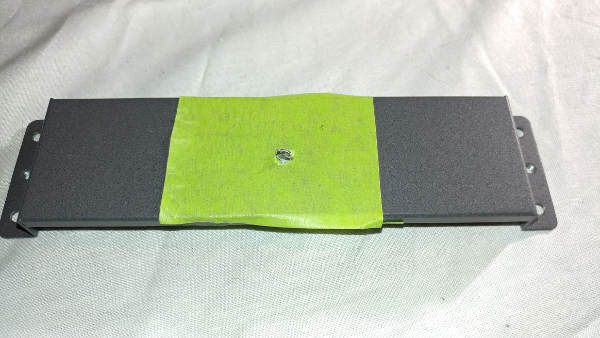
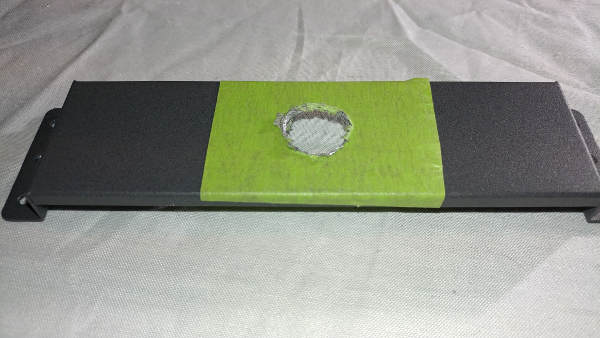
First we mask off the area we want to drill. The 3M 401+ tape works well for this.
Mark where we want to drill. Even though I marked the center, the final hole was a bit offset (not on purpose).

Add a pilot hole with a small drill bit. I actually tried to use a smaller bit (that came with the drill) but the chuck was not small enough to hold it. Go figure.

Work your way up with slightly larger bits. Remember my note from above – this is probably not the best way.
Eventually, I got to a point where I couldn’t go any further. The left drill bit worked, but the right one would just get stuck.
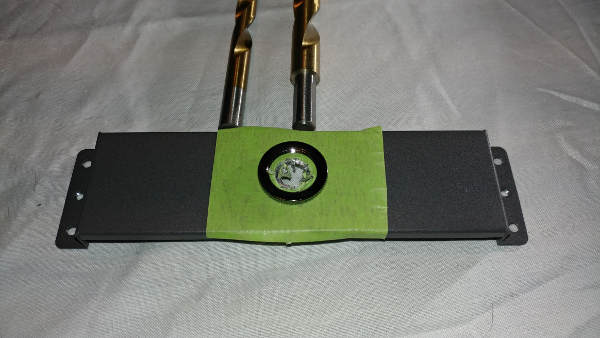
It probably didn’t matter much because it wasn’t really large enough for what I needed either.
At this point, I should have just stopped and went to Home Depot. Instead, I looked around for what was handy.
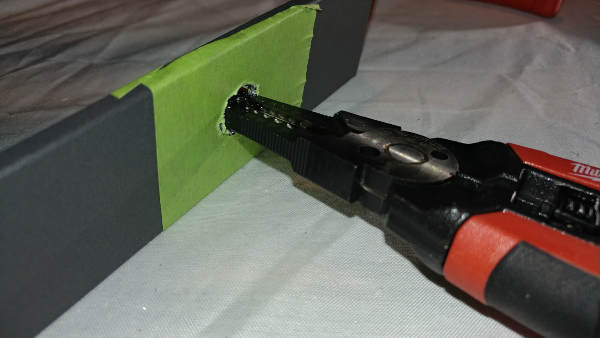
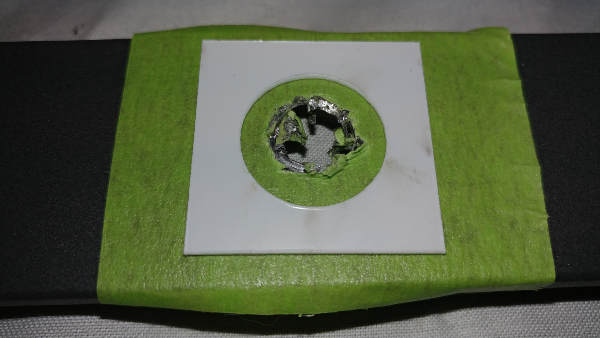
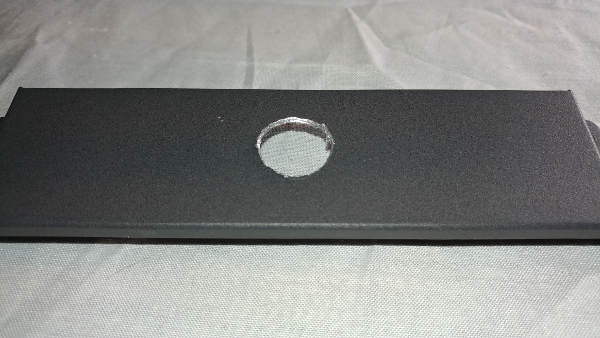
While the process left a lot to be desired…. and though I could name a ton of things I could have done better… it didn’t look so bad once I reamed it out with a completely inappropriate tool.
Take the masking tape off.
Assemble
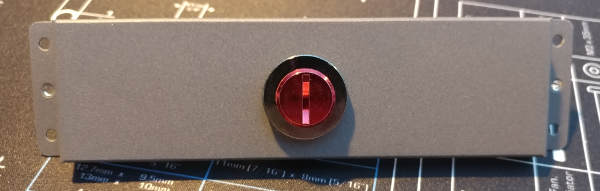
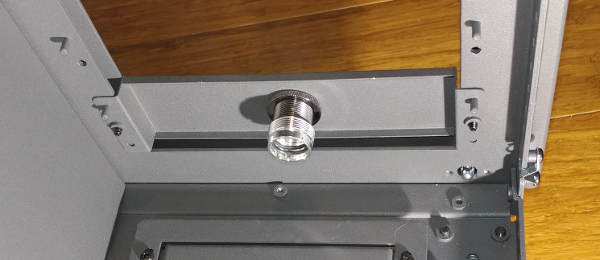
Screw the Primochill Fill/Drain Port into the hole.
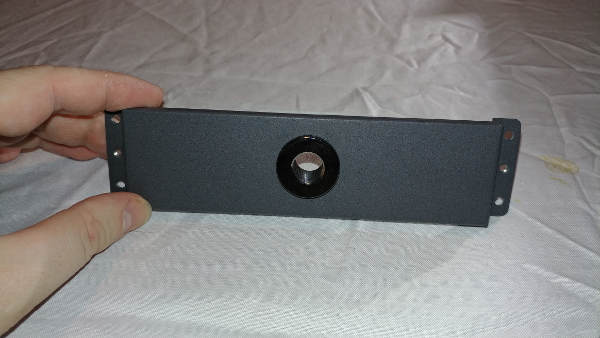
Add the nut on the back.
Attach the EV2 fitting to the inside of the port.
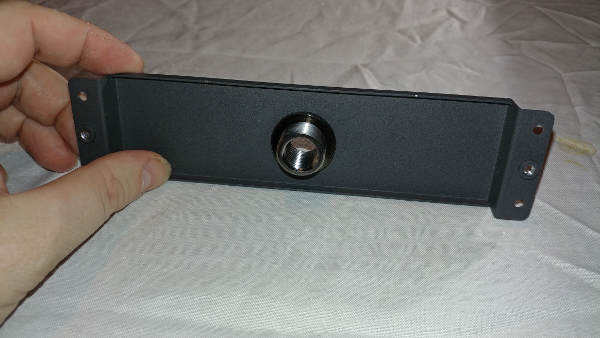
Prepare the plug. I was going to use the black O-ring, but chose the red to be consistent with how I am preparing the EV2.
And attach it.
Install
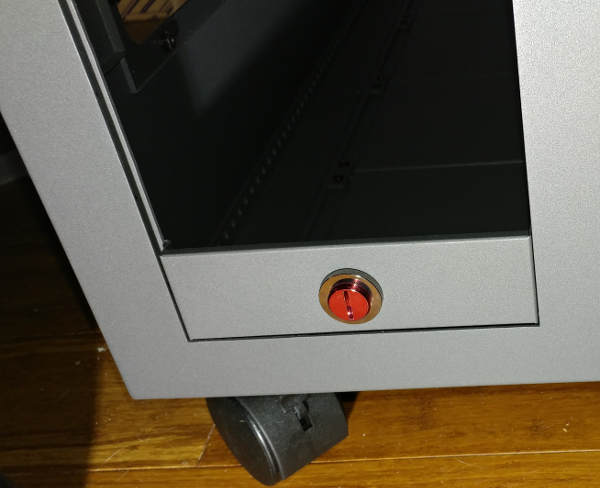
With the front panel removed, place the plate behind the wall and use the thumb screws from the front of the wall.
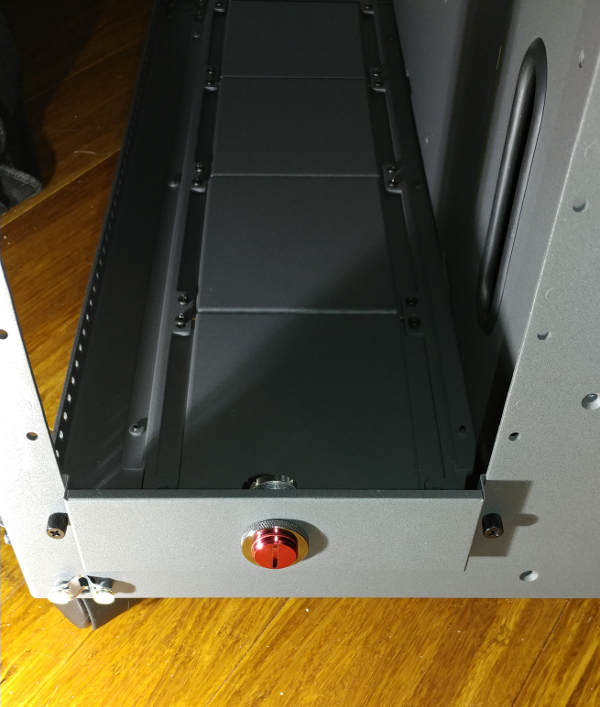
Make sure to pay attention to the pin on the back. In my case, I put the pin in the top hole. You can put it in the bottom. The important thing is that the screw goes into the middle.
And with the front panel re-installed…
Update 15 Jan 2018
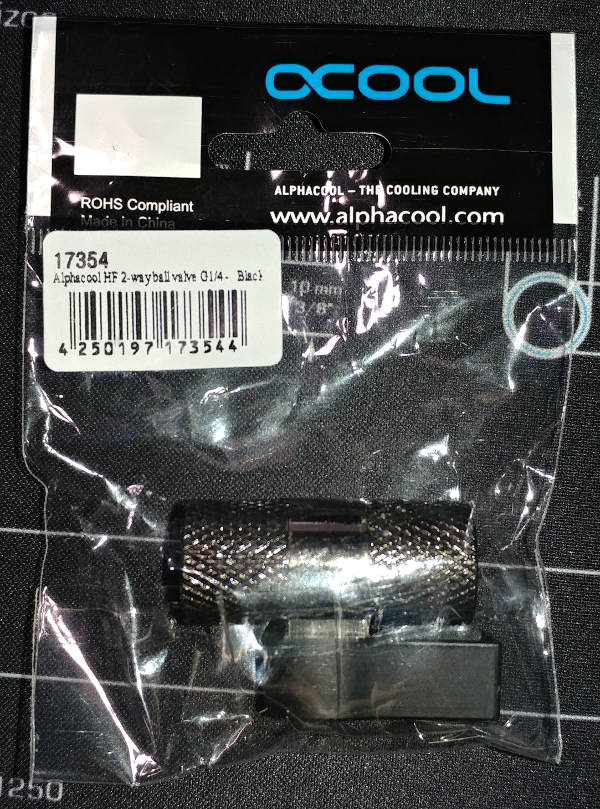
Since I am not using the quick-disconnects as I originally intended, I decided to buy a T-ball valve.
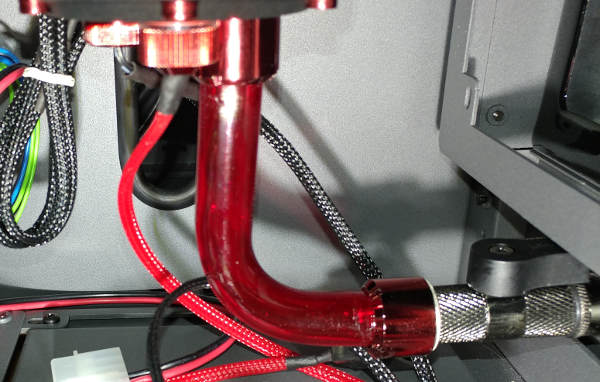
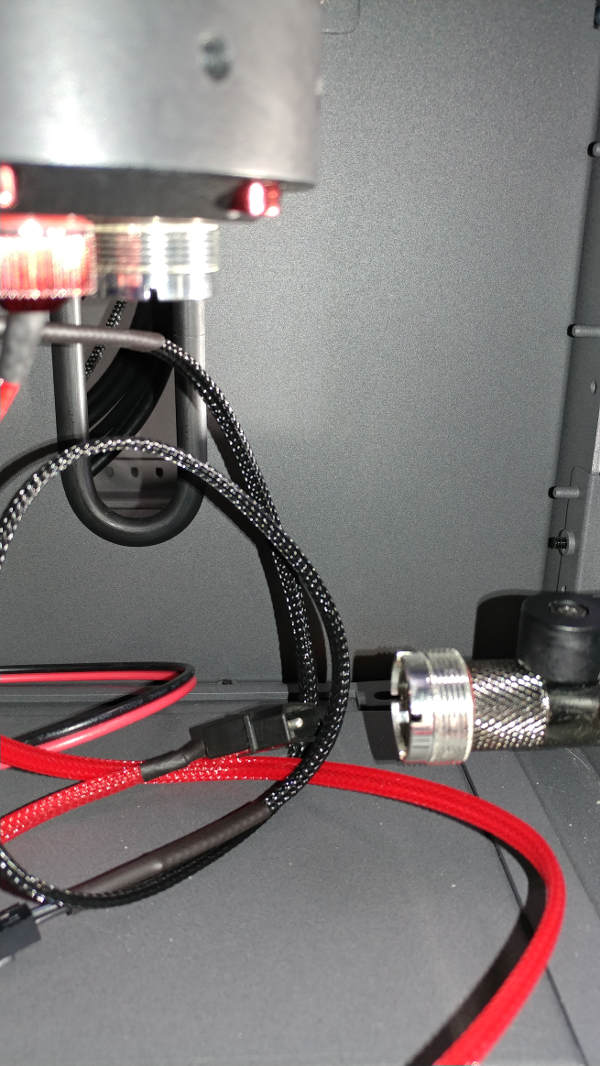
I played around with various extensions trying to come up with the best fit. Originally, I had wanted it to be directly connected to the reservoir but that turned out to be a problem as it required a 130º (guess) bend in the tubing to reach the drain.
Instead, although it leaves stagnant water in the tubing, I opted to attach the ball valve directly to the drain - giving me a much gentler bend for the tubing.
Update 25 Feb 2018
I’ve installed the tube from the reservoir to the drain.