Phobya 4-Pin PWM to 8x 4-Pin PWM Splitter
on Odin
Motivation
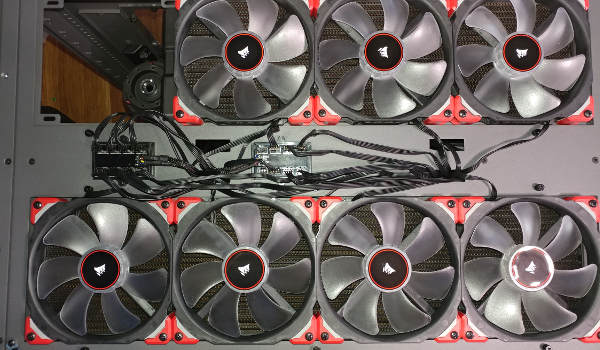
Since I am doing a push/pull configuration on the radiators, I have a ton of fans. Obviously, I don’t have that many fan headers on the motherboard.
The current plan is to use the ASUS FAN_EXT board to control a Phobya 4-Pin PWM to 8x 4-Pin PWM Splitter for each radiator. This will allow an entire radiator to be treated as a single PWM fan.
Unboxing
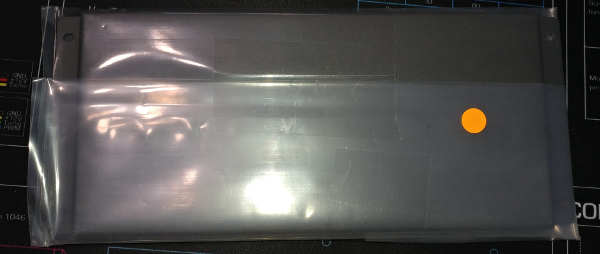
Inside the box are instructions, a cable and the splitter.
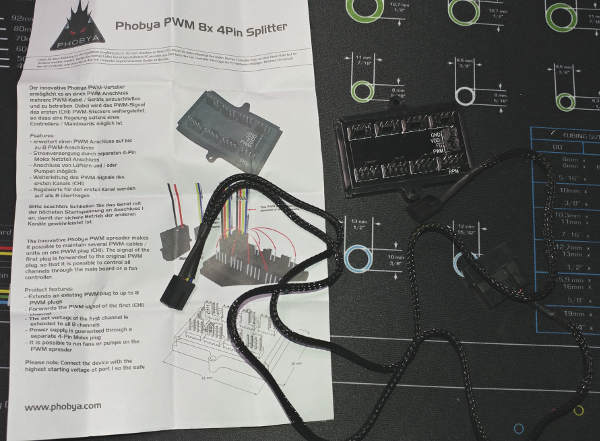
Note that there are no screws with the splitter. It does have some sticky tape on the back.
Installation
I tried a couple different installation options.
Top of case
Mounting it on the top of the case, I figured I could just use the sticky back and not need to drill any holes.
At first, I thought it would be nice if I could mount it on the top of the case, out of sight. That would have kept the case internals looking nice and clean as there would have only been one (pair) of wires for each radiator.
Splitter by itself
First I tested whether I could put the top back on with the splitter mounted.
While the case top did fit like this, it was a bit misleading…
Wires taped down
With the wires taped down (some nice cloth tape), the case wouldn’t close.
Wires hidden
I thought it could have been the bulk from the wires, so I tried shoving them down the holes instead.
Nope… Must just not be tall enough to have the wires attached to the splitter.
Inside the case
Since I now needed to mount the splitter inside the case, I needed to drill some holes. The sticky tape holds OK - but I removed the splitter with minimal pressure. I’m going to want to bolt it down.
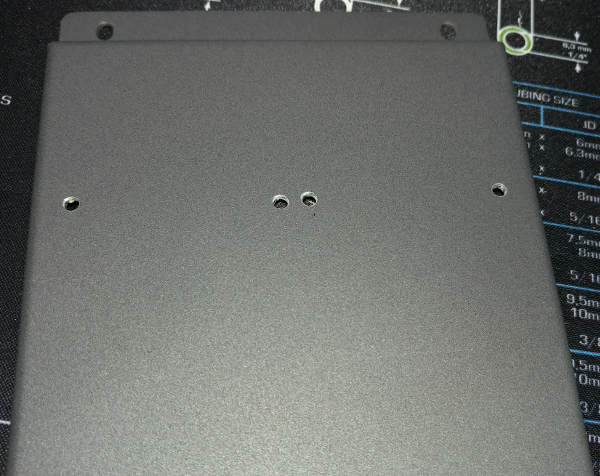
Preparing the mount
I decided to use a spare reservoir mount.
I mounted them at the top of the rather large plate in case I want to mount other things to it as well.
I had some alignment issues when drilling the holes, but it’ll be fine.
Attaching to the mount
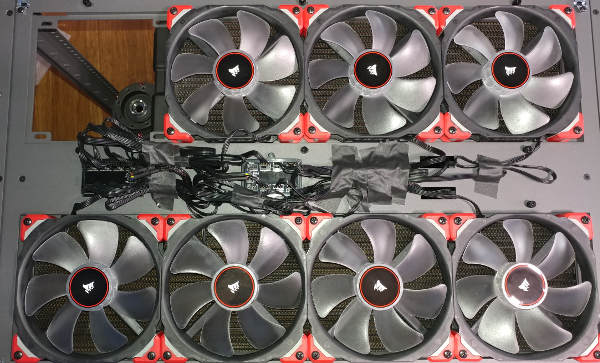
I attached the splitter to the plate (using the sticky back). I have made a note here of where the various fans will attach.

All the radiator fans from the motherboard side of the case will be on one splitter. All the radiator fans from the power supply side will be on the other splitter.
Fans 1-4 are on top of the radiator, and 5-8 are below the radiator.
Fans 1 & 5 are at the back of the computer, and 4 & 8 are at the front of the computer. Technically, there is no 4 or 8 on the motherboard side because there is a fill port in that spot.
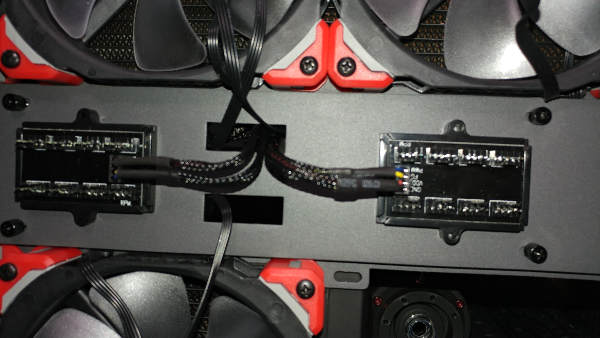
Wiring
I ended up using the cable ties that came with the Corsair ML140 fans.
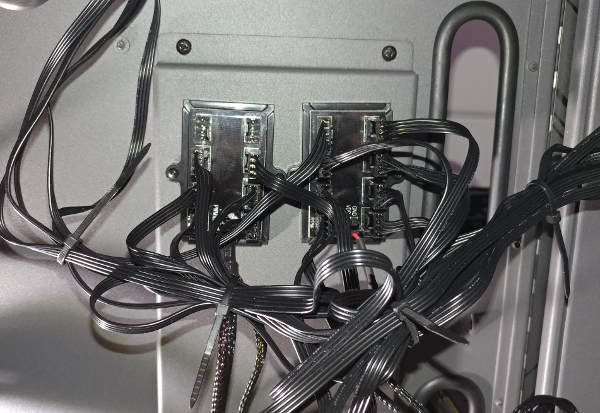
I’m not really liking how cluttered it looks, so will probably look for a better way to tie those together.
Testing
Using a PSU Bridge, I connected the splitters to the PSU and powered it up.
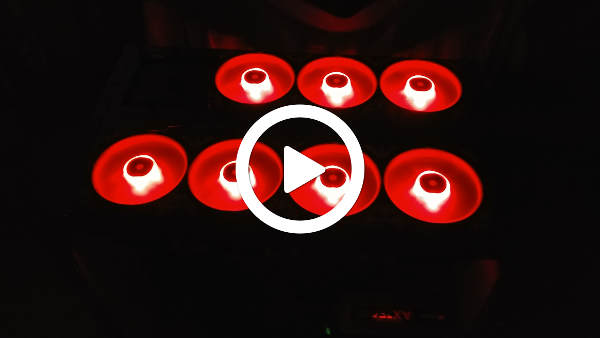
I had the lights off to make it easier to see if they were lit up. Since there was no PWM signal, I think these were running at full volume…


