MMRS: Monsoon Modular Reservoir System
on Odin
Motivation
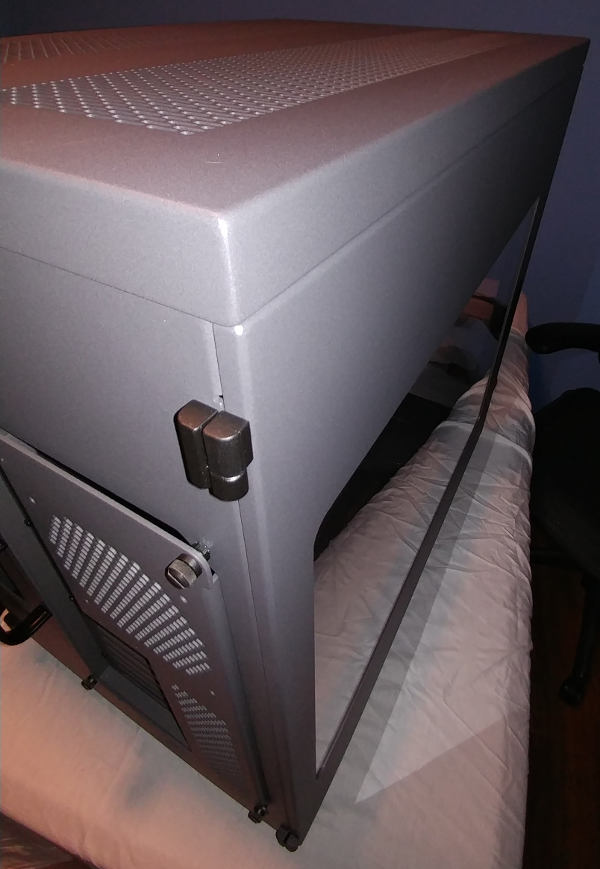
My last build used the Thermaltake Level 10 GT LCS case. It had a built-in reservoir. When I realized I needed to add water (usually long after I needed to), I would have to squeeze my hand into a tight spot to turn the plug, then blindly use a waterbottle with a spout to fill it.
The one time I tried to “flush” the system involved doing the opposite - using the spout to try to suck the water up - because there was no easy way to drain the system. That was so inconvient, I never tried a second time.
This time, I wanted to improve the situation.
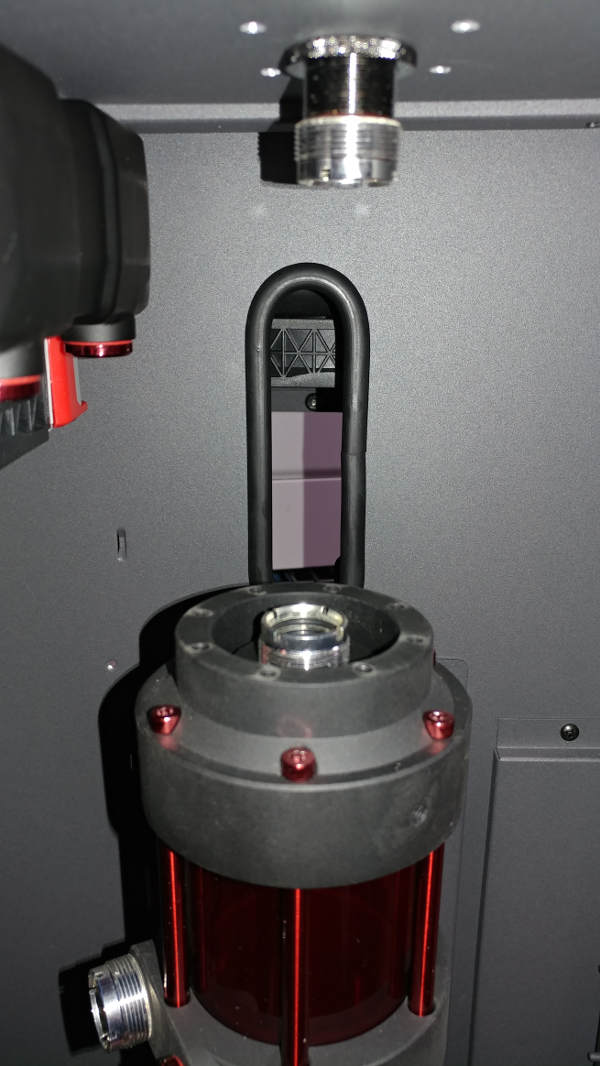
First, I wanted a system that was easier to fill. To allow for that, I am adding a fillport just under the top of the case.
I really liked the looks of the MMRS fillport - and bought the parts to go that route. Unfortunately, that didn’t really work out so I had to improvise.
Second, I need to make it easier to drain. Originally, I was going to add a quick connect jack on the front of the computer - but then I realized how bad it would be if I accidentally kicked it. Instead, I put a G 1/4” passthrough (with plug) in the front. When I want to drain it, I can hook up a hose there.
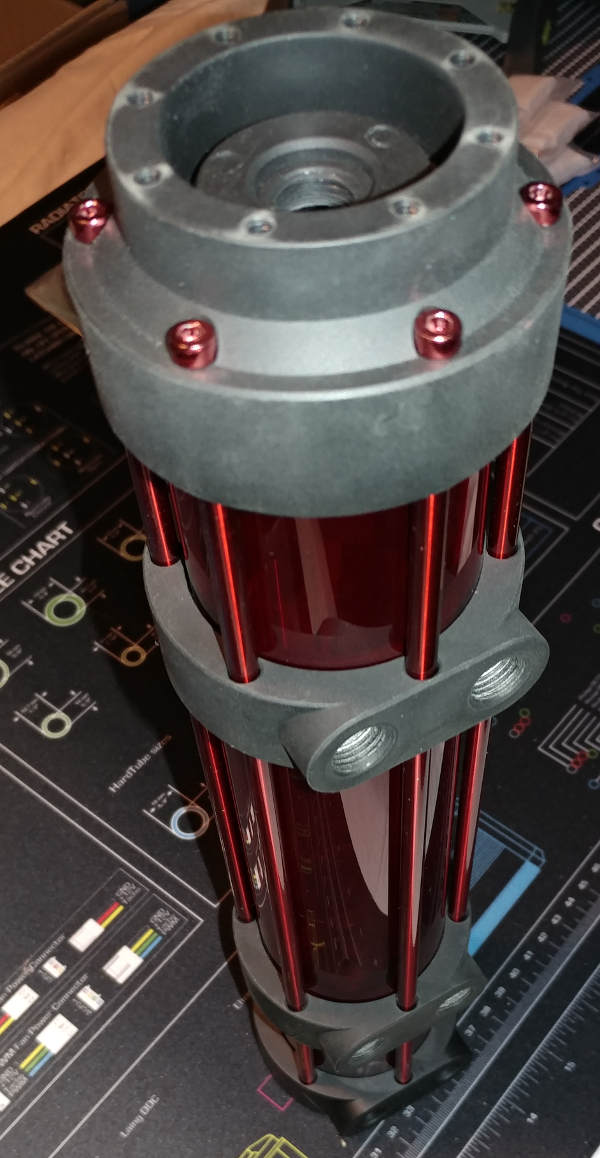
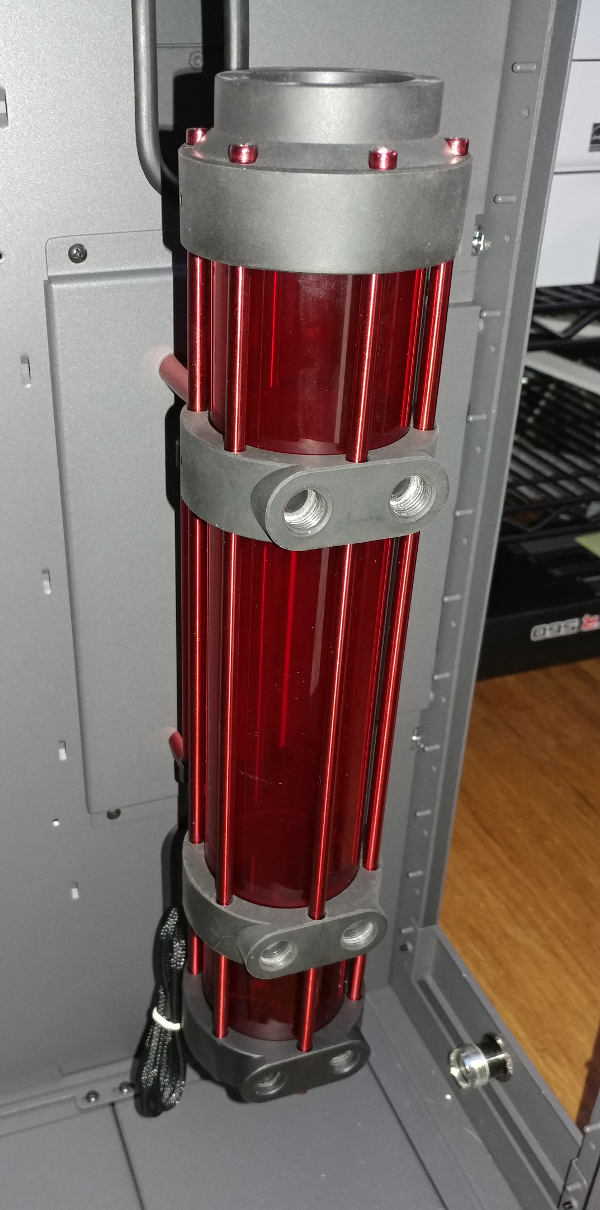
Next, I wanted something a little easier to monitor. While the old tank had a tiny viewport, I had to use a flashlight to even see the water level. This time around, I am using a larger reservoir behind a clear window with backlighting.
Last, but definitely not least, I wanted to embrace the concept of this build. Specifically, I wanted to encourage myself to mod and tweak my system. As such, I went a bit overboard. Not only did I choose a modular reservoir - but I incorporated multiple parts with extra unneeded ports - just so I could choose to do upgrades and tweaks at a later time.
I was originally going to do a two-tone case with blue/red temperature sensitive lighting. I spent quite a bit of time trying to choose the reservoir and tube colors that would best make that possible. I have abandonded that idea for now - and just went with the blood red. I wanted to go with the Frosted Reactor look, but it didn’t come in Blood Red.
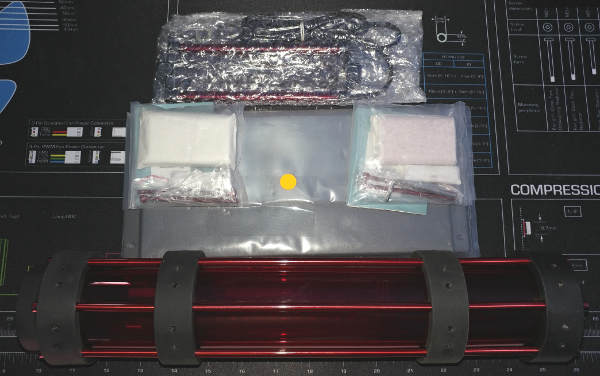
Unboxing
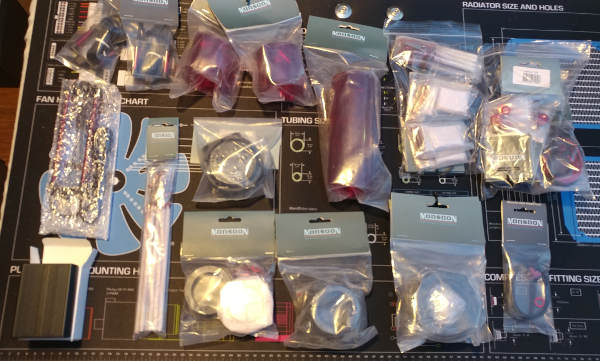
There is actually one part missing from that list. When unboxing the Monsoon MMRS Fill Drain Port Round Cap Spacer, part number MMRS-FDP-RCS-RD, it seemed like it contained the Monsoon MMRS Fill Drain Port Round Cap, part number MMRS-FDP-RC-RD – so I left it out of the picture.
Additional Tools
If you hate Allen wrenches as much as I do, you might want to pick up a balldriver. Gene Phipps had recommended it if you are doing a lot of reservoir builds - but I am a big fan of reducing frustration when building.
In my particular case, I spent some time looking at different sets but determined I just don’t have the room for yet another set of drivers. I ended up buy a set of Bondhus bits instead.

Assembly
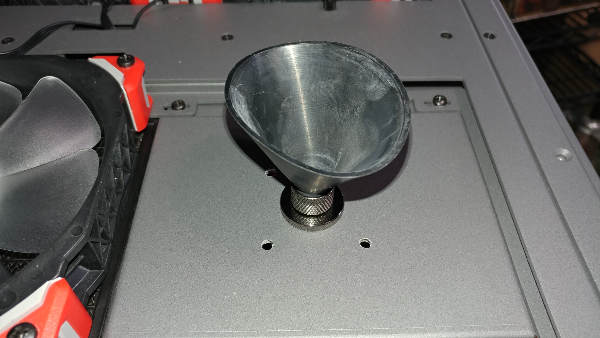
Anti-Vortex
At first, you may think it sounds cool to have a little whirpool/tornado in your reservoir. Unfortunately, it can draw air down into your pump - which you don’t want. Monsoon has a little piece you can fit into your base to prevent it.
For assembling the Anti-Vortex piece into the bottom end cap, I’d recommend watching this video.

False Start
Originally, I had watched this video and started working on the reservoir, bottom up. While that video mentioned that things are a bit different when you work with couplers - I didn’t really catch the “don’t do any of this” vibe. I had watched all of these videos months ago, but had forgotten the list of steps to follow.
After getting this part completed, I had to take it apart and start over.
I’d still recommend watching that video - it’s full of useful information. Maybe don’t start building until you watch the rest of the videos.
Couplers
The reason for the false start was that I chose to add couplers to my build. If I had a single large reservoir, I would have been fine. Since I wanted to use couplers, I needed to take a slightly different approach.
Take a moment to watch this video.
The video is really geared towards a single coupler - so I extracted the idea a bit to my build using dual couplers.
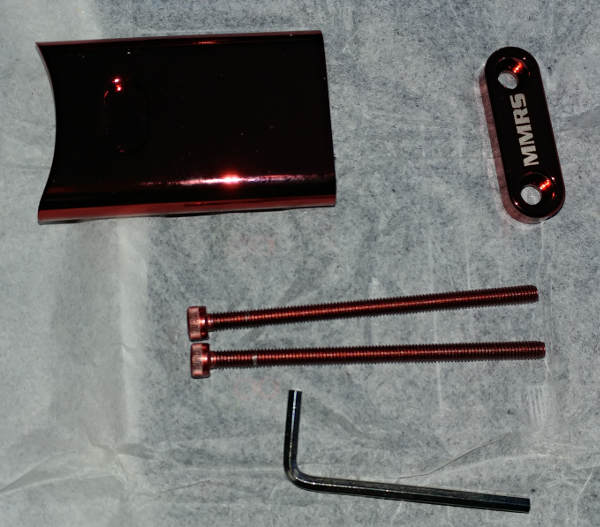
The couplers I am using are the Monsoon MMRS Acrylic Tube Coupler - Black, part number MMRS-BH.
Extensions
First, add the extensions to the correct tension rods. In my case, I chose to do the short ones. To be honest, I could have put them all in the long rods instead. I don’t think it really matters.
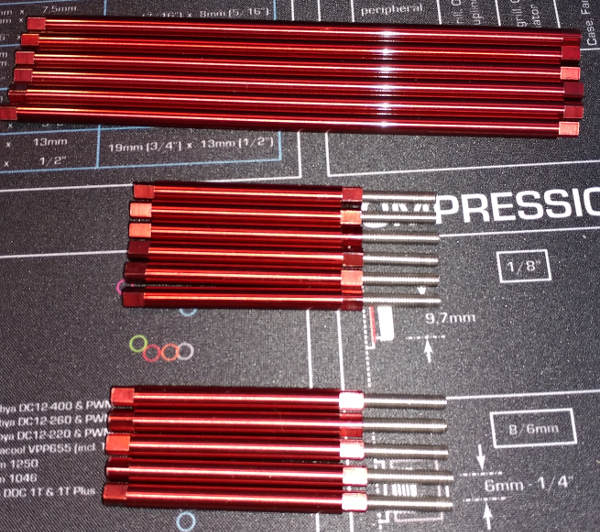
It is important to note that these are a smaller size than the screws. They are really tiny.
Bottom Coupler
This is the coupler closer to the bottom of the reservoir, though it probably doesn’t matter at all with my design.
Make sure to not overtighten/strip the screws.
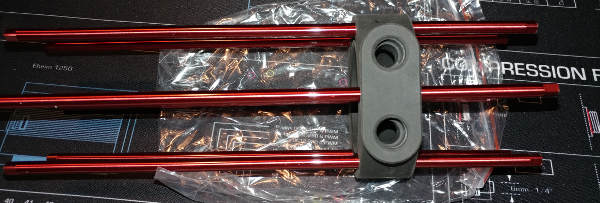
I don’t currently have any plans for this coupler, so it will most likely just have plugs in it. Eventually, I might be a flow meter or something in it.
Top Coupler
When you go to install your second coupler, you will have to insert the middle reservoir tank. Don’t forget the O-ring at both ends.
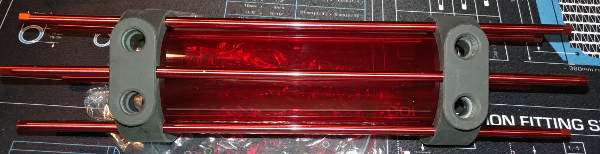
The intention of the top coupler is to provide intake from one or both radiators. Currently, one will be in use and the other plugged – but if I later choose to put the radiators in parallel, I will have that option.
End Caps
Now that we have the center done, we can add the end caps. Seems like I was here before, no?
Bottom End Cap
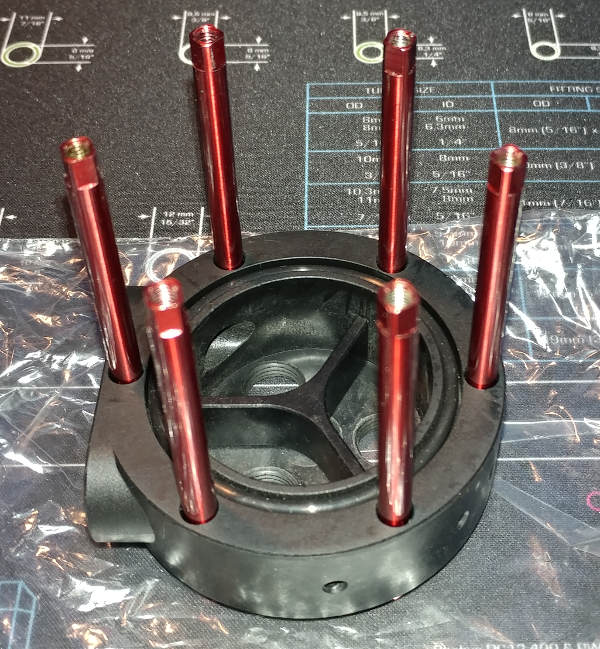
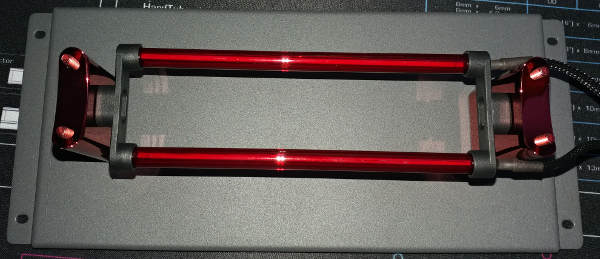
For the bottom end cap, I chose the Monsoon MMRS Triple Port End Cap with Dual Side Ports, part number MMRS-SP-3P. This one has 3 ports on the bottom and two on the sides.
One of the bottom ports will go directly to the EK Pump. Another will go to my case passthrough drain-port, via a ball valve.
That leaves one more port in the bottom and two on the sides. I’m not sure which will go into which port - but this will be for a temperature sensor, a silver plug and possibly an LED or flow meter.
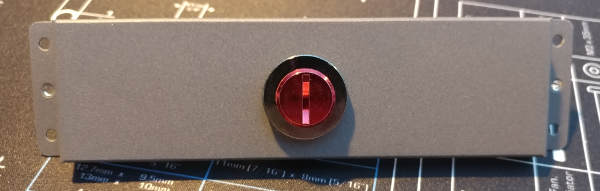
Top End Cap
For the top end cap, I am using the Monsoon MMRS Fill Drain Port Base, part number MMRS-FDP-BASE. The fillport and spacer will sit above that.
Mounts and Lights
Originally, I had bought the MMRS-MT-25MM-RD 25mm mounts, for aesthetic reasons.
As I started looking at installing the MMRS-FDP-RC-RD fill port, I realized that the reservoir would not be centered very well.
I went ahead and bought MMRS-MT-50MM-RD 50mm mounts as a replacement.
As I went to mount the reservoir to the CaseLabs mounting plate, I realized that it was not tall enough to handle all 4 mounts. I could only use the middle two mounts.
Not only does this mean that the radiator is about 5 inches below the fill port (what am I going to do about that?) but the top and bottom lights aren’t going to have anywhere to mount either.
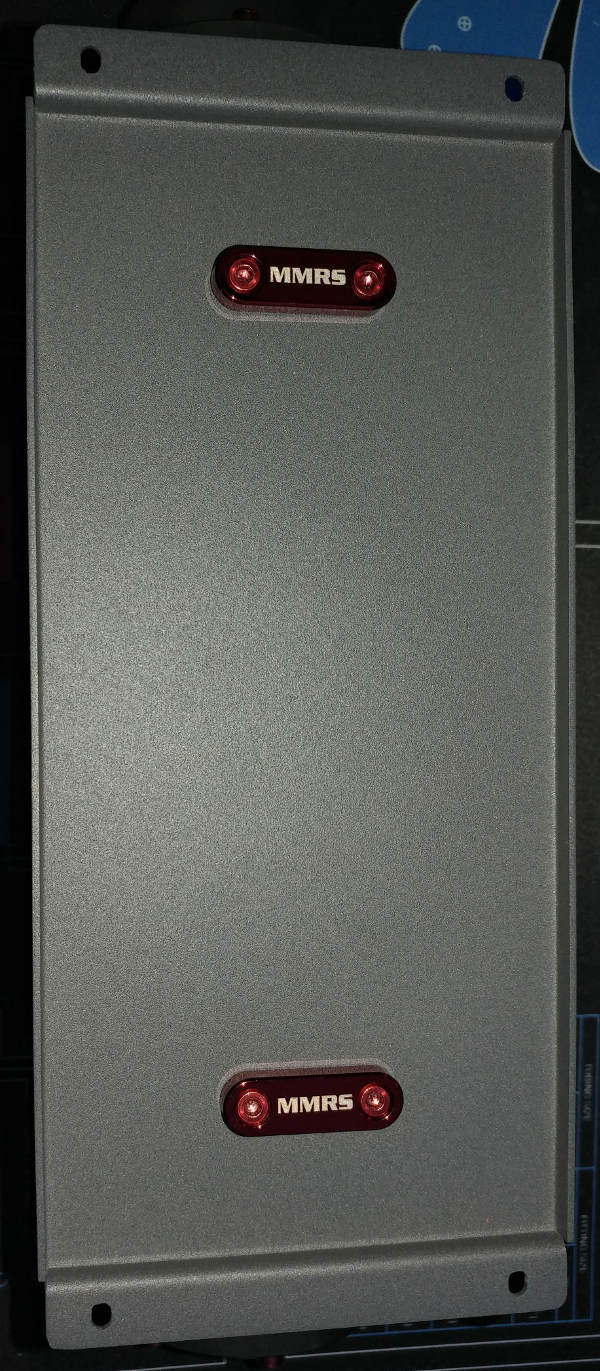
I ended up attaching the MMRS-CCFL-150-RD dual bulb for the 150mm section, and leaving off the pair of MMRS-CCFL-050-RD dual bulbs for the 50mm sections.
Install
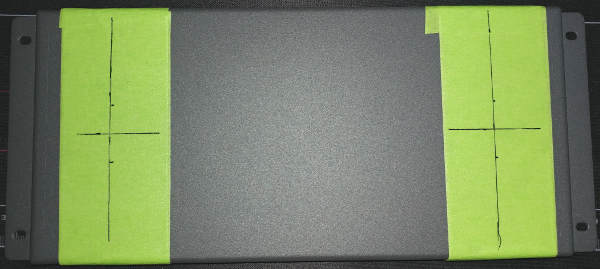
First we want to drill the holes in the mount.
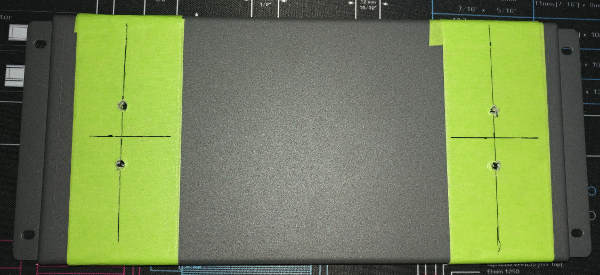
With the little MMRS-labeled support on the back…
Slide the bolts through. Slide the mounts onto them.
At this stage, you will want to get the light into place.
You can also check out the Inverter install.
Screw the bolts into the radiator.
When I wrote this post, I had screwed them into the exact back of the reservoir. Since that time, I have remounted it so that the tubing would have an easier angle to the pump. Use whichever angle is going to make the most sense for your build.
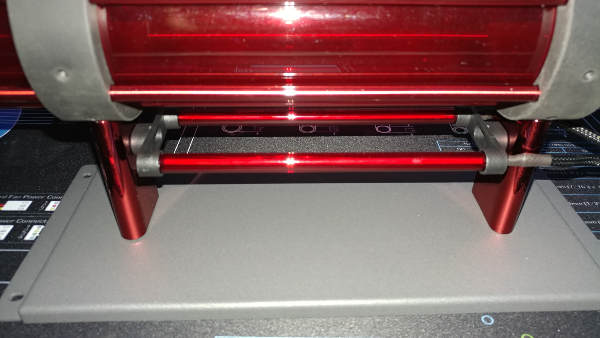
The first time through, I mounted it at this stage. The second time, I thought better of it and installed all my plugs and EV2 ports first.
You can see how it lines up with my my custom fill port.
You can also see how it lines up with my my custom drain port.
Note: You’ll notice I’ve rotated the reservoir to reduce the tubing angles.
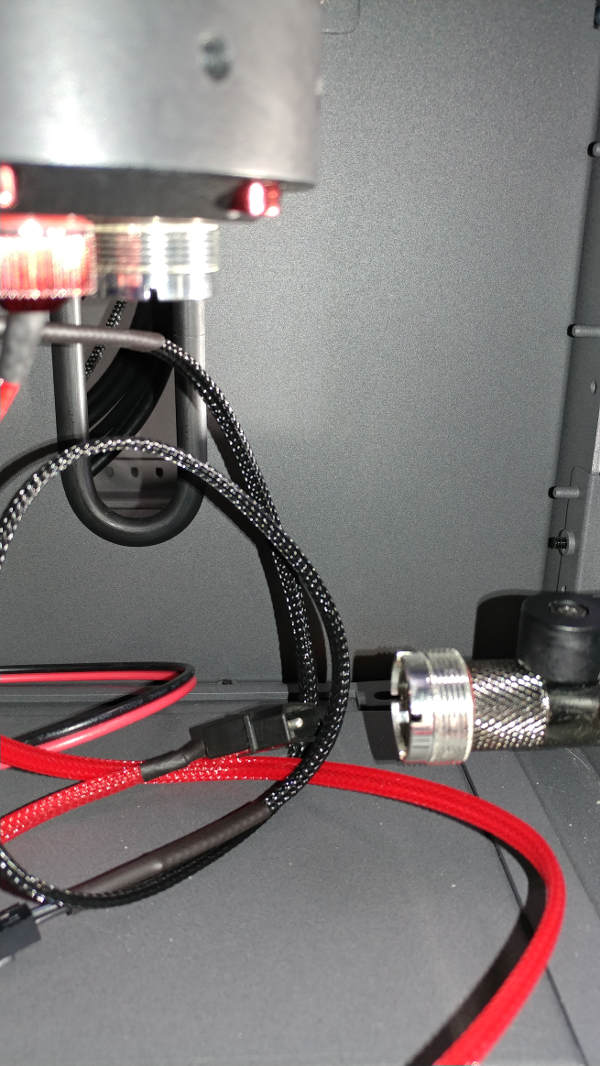
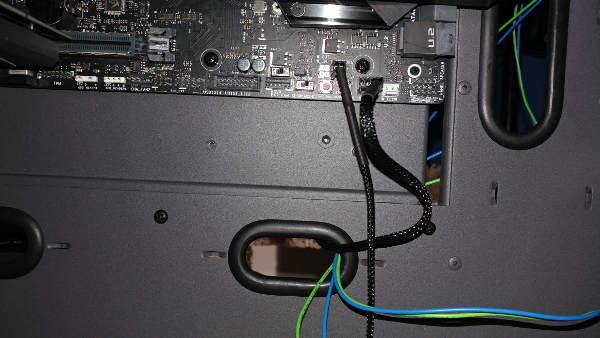
The thermistor at the bottom of the reservoir attaches to the motherboard. They have an input for W_IN and W_OUT but I used the Thermistor 1 instead.
Shout Out
I’d like to take a moment to give a shout out to Gene Phipps who not only made some informative videos, but was willing to review my reservoir plan and encouraged me to wait to buy the parts until I could measure the case (physically or in sketchup). I admit I didn’t do that (as I said above), but I appreciate him trying to help rather than going for the quick sale.


