Custom Fillport
on Odin
Motivation
With my last water-cooled system, I never actually flushed the system. I added water once in awhile, but I never emptied it and gave it a good refresh. This was mostly due to the difficulty of doing so.
With the new build, I decided I wanted to take a few steps to encourage me to maintain it.
Assembly
False start: MMRS Fillport
At first I decided to use the MMRS fillport. I thought it would look aesthetically pleasing, so went down that road. I ordered all the parts before any of the parts arrived and before I could measure anything out.
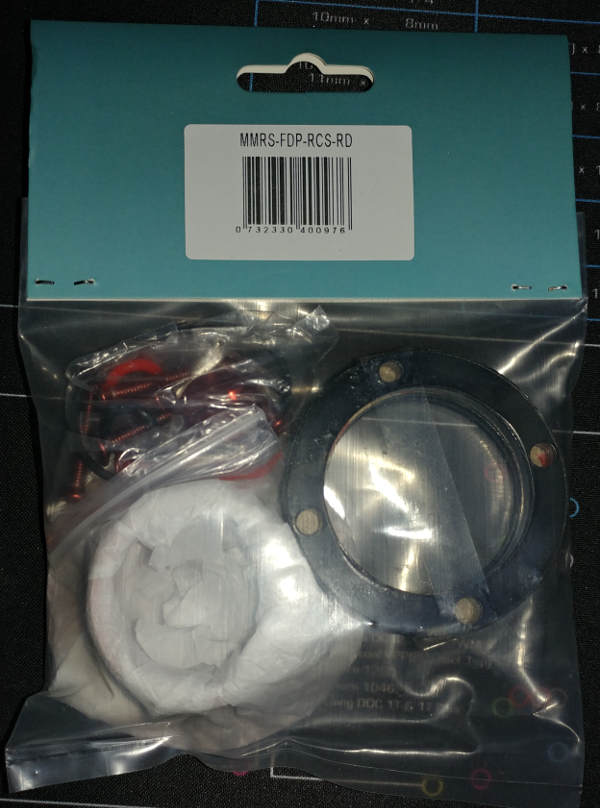
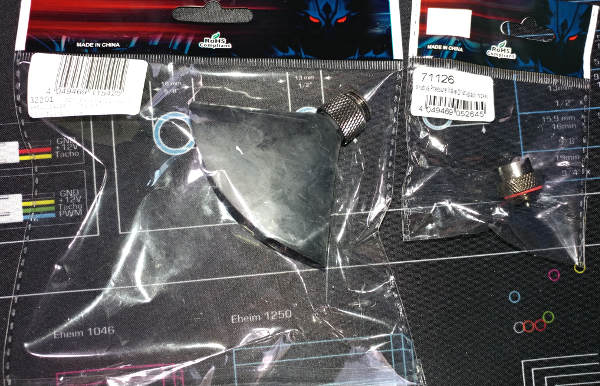
I had bought the FDP-RCS and the FDP-RC. It turns out the FDP-RCS contains the FDP-RC plus the extra spacer component.
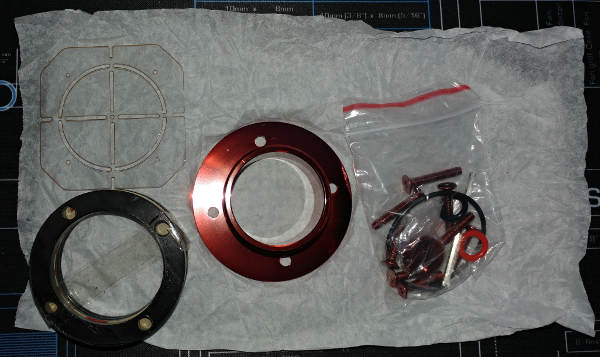
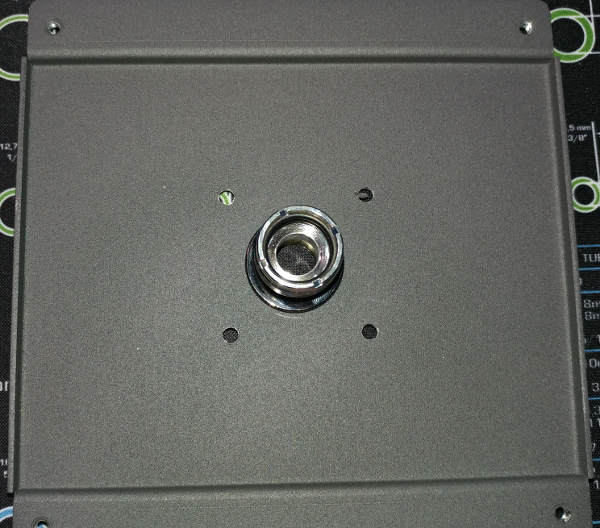
I grabbed one of my mounting plates.
Taped it up (I really love that tape!) and used the stencil.
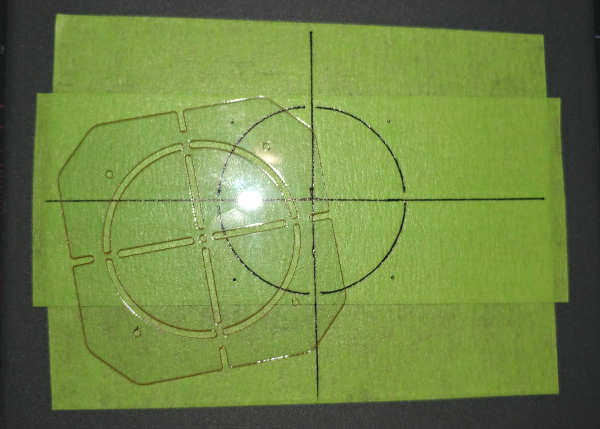
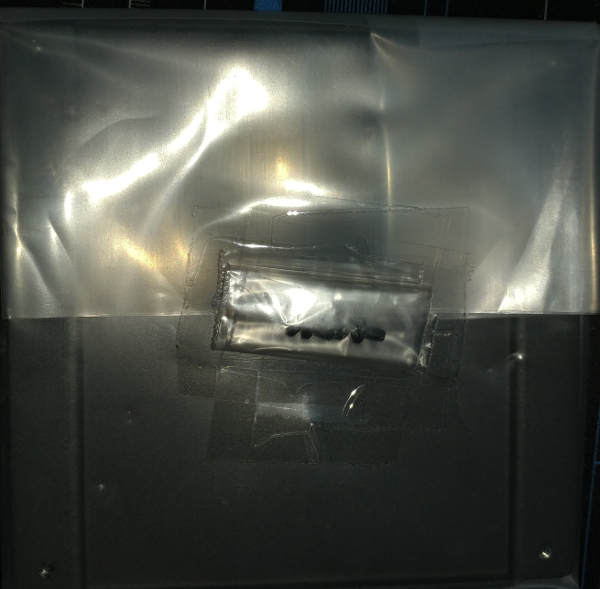
It was about this time that I realized the dimensions were not going to work.
So… here’s the deal.
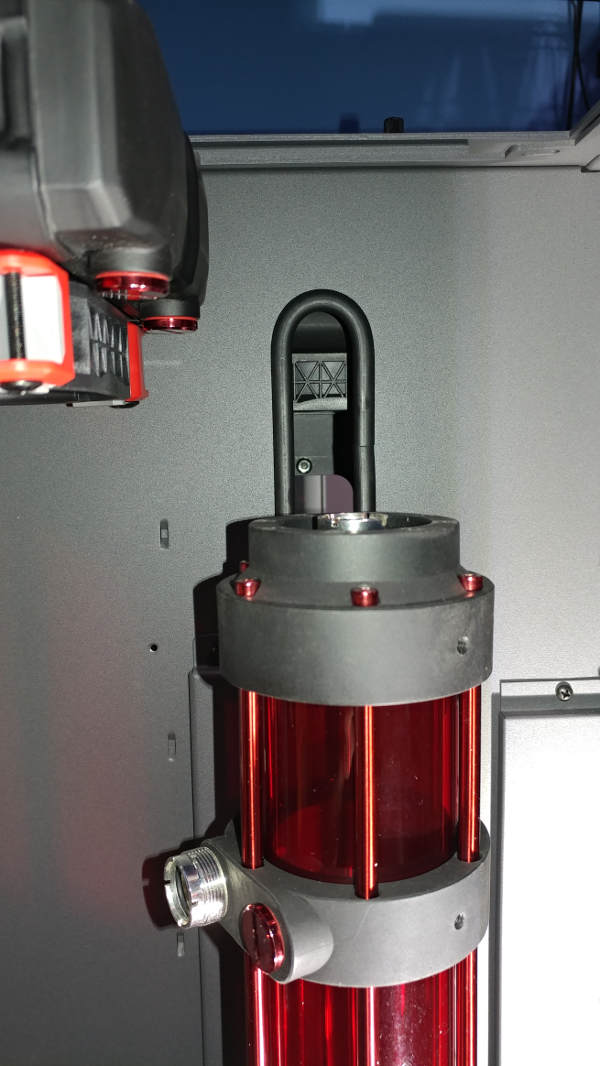
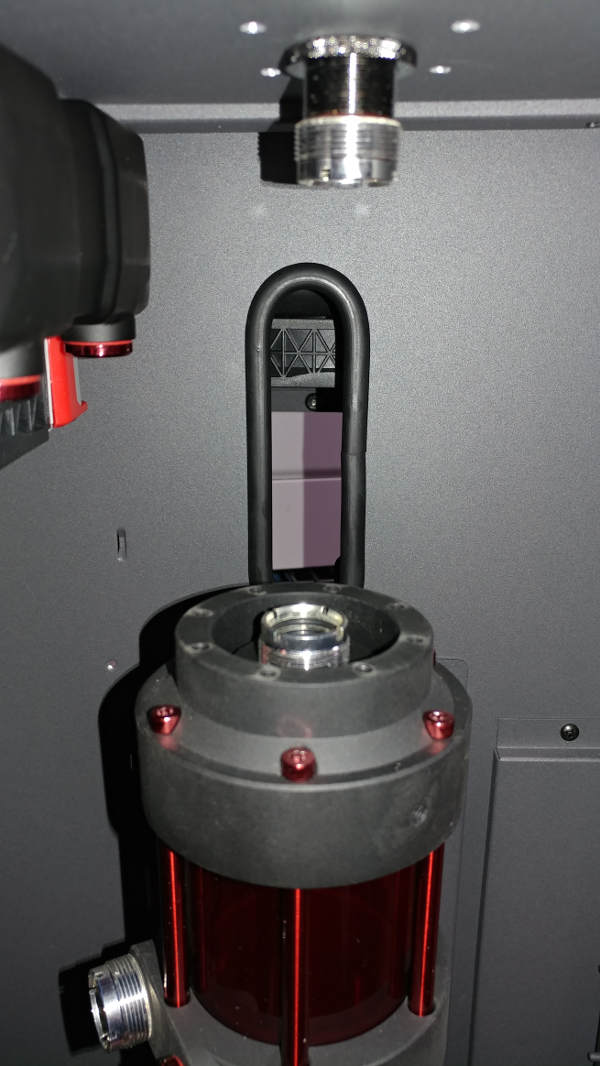
The MMRS fillport plate is designed to be mounted on the external side of the case. It rests on the black “base” (ie: the top of the reservoir). If there is too big of a gap, there are a couple spacers to give you a few more millimeters.
If you look at that picture, you can see we have a much larger gap than that. It’s about 5 inches.
What were my options?
-
I could move the reservoir up to the top of the case. That will cramp the tubing to the radiator, and also requires that I create my own mounting solution as it was already as high up as CaseLabs intended.
-
I could make a really long extension between the top of the case and the reservoir; again cramping the radiator tubing.
-
I could put an additional base at the top and tubing between the two. I had seriously considered tihs option, then realized how little room I would have once you mount the minimal specs at the top.
-
I could get rid of the aesthetic top that is covered 99% of the time by the case top and just do normal tubing to the top of the reservoir. Although not as aesthetically pleasing as my original plan, that seemed like the only real option.
New plan: Custom Fillport
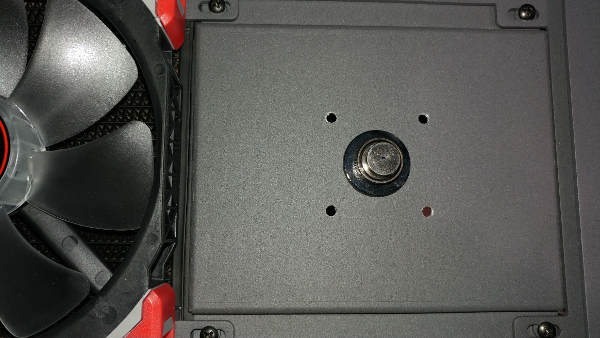
I didn’t want to waste the previous work, so I just took over the partially drilled plate.
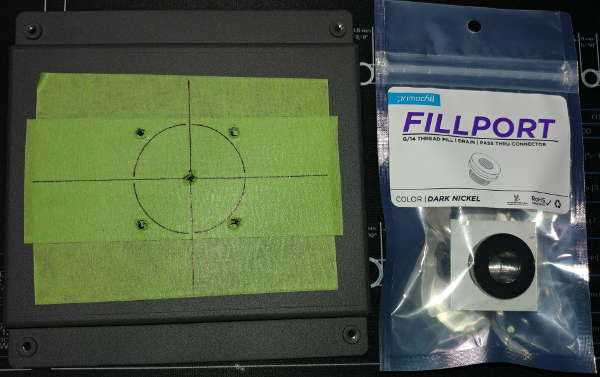
Installed the passthrough.
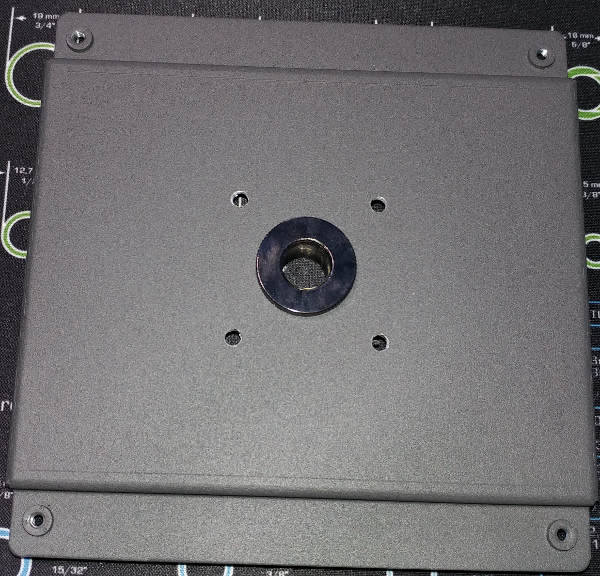
Attached EV2 on the bottom.
Install
You can see the new alignment isn’t a perfectly straight line, but should be doable.
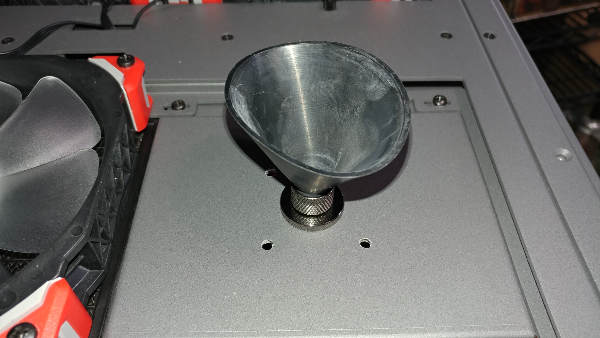
Instead of just putting a stop plug in the top, I decided on a couple interchangeable parts.
For standard use, we have a pressure relief valve. Was it absolutely necessary? Probably not. Since I had to give up my nice looking fillport, I decided why not?
And when I want to fill it, I can swap in a G-1/4” screwed funnel. Probably should clean it first.