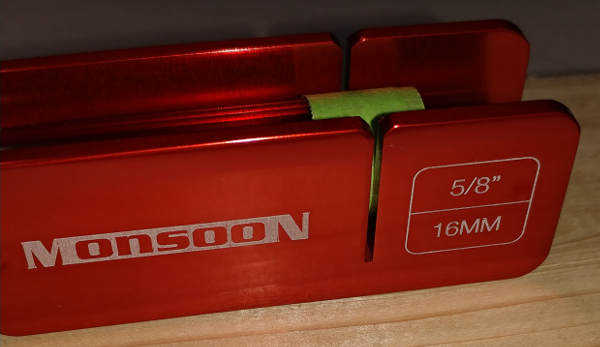
Monsoon Hardline All Pro Deluxe Bender Kit 1/2 x 5/8 (16mm)
on Odin
Motivation
After my first attempt at doing a tube freehand, I decided to give the Monsoon Hardline All Pro Deluxe Bender Kit 1/2 x 5/8 (16mm) a shot.
Unboxing
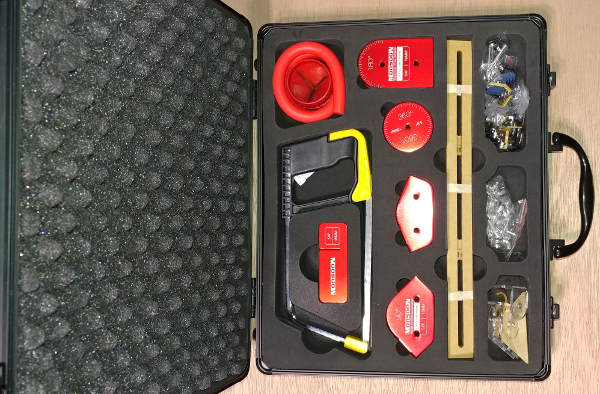
The kit itself is very nice with a clean look. The mandrels specifically look great. The kit comes with the screws, washers, etc.
Gene has a couple videos explaining how to use the kit. I’d recommend watching them.
Measurement Kit
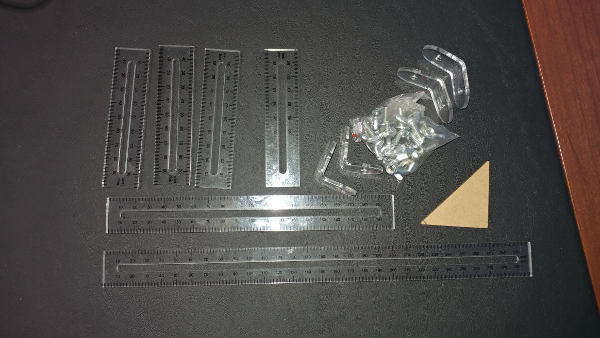
The measurement kit comes with a set of acrylic rulers, a couple 90* bends and a couple 45* bends; as well as the screws/wingnuts to attach them.
I’ve been putting a little tape on the corners to indicate which point is going to the center of my EV2 fittings. I’ve also been writing on that tape to make sure I knew which end was which.
Bending Kit
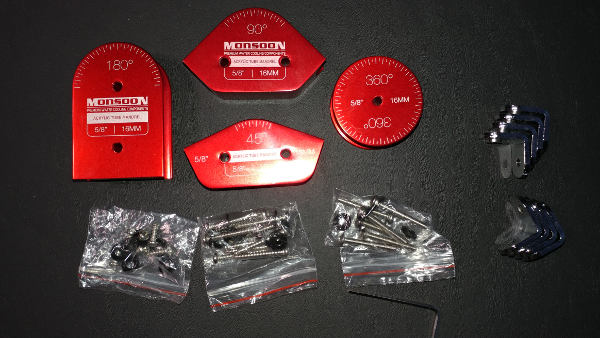
I really like the bending kit. I kind of wish the 360 allowed you to change elevations (so you could actually make a 360* tube) but they are made really well and are (mostly) easy to use.
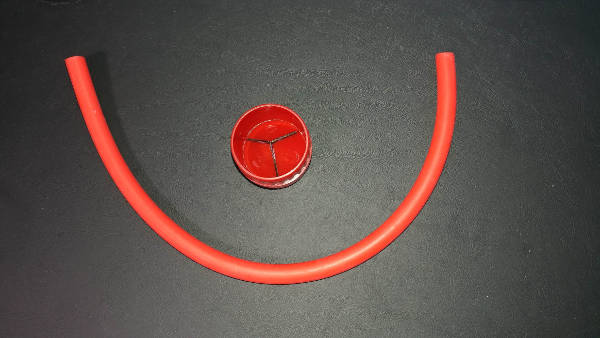
The kit also comes with a silicon insert, which is stored wrapped around the camfer tool. That struck me as a little odd since you don’t want the insert getting reamed particles on it.
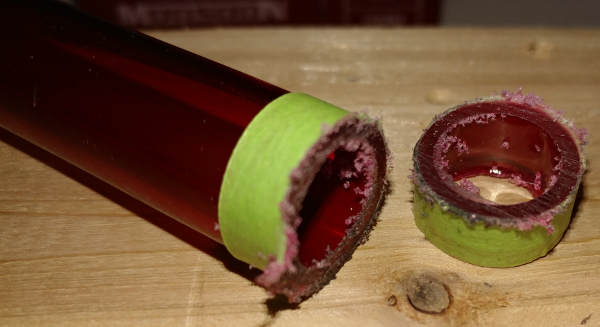
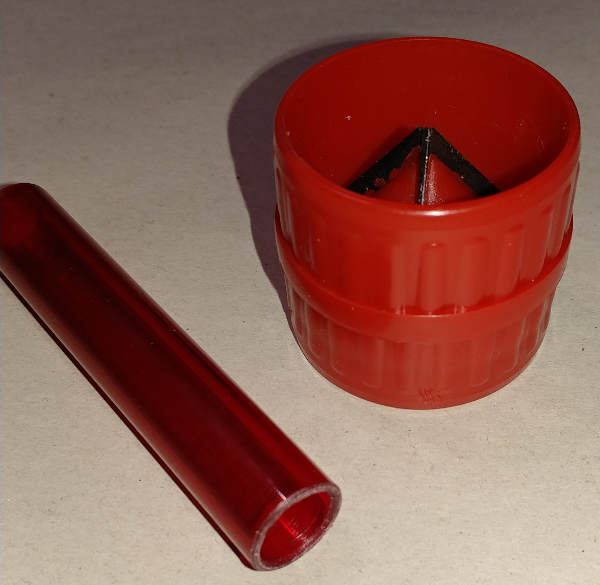
Cutting Kit
Monsoon’s kit comes with a very well-crafted miter box and a hand saw.

I have to admit, it reminded me of doing wood working as a kid… in that it was tedious.
Comparing the cuts, the miter and saw didn’t do nearly as clean of a job as the BrassCraft, and was more difficult and time consuming.
Based on this extremely small sample size, I think I will continue with the BrassCraft and just keep the miter/saw in my back pocket as an emergency option in case the BrassCraft breaks and I need to make a tube before a PPCS order comes in.
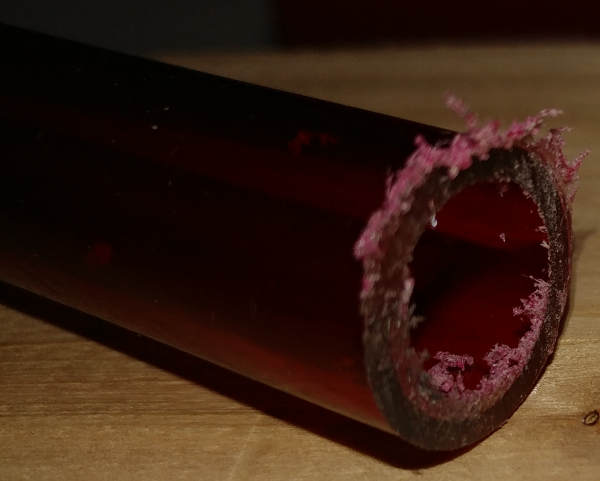
End Smoothing
As aluded to earlier, the kit comes with a camfer/reamer tool.
This tool is widely used.
Even with the sandpaper and the microfiber cloth, I feel that the reamer only does an “ok” job. Although my initial build will already be done by the time the replacement RFB comes in, I will definitely be switching when it comes time to do more tubes.
Reference Tube
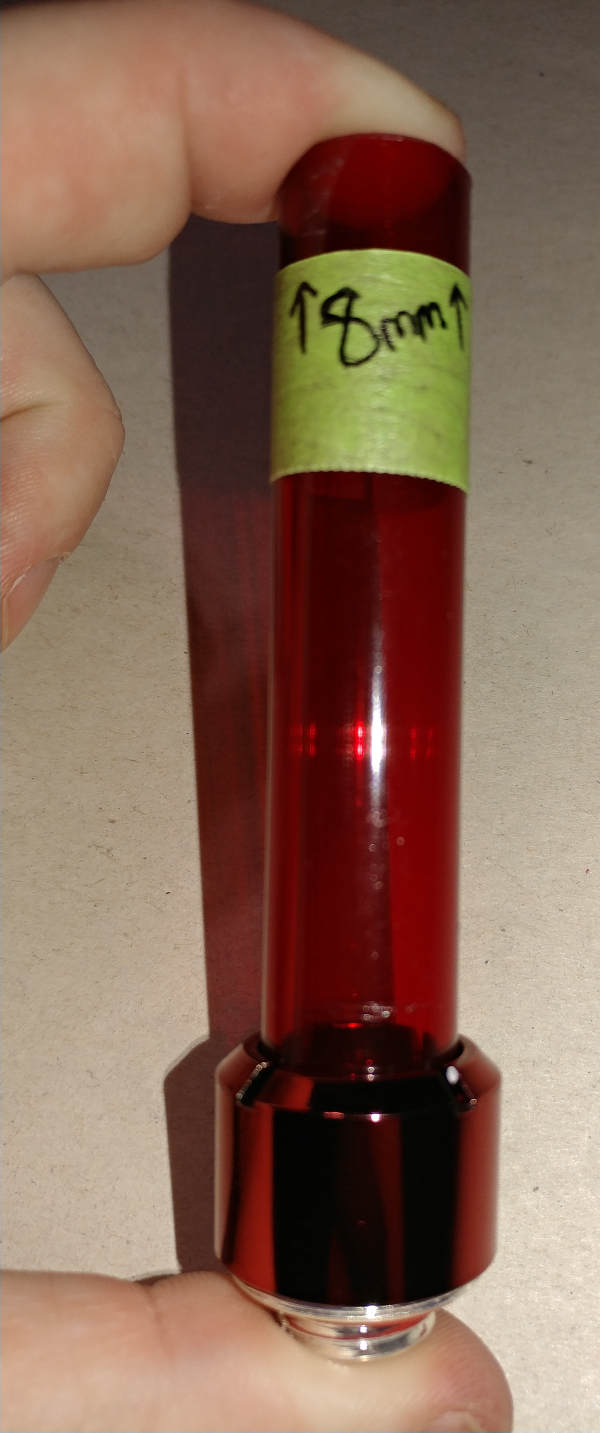
Watching the Monsoon videos, Gene mentioned that we should take note of how far the tube will go into the EV2 fitting. I decided to take it a step further and have made a reference piece that I am keeping inside the Monsoon kit.
On one end of the reference piece, I am attaching an EV2 fitting. This may seem like a waste, but I could always open it up to see which direction the flange goes, or use it to verify something about the threads, physical dimensions, etc. Besides, if I ever mix in another type of fitting, this will make sure I know which type of fitting the number is for.
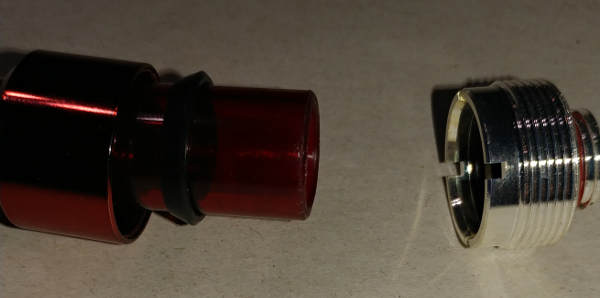
On the other end, I temporarily push the reamed tube into an open EV2 fitting and put a piece of tape on it, as recommended by Gene.
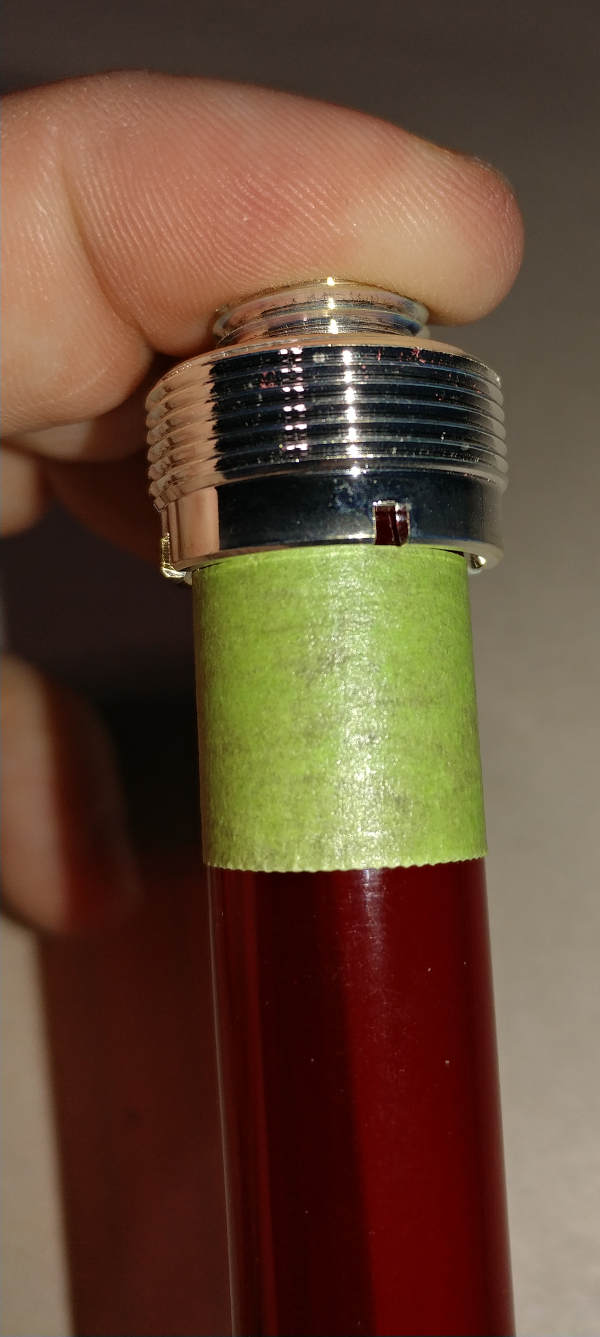
That allows me to measure how deep the tube goes. In this case, I am going to mark it down on the tape and keep it around inside the kit so I am less likely to forget.
Usage
I’ll demonstrate using this kit in the upcoming Tubing post.


