Samsung NVMe SSD 960 PRO M.2
on Odin
Motivation
Ideally, I would have a rather large ZFS raidz3 array capable of booting multiple OSes through virtualization. That would allow for me to have good redundancy and disaster recovery, would allow for Windows (mostly for MMOs and some physical hardware) to run on top of ZFS using the PCI passthrough; and would allow me to test some personal OS development.
My 2007 build had 12 onboard SATA ports; so I was a bit surprised when this board came with only 6. PCI passthrough also requires you to give up one of your video cards, which I wasn’t willing to do (though now EVGA wasn’t willing to sell me a second one anyway). Splitting 6 drives between two OSes was not going to give me raidz2 for each, let alone raidz3. I could add a PCI raid controller, but this board already has limited slots.
ZFS was not going to be a good option with the limited drive/slot space on this motherboard; and I was going to have to dual boot.
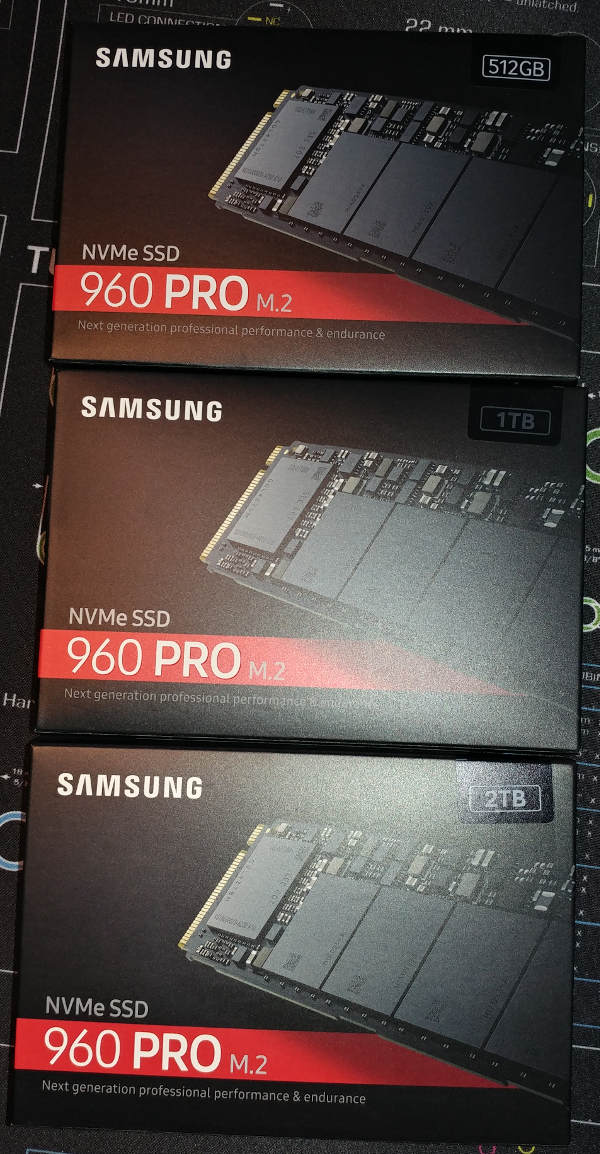
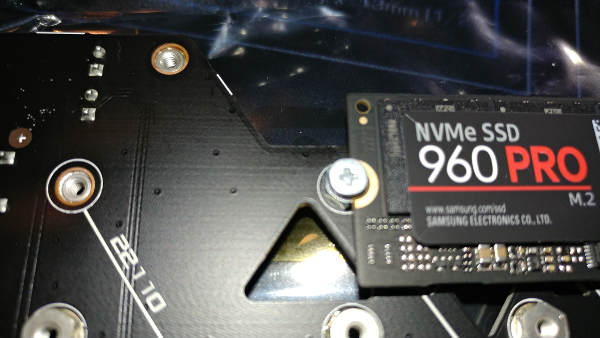
I ended up going with Samsung 960 PRO M.2 Internal SSD (NVMe).
I bought three of them.
Mounted on the front of the DIMM.2 riser card will be a 2TB for my main Linux dev machine.
Mounted on the back of the riser will be a 1TB for dual-booting into Windows. I wish that wasn’t necessary, but some of the MMOs don’t support Linux yet; and neither does some of my more expensive hardware. If I want to write Linux drivers for them, I may need to see the hardware working.
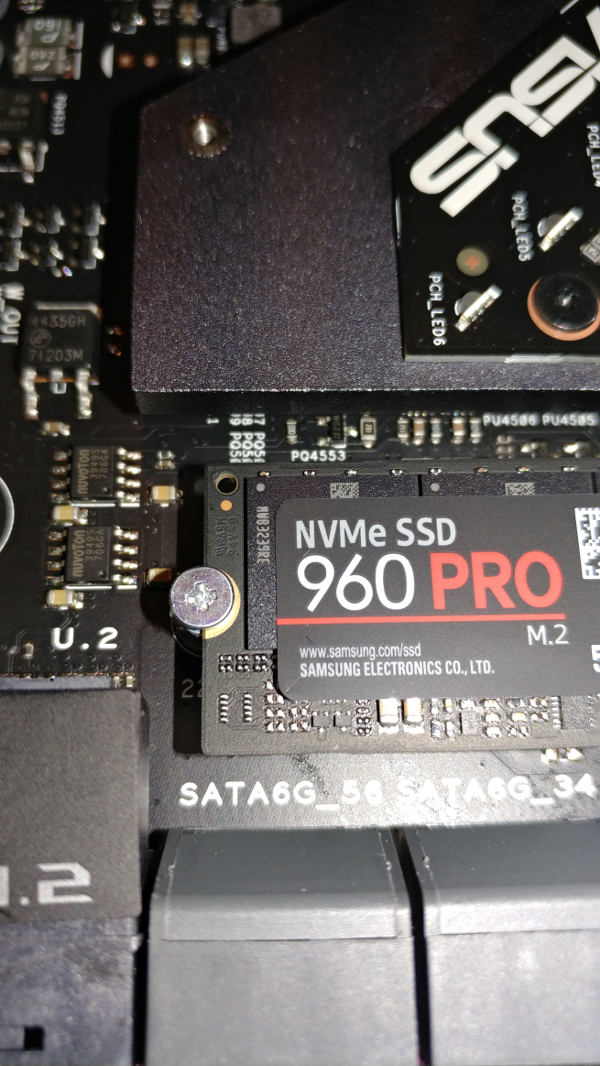
Under the decorative heat shield will be a 512gb that will be split between a shared Download drive (Linux and Windows) and a crypto drive for storing any blockchain files. I doubt I will put any wallet files on that drive - it’ll be more like a scratch drive.
While it does suck that I won’t have ZFS running on this machine, at least I will have some nice IOPS.
Unboxing
Inside each box is the chip a manual.
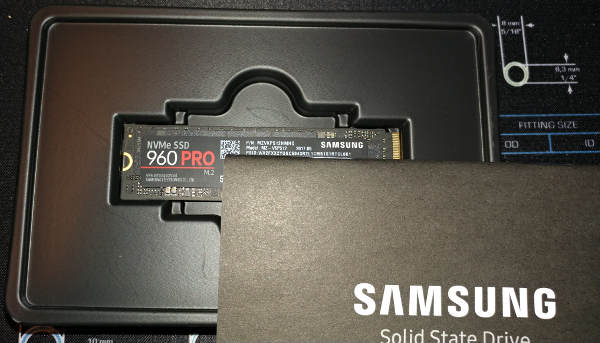
The manual is in multiple languages but not really helpful.
The 2TB box is slightly better packaging, but still basically the same.
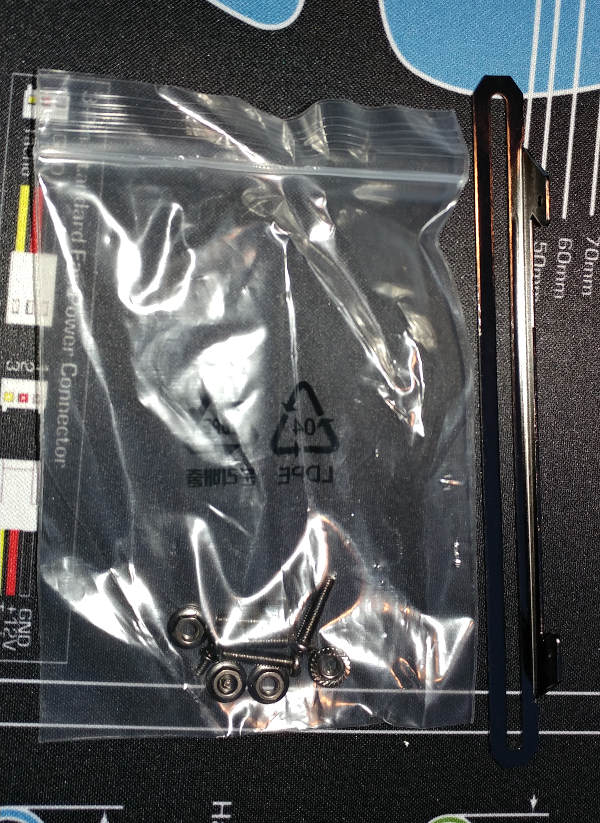
Some of the parts we need are in the motherboard box.
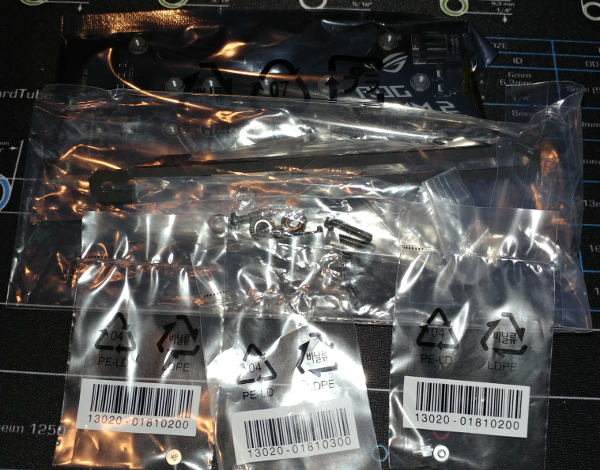
This includes all the screw packs (we’ll cover that again in detail later), a long oval shape piece of metal used to mount a fan on top for cooling, and the DIMM.2 riser card.
Installing
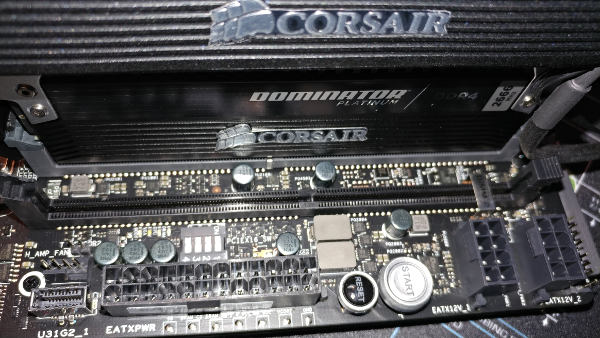
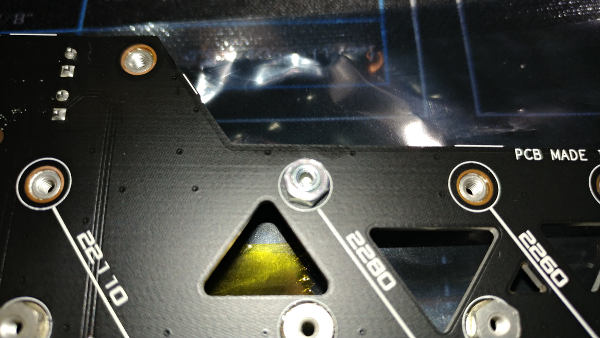
The DIMM.2 slot on the motherboard is adjacent to the memory banks. It will be used for the first two NVMe.
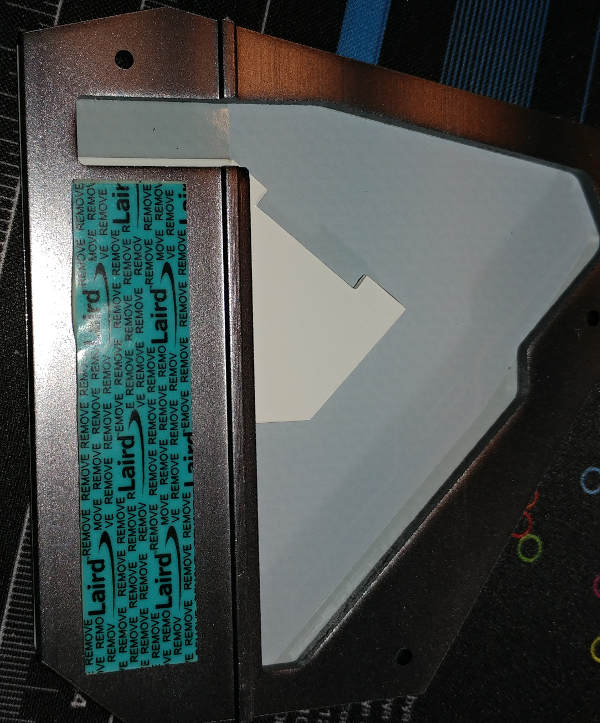
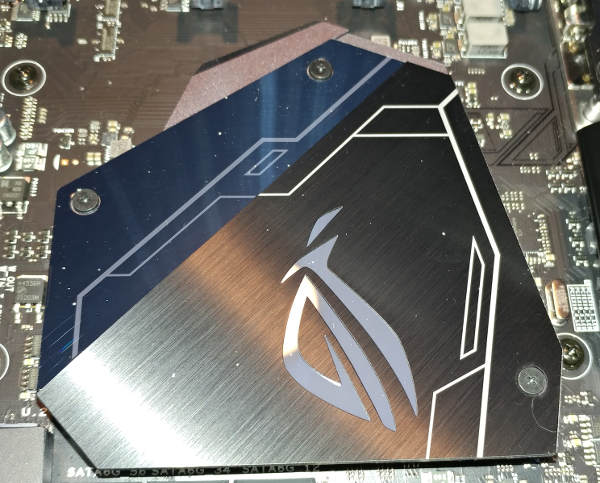
The heat shield covers the 3rd slot.
Screwed
So we run into a dilemma.

All three pack contents are different. Two of them are labeled the same.
The manual does not give any guidance at all.
Here’s what I discovered:
Bag #13020-01810300 contains a screw and a taller M2 standoff. That one goes in the heat shield slot.
The bag #13020-01810200 that has a screw and shorter M2 standoff. That is used to attach to the DIMM.2 riser.

The other bag is also labeled #13020-01810200 but only contains a screw with no standoff….? That’s because they failed to include all the parts in the bag. It should have been identical to the other bag with the same number.
I contacted Asus support. They told me to call NewEgg. NewEgg told me to call Asus. Asus told me to call NewEgg. NewEgg said they were going to contact Asus. I had no idea whether they would be able to resolve it (they both suggested I RMA the entire $600 motherboard to get a replacement M.2 screw standoff). I’ve went back and forth with Asus multiple times.
I decided to try to find one on my own…
I checked Home Depot, Ace Hardware, Fry’s, Coyote Hobby, Amazon, PerformancePCs, and even Hard to Find Screws. I have been unable to find that standoff anywhere but ebay ($55).
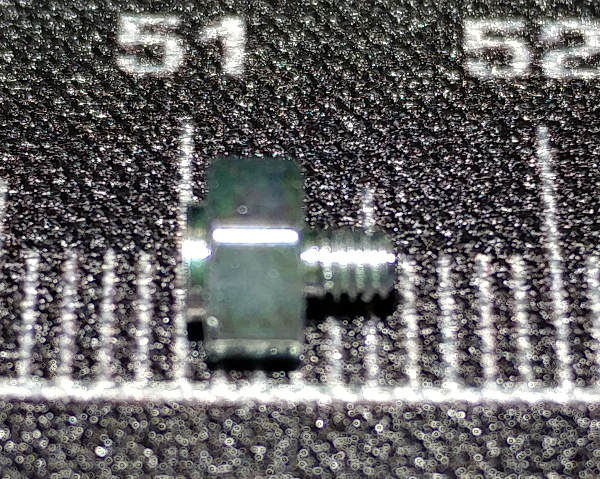
Asus eventually provided me with this specification:
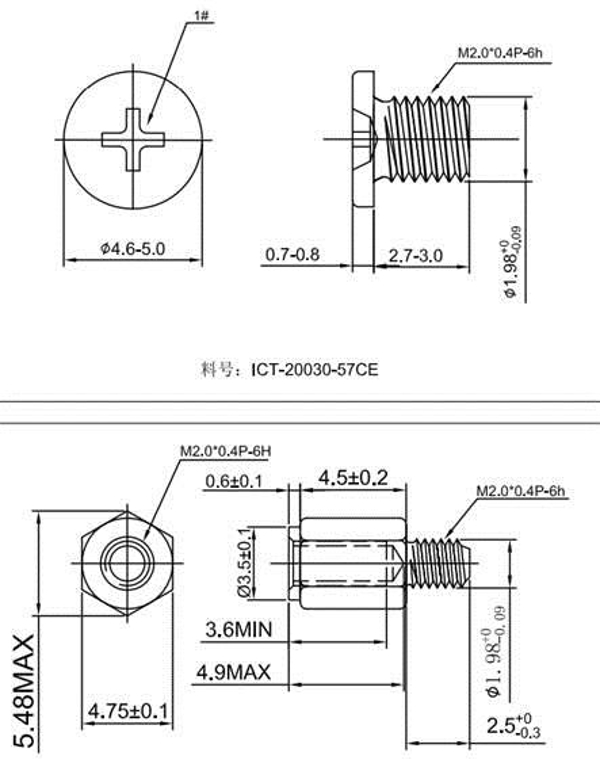
Unfortunately, it is still not correct.
My original request to Asus about the missing part was on Nov 11th.
The replacement part from NewEgg arrived on Nov 28th.
I really wish these were easy to just buy online.
DIMM.2 Riser Card
2TB
Insert the standoff (from the complete bag 13020-01810200) in the correct hole for the size of NVMe you bought. For me, that is the 2280 hole.
Insert the NVMe and screw it down.
1TB
Flip it over and do the same on the other side. This is where I used the replacement bag 13020-01810200.
After having them both installed on the riser, you can see how the spacing looks (though I should have used better lighting).

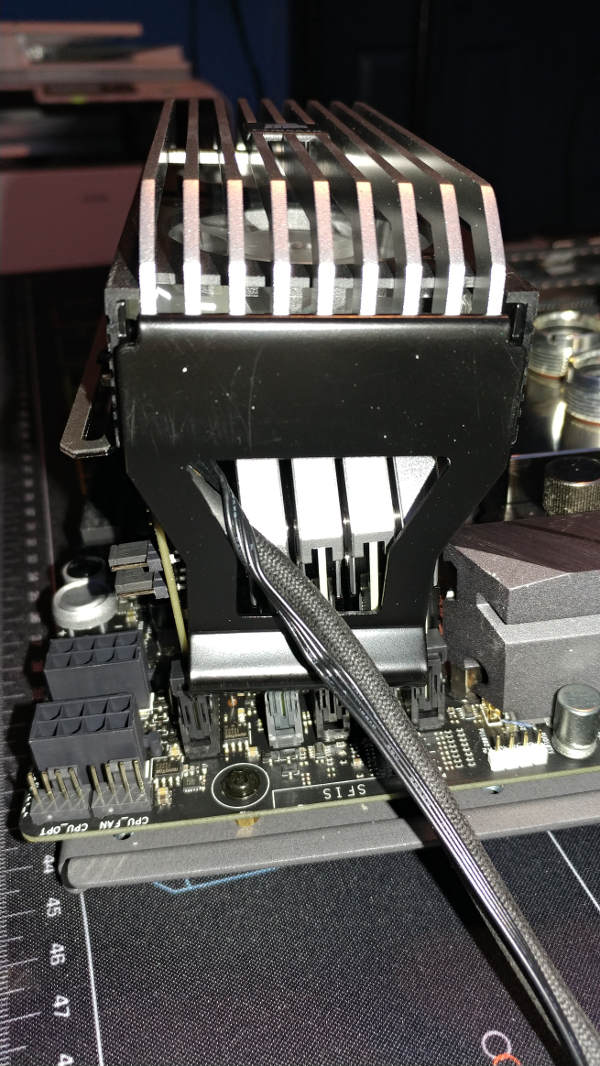
Fan Mount
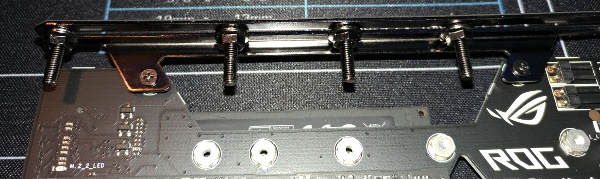
The motherboard comes with parts to attach a fan mount to the top of the DIMM.2 riser card.
With the Corsair fan mounted already, it didn’t seem like I would have room for another fan. I had debated not installing the mount. Then I realized I might have another option…
To keep myself from losing the correct screws (we know how difficult it is to get replacement screws from Asus), I attached them to the mount.

Then mounted the assembly to the DIMM.2 riser card.
Once installed into the DIMM.2 slot, I pulled the Corsair fan cables through the hole in it’s leg and slid it over to help cool the DIMM.2 as well. Maybe not as good of cooling for the DIMM.2 or the memory as having a whole new fan installed - but this should help, right?
In fact, I liked the placement of the fan cable so much, I did the same thing to the other bank of memory.
512gb
Remove the shield (3 screws).
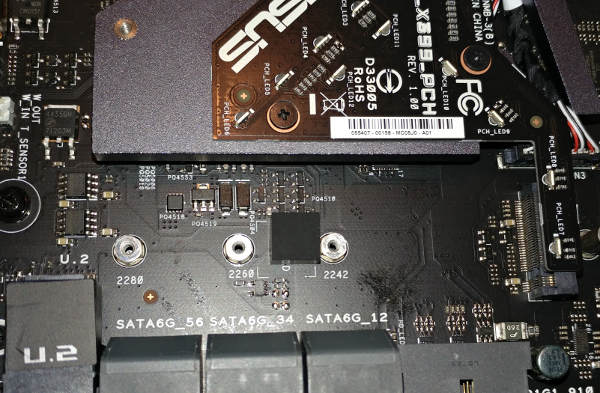
Insert the large standoff (from bag 13020-0180300). Put the NVMe into the slot and screw it down.
Make sure to remove the film before reinstalling the heat shield cover.