Fixing the Leaks
on Odin
Leak Fixes
PSU Radiator -> MB Radiator
The first leak I decided to fix was on the MB side radiator, on the tube coming from the PSU side radiator.
Although the leak was where it connected to the radiator, I thought I might as well consider making a single tube if I am going to have to redo it anyway.
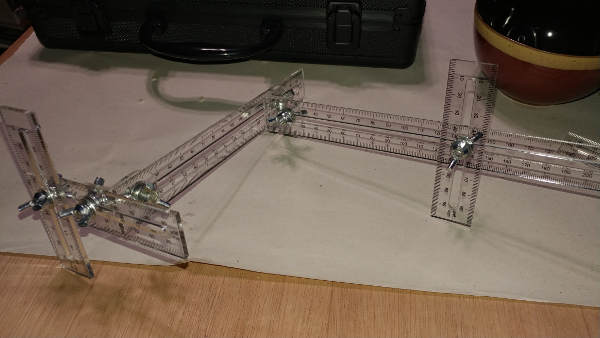
Measurements
Unfortunately, getting the measurements was a bit tricky because the rulers would not fit into the case to do so. In the example below, two of them are complete guesses…
Mind you, I did try to make a single tube between the tube, and it was pretty damned close… but in the end I decided to stick with two connected tubes as it makes adjustments easier moving forward.
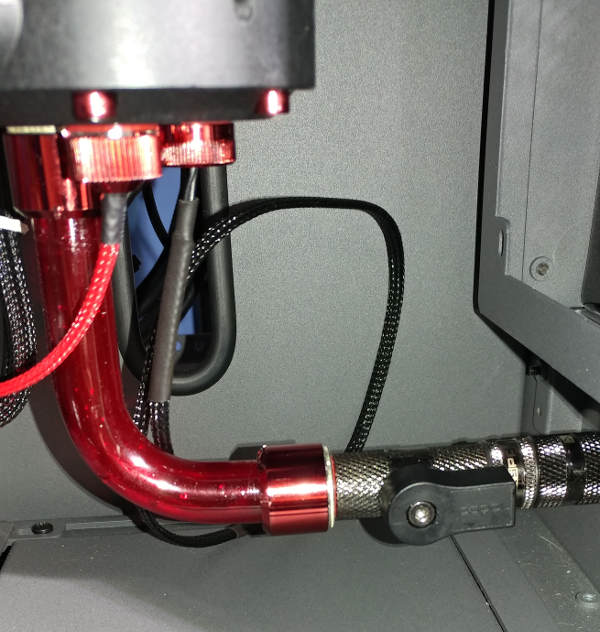
PSU Side
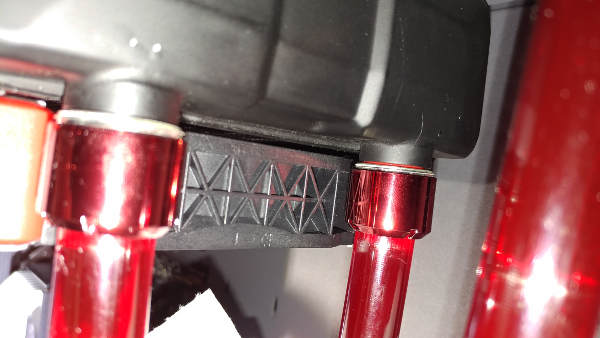
I did go ahead and redo both halves of that tube, however. The connection itself was a bit more tricky this time because the EV2 were a little too big for the hole - so I couldn’t screw them on very well. Luckily, they seem to not be leaking now.
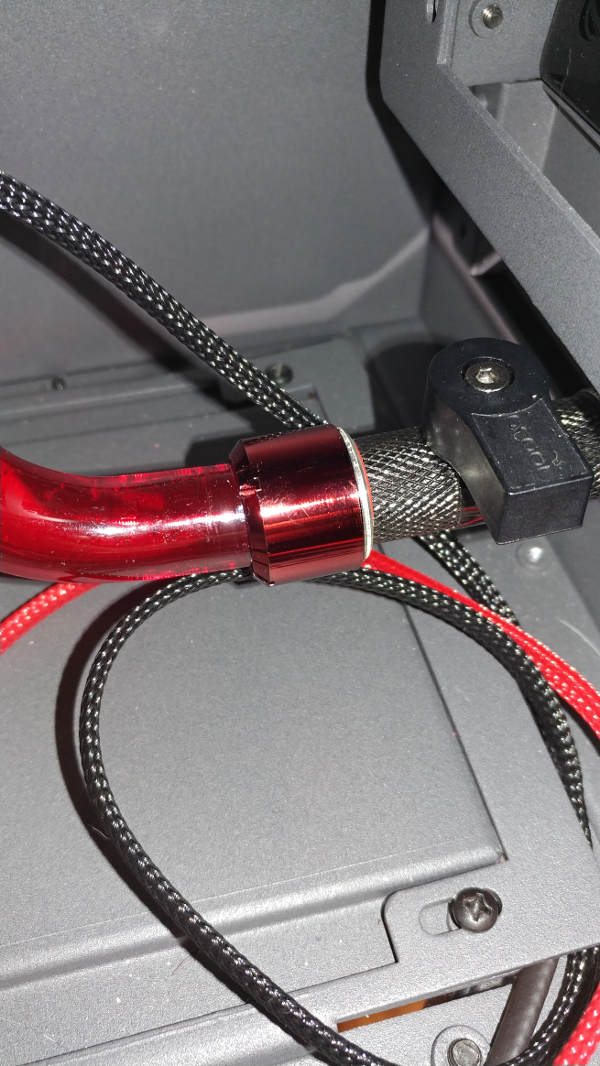
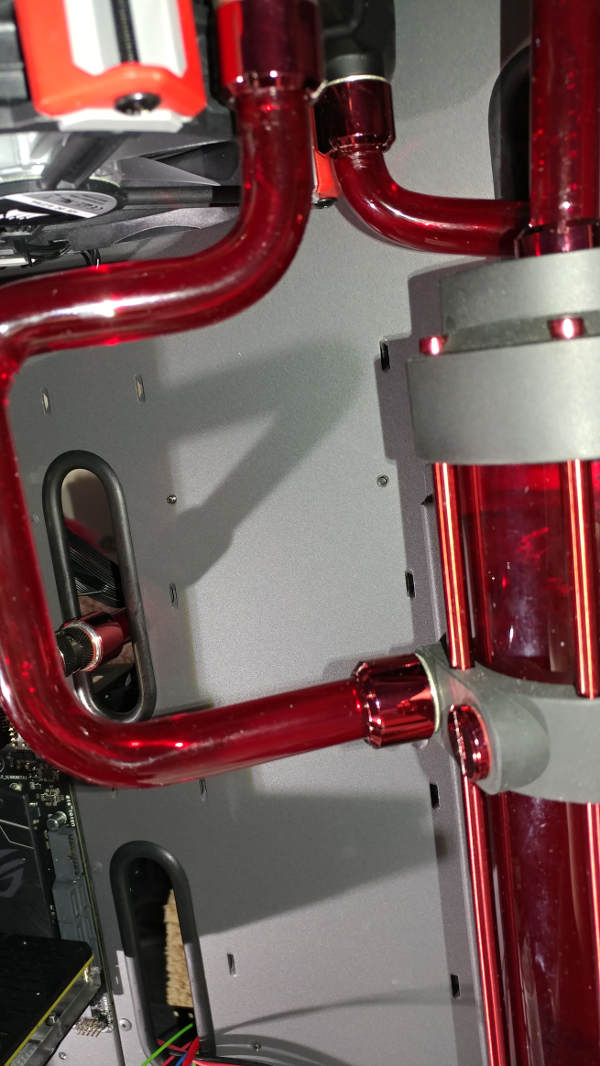
MB Side
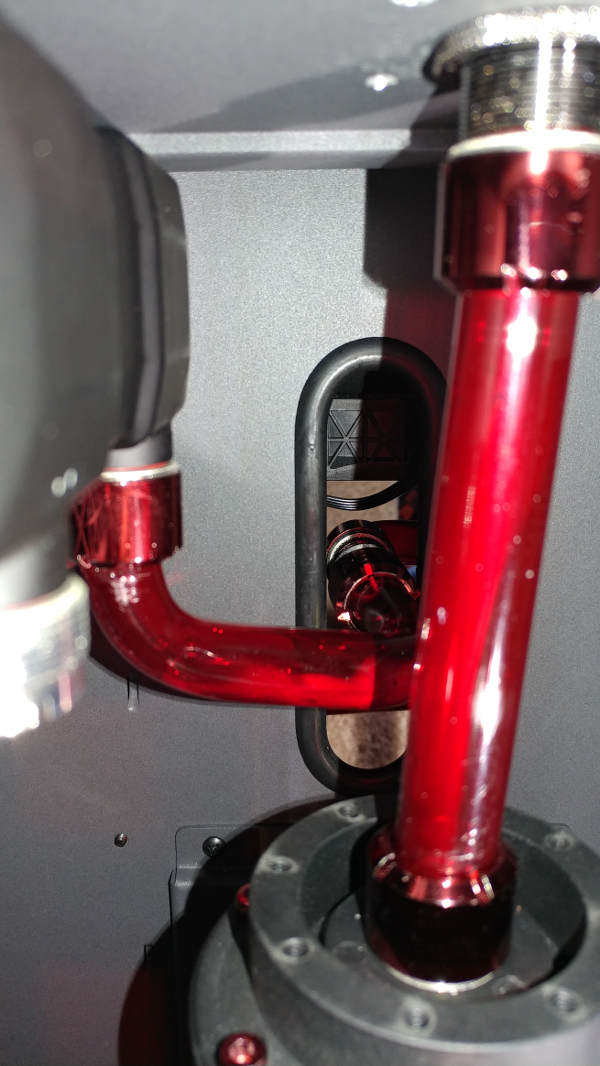
You will notice the MB side no longer does the big 360* loop.
Drainport
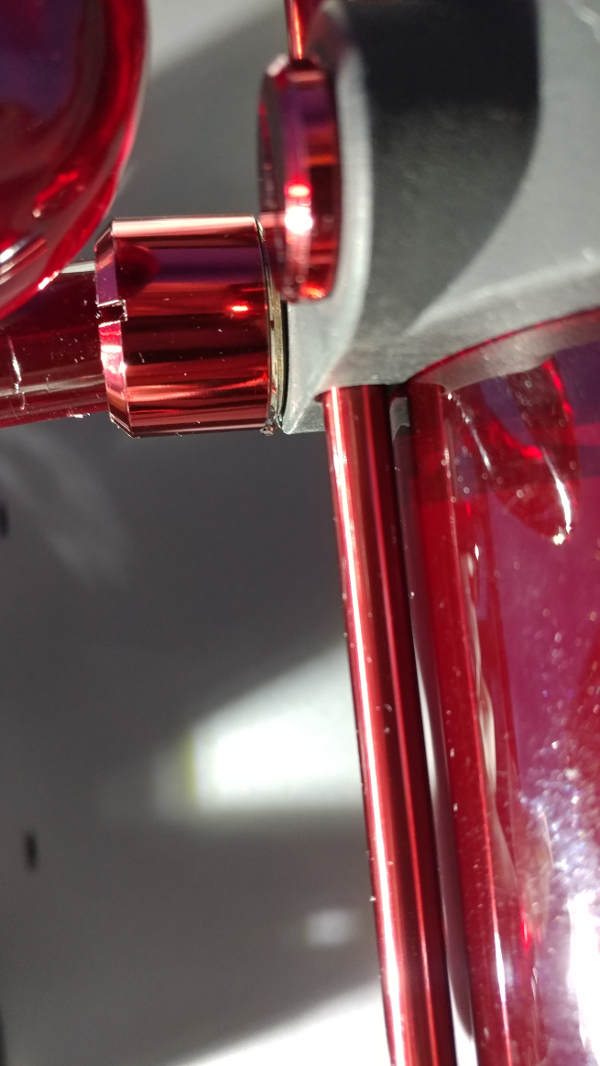
The second leak I decided to address was the drain.
To address this one, I tried a few different permutations.
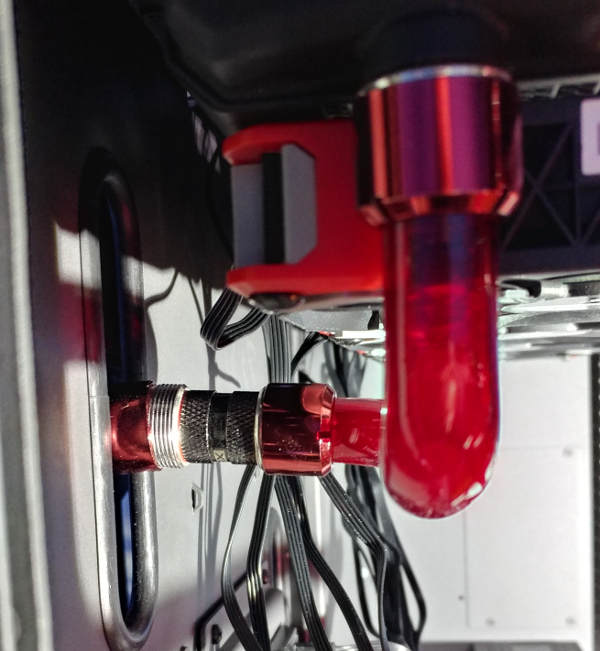
I really wanted to move the T-ball valve directly to the reservoir, but unfortunately the EV2 are too big to attach to the bottom of it. That meant adding extensions on both ends of it. End result was that it almost touched the bottom of the case before trying to attach a tube to it.
Instead, I extended it further from the external bulkhead fitting and then moved the tubing to a different hole on the bottom of the reservoir to give myself some additional room.
Now the valve is more accessible (and operation is more obvious).
Fillport
I decided to NOT fix the fillport leak because, to be completely honest, it is a complete pain to replace that tube.
Also, the leak only appears when you are filling the reservoir… and I found a workaround to prevent it anyway…
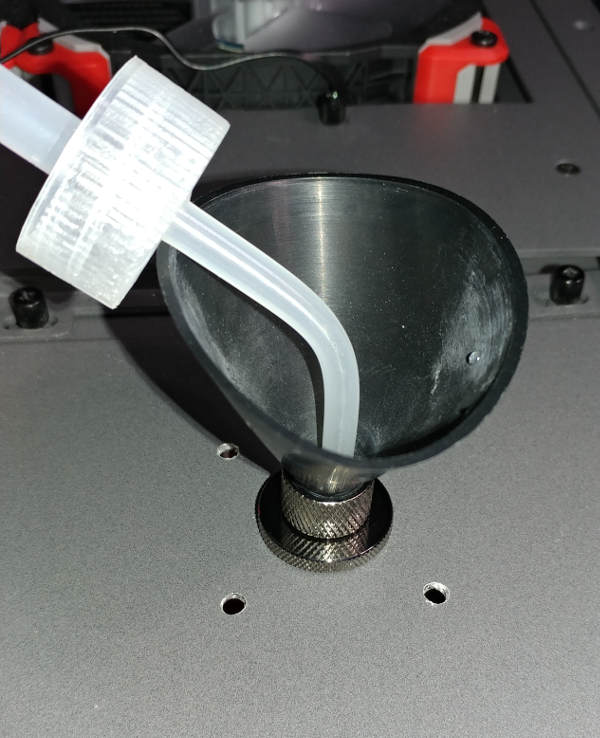
By putting the nozzle (without the bottle) into the funnel, I was able to allow air to escape. Not only did this prevent the leaks, but I no longer had to coax the water to drain into the reservoir. If someone wanted to make a combo G-1/4” funnel with air escape, I’d be into trying it out.
New Testing
Pump Noise
While running through a second, third and fourth leak test; I noticed that the pump was making a LOT of noise. It wasn’t dry - it was vibration.
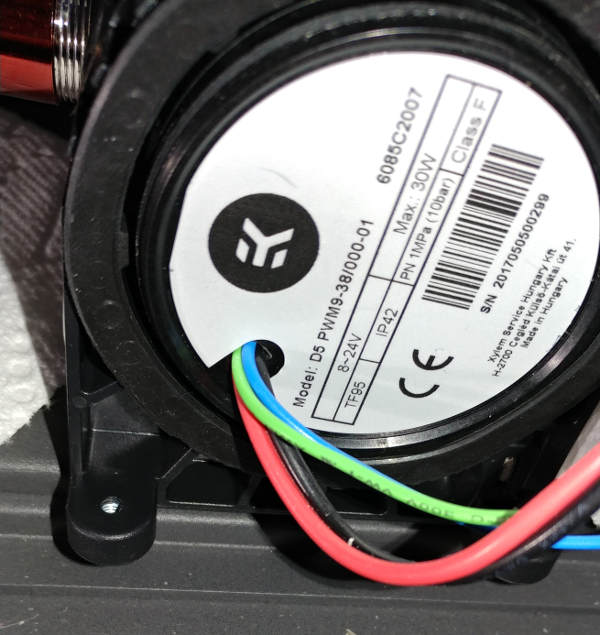
It was because, when mounting it, there was not enough room (in either direction) to mount with all the screws. In one direction, it took up two plates and was very difficult to get in/out of the machine. In the other direction, it was tight, but couldn’t be screwed down all the way around. I went with this direction because it was better for the tubing.
I’m trying a few things to address the vibration.
New Leak: Radiator -> Reservoir
While working on the PSU Radiator -> MB Radiator replacement, I had to remove the Radiator -> Reservoir tubing.
Unfortunately, it sprung a leak when I replaced it.
At first, I thought it must be the tube, so I replaced it.
After a second tube failed in the same location, I took a look at the fitting itself.
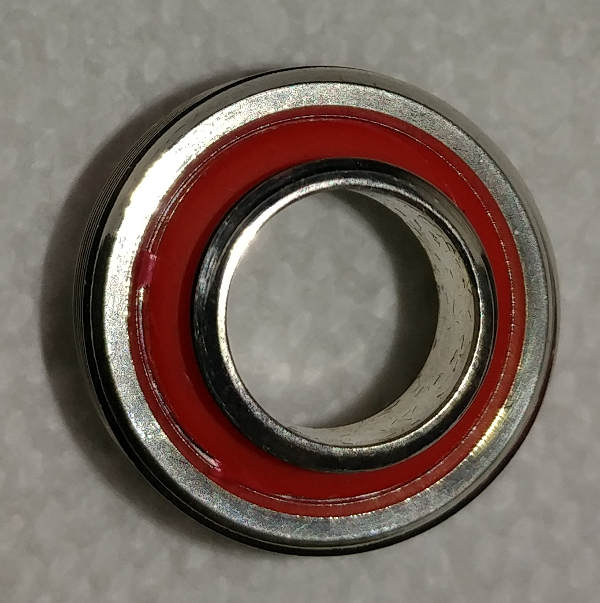
There’s a little extra tag of rubber coming off the side of the oring. As a quick test, I tried swapping out the EV2 and the leak went away. I’ll probably just replace all 3 orings on that fitting before I re-use it.
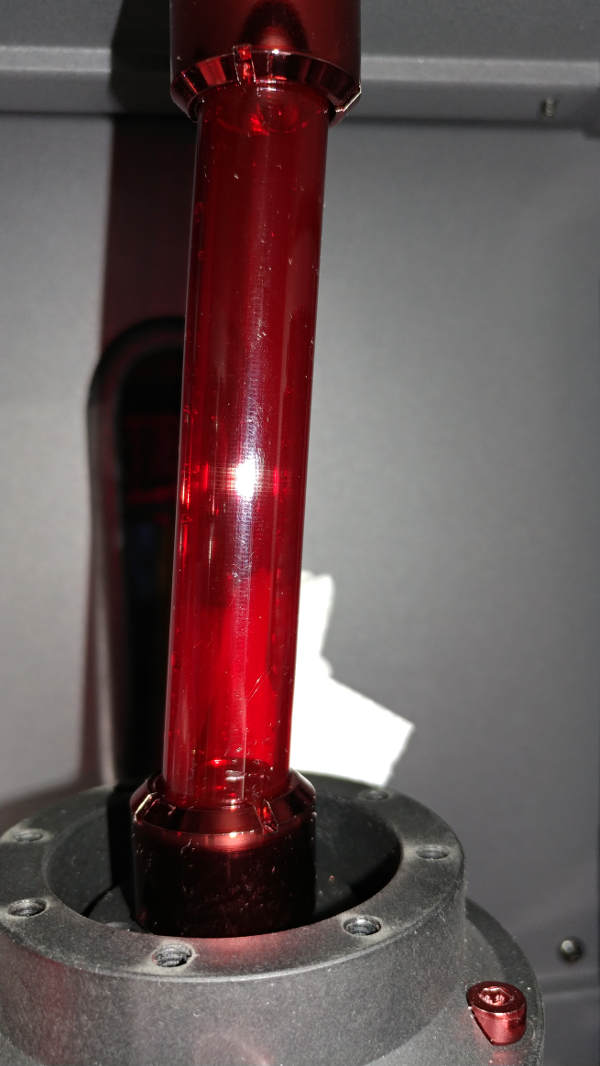
Vortex

Even though I have the anti-vortex piece in the bottom of the reservoir, and the tube is no longer making a 360” loop; I am still getting a vortex in the tube. The next time I open it up, I think I might add a couple more anti-vortex tubes along the length, but at offset angles.


