EK-XTOP Revo Dual D5 PWM Serial
on Odin
Motivation
The pump on my last build had died. Of course, that was after running for 5 years straight 24x7… I decided to go with the EK-XTOP Revo Dual D5 PWM Serial this time. If one of the pumps die, the other one should take over while I order another. EK has a few different SKUs. This is the one that comes with both pumps.
Unboxing
Not much to it.
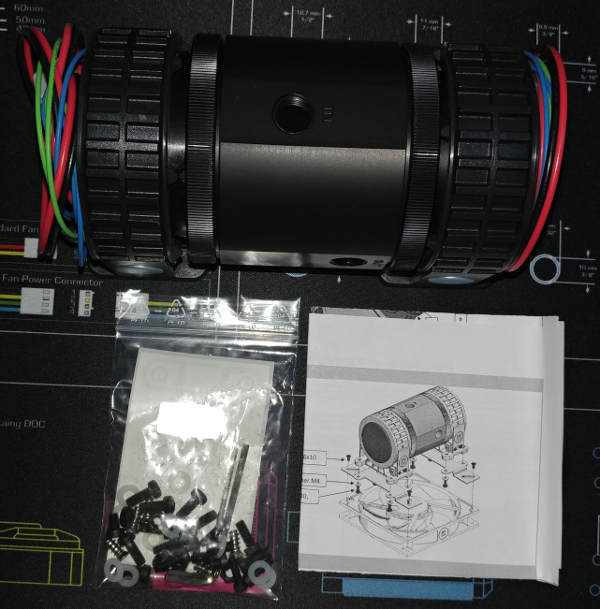
The manual was a little confusing. It said that it came with a mounting plate, but I didn’t find one. Also, instead of providing one template of the right size, they give you two stickers and tell you to line them up correctly.
Assembly
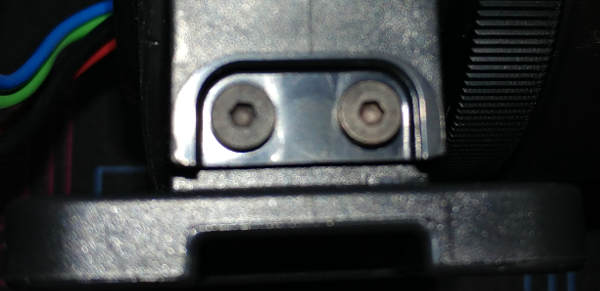
It comes mostly assembled, but I found I needed to do these four screws. I assume it was in case I chose to mount it sideways.
Install
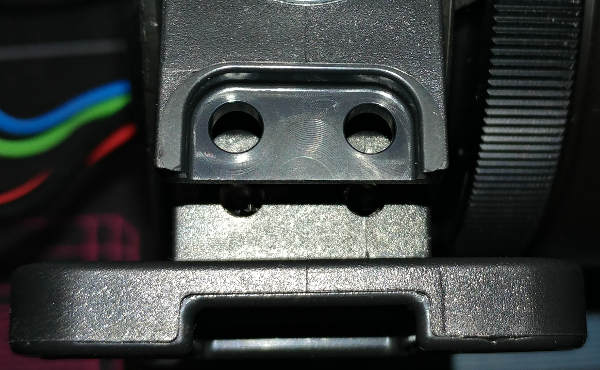
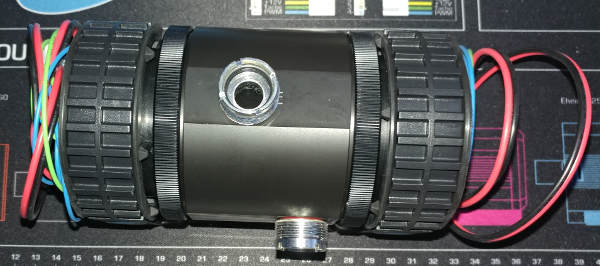
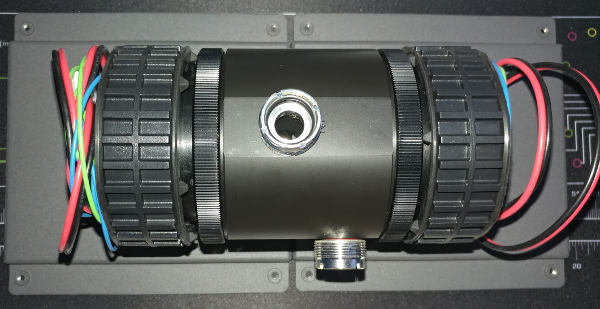
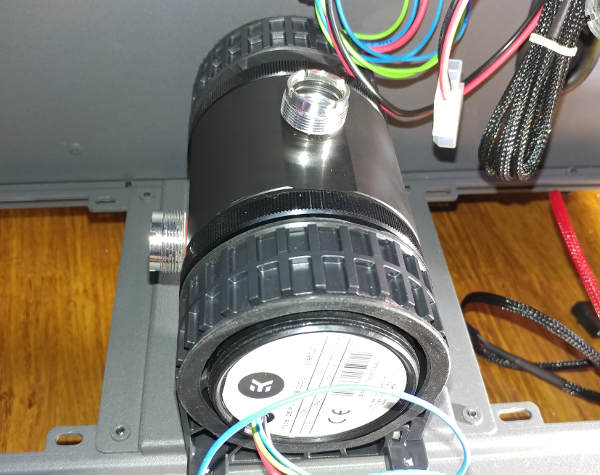
I installed the EV2 ports before installing it into the case. The one on top comes IN from the reservoir. The one on the side will go OUT to the video card.
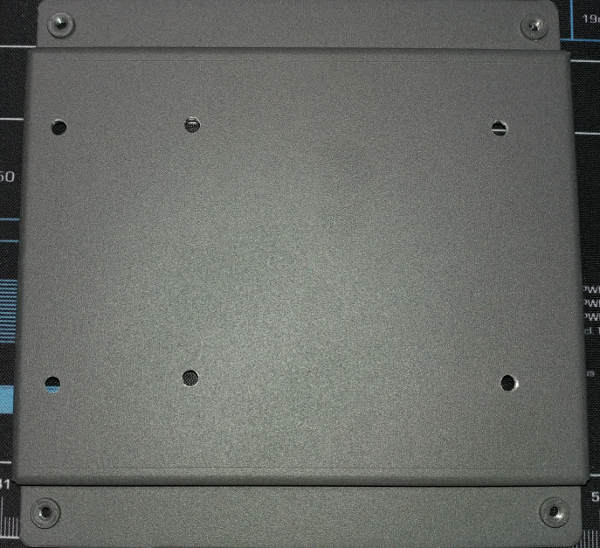
Figuring out how to mount it will be a bit tricky. Notice how large it is compared to the bottom plates.
The instructions say that it will fit on a single 120mm or 140mm mounting plate/fan. I don’t see it ;)
I spent quite awhile trying to figure out the best way to mount it in this case. While I could easily distribute the weight over two bottom plates, the problem then becomes the dual 90-degree angles I need to put in the tubing from the pump to the graphics card.
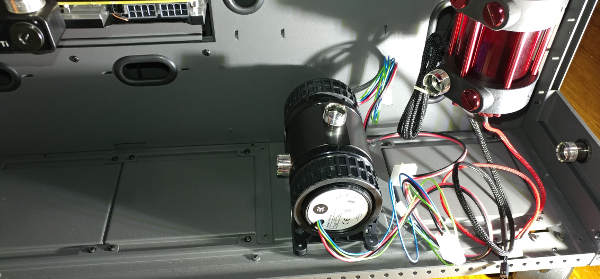
I finally decided on mounting it sideways. I’ll only be able to use 6 of the 8 screws, but it seems pretty solid and gives me a clean line for my tubing.
The instructions said that the center of those holes (on the stickers) should be 142mm apart. Mine were 145mm. Why were mine different? I spent a good half hour lifting and realigning until it fit the actual pump rather than an arbitrary drawing. I might have done it differently if they had given me a single template to follow - but the way they did it was not very easy.
Not to mention that you couldn’t drill through the sticker because it wouldn’t stay in place. It’s really only good for making a minor mark that you can later re-mark yourself with an inkpen and then re-drill.
Here you can see that it is only on 6 of the 8 screws.

Getting under the case to attach screws is almost impossible. You can’t fit the pump into place from underneath like a car engine. Even though the rest of the plates are mounted from the bottom, this one needs mounted on top. That meant putting the screws in from the bottom (most of my bits won’t even fit, without the screwdriver handles).
To simplify, I removed the adjacent panels and used a tiny double-ended bit that came with the drill.
The part of the pump that hangs over the mount is facing the camera.
Here you can see how it improves the tubing layout.
You can also check out the actual tubing install.
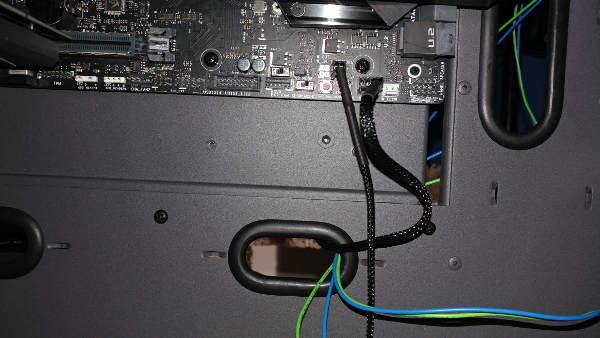
I ended up attaching both sets of wires to a Phobya splitter.
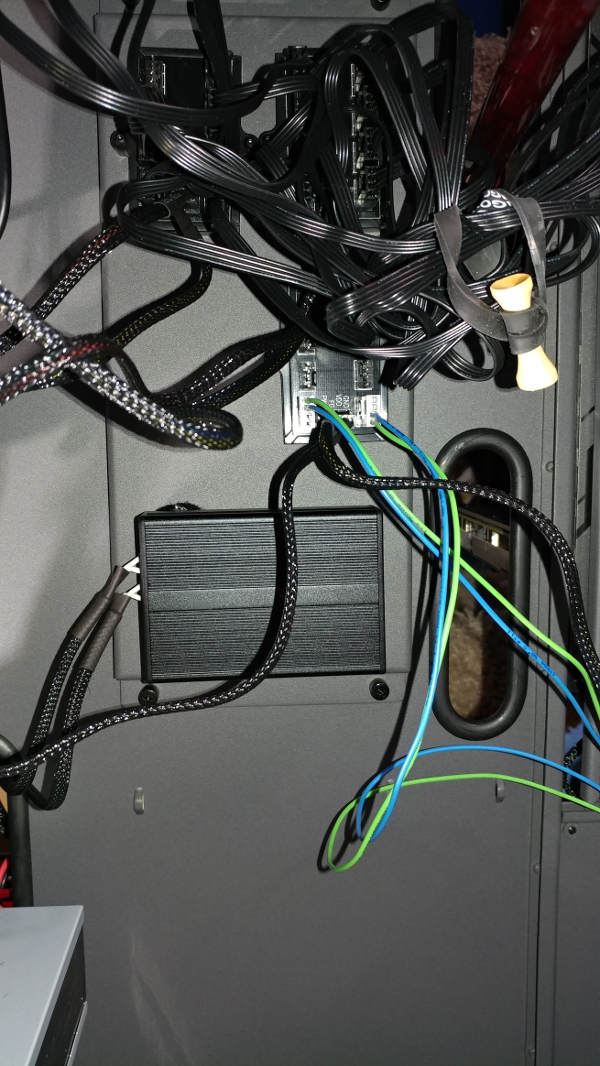
The PWM end of that cable goes into the motherboard W_PUMP port.