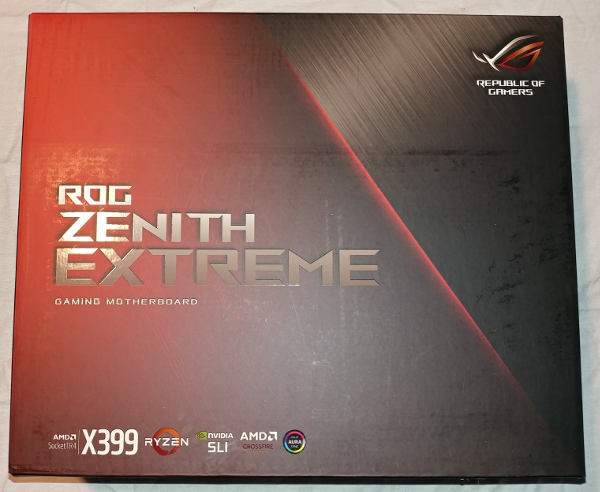
Asus ROG Zenith Extreme
on Odin
Motivation
For the motherboard, I chose the ASUS ROG ZENITH EXTREME sTR4 AMD X399.
I have considered some other OEMs over the years, but have mostly stuck with Asus since my days doing tech support for 3com. I can’t tell you how many times we sighed with relief when they said customers had an Asus board, since we knew we could always fix any PCI conflicts in the BIOS. That justification doesn’t really hold up anymore, but I seem to keep buying them.
I went with the sTR4 (Threadripper) setup because my rig is a combination development workstation and gaming machine. I’ve already been using 8-core for the last 7 years or so – but I was really looking forward to additional memory capacity. Eight slots isn’t bad.
When I purchased the motherboard, I didn’t realize how few SATA connections it had. Unfortunately, this led to me having to abandon my ZFS raidz3 plans and rethinking my build a bit.
Unboxing
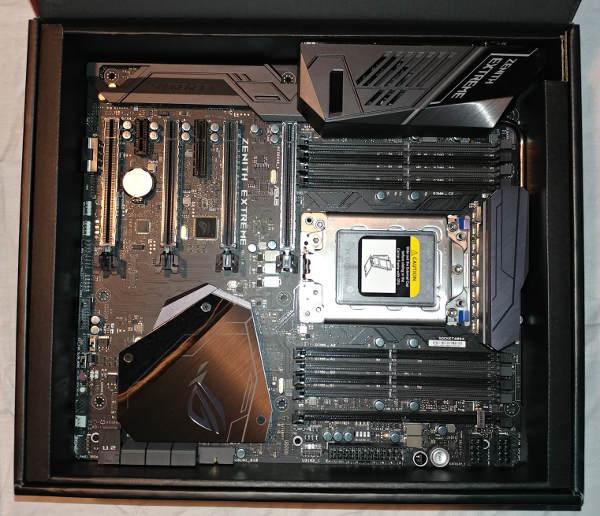
The top of the box leans back like a hinge. There is a plastic cover over the motherboard. Once removed, the motherboard can be seen with a bit of cardboard padding.
There is a selection of stickers…
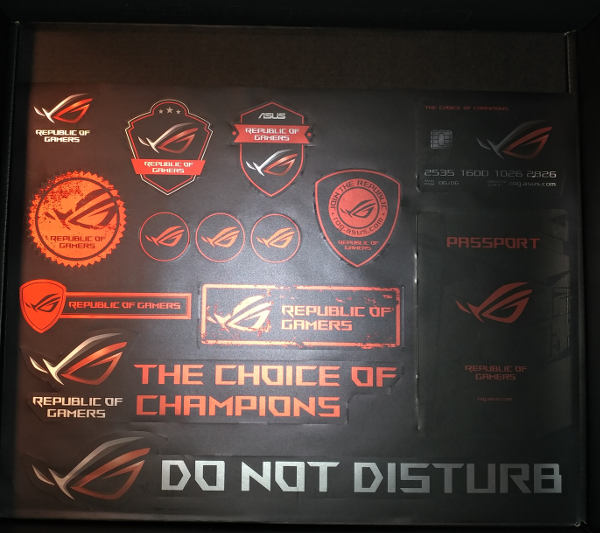
I masked some of the barcodes in case I need them for registration, but this was under the motherboard.
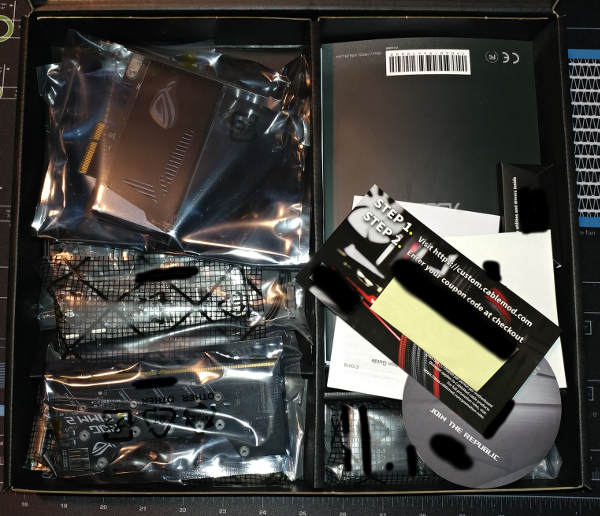
When pulled out, there are quite a few additional parts. a 10gbe nic, a couple antennaes, drivers on USB, multiple SLI bridges, wires, etc.
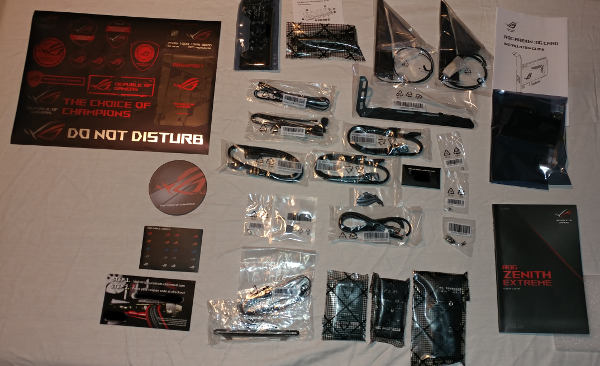
Most of these will be used in later posts. I had debated hooking them all up in this single post; but I am going to do CPU and memory and NVMe before wiring the board into the case.
Mounting
My CaseLabs case has the removable test bench tray. I don’t currently have the feet on it (I don’t think I can while still putting it in the case), so there is a bit of an angle while it is sitting on the table.
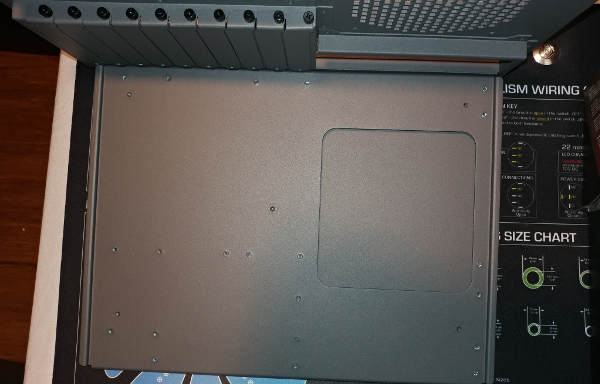
The standoffs come with the case, not the motherboard.
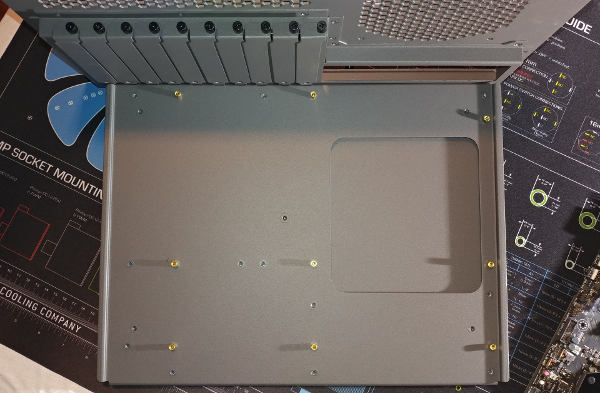
The motherboard manual shows you which holes to use, but I held the motherboard up to the tray just in case. You’ll notice that only the top-right one is offset.
And with the motherboard mounted:
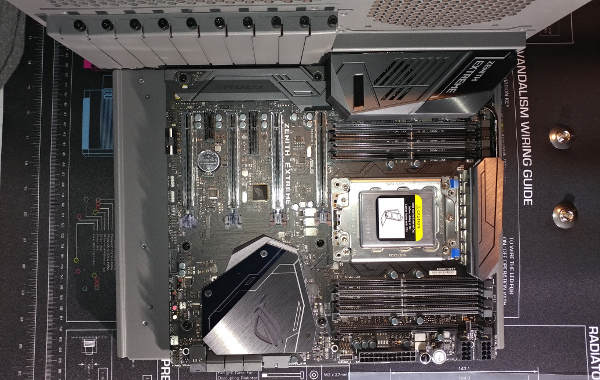
And this is what it looks like inside the case:

And to attach to the back…
Word of Warning
The CaseLabs THW10 is a big case. You are probably going to have it sitting on the floor - especially if you are using the caster kit.
It’s also a heavy case with no good place to mount handles since the doors and roof all pop off.
As such, you are likely to slide the motherboard tray in and out - at least while doing your build.
When you get to the last inch of pulling it out, be careful because it will want to fall pretty hard.
When putting it back in, you are going to want light. If you can’t see both the top and bottom slide points, you are likely to pull it out after a false insert, causing the above point to manifest again.
I’m almost a little tempted to add some rubber guard in case I forget a year from now. Last thing you want is to jostle your parts around.


