EK Supremacy EVO Threadripper Edition
on Odin
Motivation
As I am doing a watercooling build, I wasn’t about to go with a standard Wraith cooler. While there are multiple CPU coolers out there, there were not very many Threadripper-specific ones when I made my decision.
Originally, I was going to do the clear acetal ones, along with the monoblock for the motherboard and clear ones for the GPUs. Unfortunately, the monoblock wasn’t going to be available and I decided to not mod the GPU at this time. As such, I decided to go with the full nickel EK Supremacy EVO Threadripper Edition instead. While I can’t see the liquid flow inside it, I think it has a really nice aesthetic.
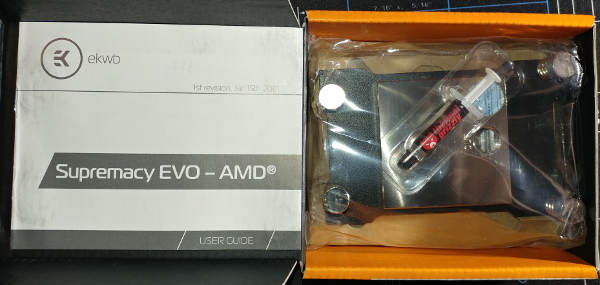
Unboxing
Inside there isn’t much to it. Instructions, thermal paste (Grizzly) and the waterblock itself.
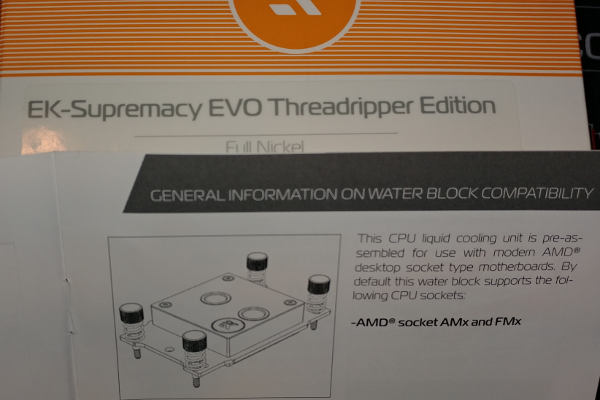
Starting to read the instructions gave me pause… The box may say Threadripper, but the manual only talks about AMx and FMx. Threadripper is TR4 or SP3r2. For a moment, I was seriously concerned that I got ripped off. It fit perfectly though.
Installation
This will probably be the most controversial part of this install – the thermalpaste.
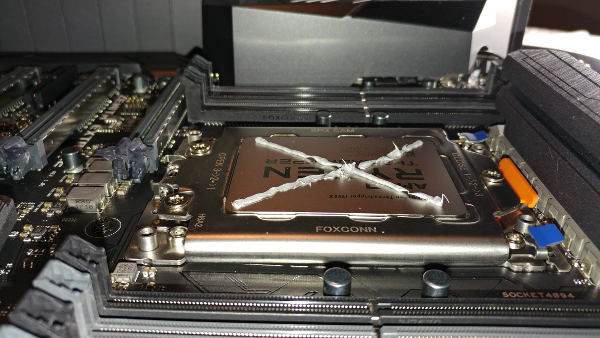
I am sure everyone looking at the photo is wondering “why did you do it like that?”
I don’t know if it is the right way to go - but I will try to explain why I chose to do it this way.
The EK waterblock recommended using “2 grains of sand” worth of thermal paste in the center. That seemed odd to me, and I remembered that I had seen an EK guide on applying thermal paste.
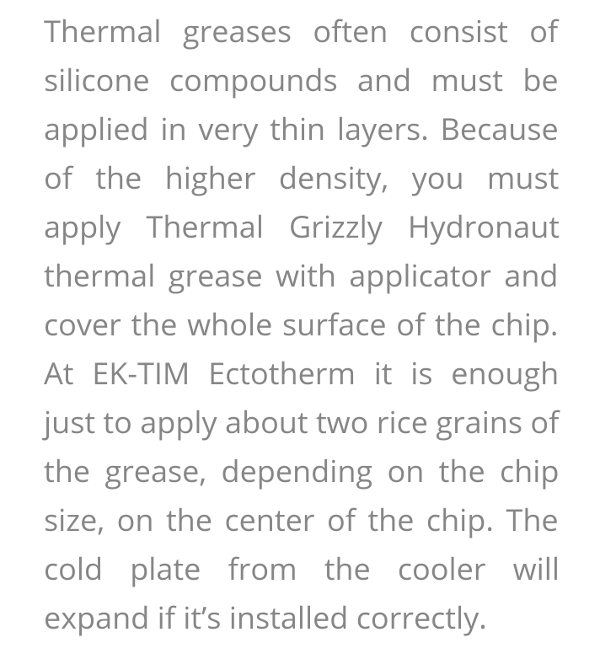
According to their own guide, they ship two different thermal paste materials – and the “2 grains” applies to the one they did not send me. The instructions for the one they did send me was to cover the entire surface.
I had previously watched multiple videos that had compared different methods of thermal paste application, so went back and watched a few of those. While there was no consensus on the best way, they all seemed to agree that the X wasn’t so bad.
Applying the X like I did in the above picture actually took the entire tube that EK had provided. I guess we’ll see how well it works.
And we continue…
Make sure to remove the film on the bottom of the EVO before installing it. Alternate screwing opposite corners in pairs (top-left and bottom-right, then top-right and bottom-left) until it’s seated.
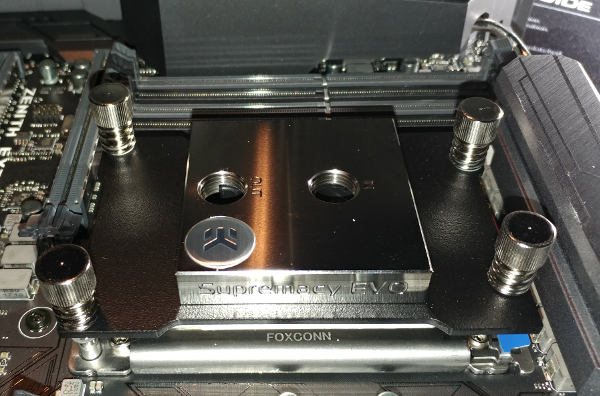
Here’s what it looks like installed.
After unboxing the Monsoon EV2, I installed two of the fittings into the waterblock.


