Corsair AX1500i
on Odin
- Choice of Power Supply
- Prepping the Case
- Unboxing the PSU
- Mounting the PSU
- Self Test
- Plugging the Second Hold
Choice of Power Supply
How much power supply does one need? Not nearly as much as I usually install. So why do I do it?
Many years ago, I was running a system with what I assumed was a beefy power supply. I decided to upgrade my video card. Everything seemed to work fine. Then one day, it started failing out of the blue. Well, not entirely out of the blue – whenever I was playing video games, watching videos, etc. Turns out I should have upgraded my power supply at the same time.
Since then, I have always overshot the needs of the power supply so that I could grow my system with less concern.
This time I had debated installing two smaller power supplies instead. There were a couple power supplies that appear to cooperate well in pairs. While it is doable, I decided to stick with one larger power supply for now – leaving myself the possibility to add a second later, if needed.
I had also considered going with one of the new watercooled power supplies (like FSP Hydro PWM+), but I stuck with the Corsair for the higher power.
Originally, I had planned for a pair of GTX 1080 in SLI as well as a ZFS raidz2. Obviously, the current build isn’t using nearly that much power, due to restrictions I found after purchasing the power supply. Over time, however, I may still upgrade those components.
In the end, I chose the Corsair AX1500i.
Prepping the Case
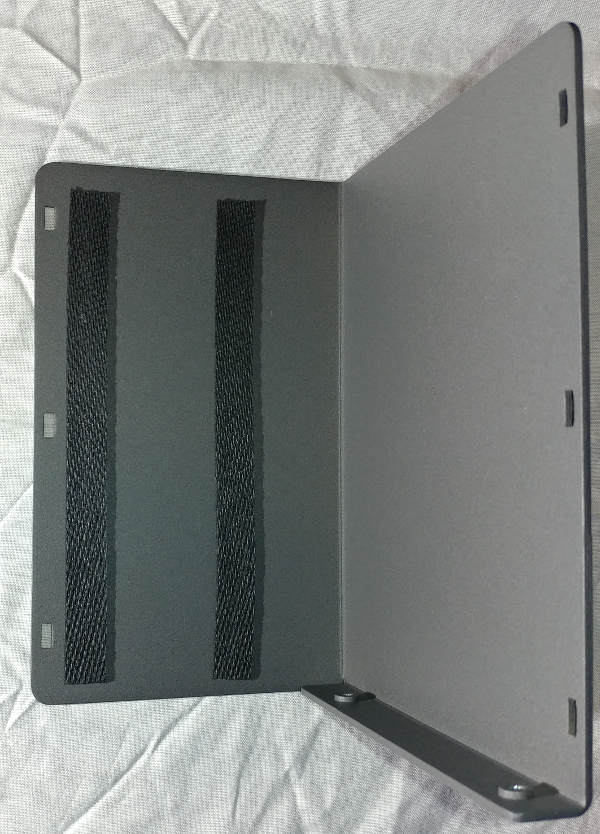
Support Mount
I had purchased two PSU Support Mounts from CaseLabs (I still thought I might use two smaller PSUs at the time). It turns out that the case also shipped with one, so I ended up with 3 mounts, though I am currently only using one of them.
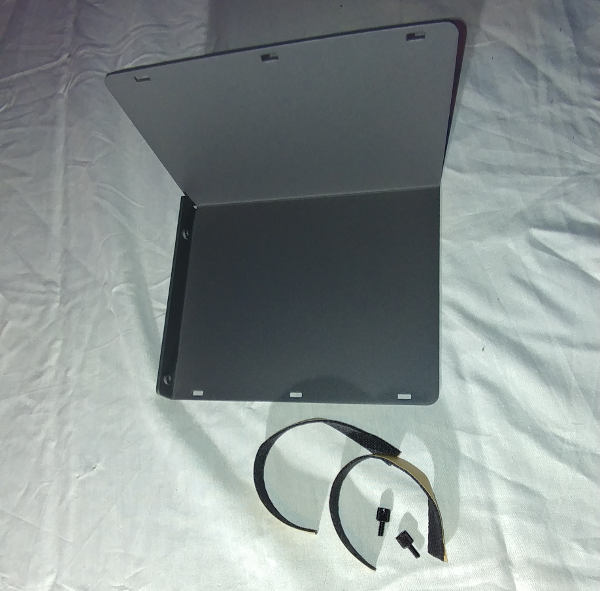
Shock Absorbers
I ended up installing and uninstalling the PSU Mount three times. Learn from my mistakes and do this step now.
To decide where you will install the shock absorbers, you need to see where the weight of the PSU will be on the mount once installed. At first, before opening the PSU, I had assumed I needed an absorber on each side of the metal. In fact, the PSU only touches one side of the metal – and which side that is depends on the case you are installing the mount into. Holding the pieces together for a moment will let you determine what makes the most sense.
The absorbers are sticky, but easily movable. I ended up placing them incorrectly the first time, since I didn’t realize there would be an air gap between the plate and the PSU.
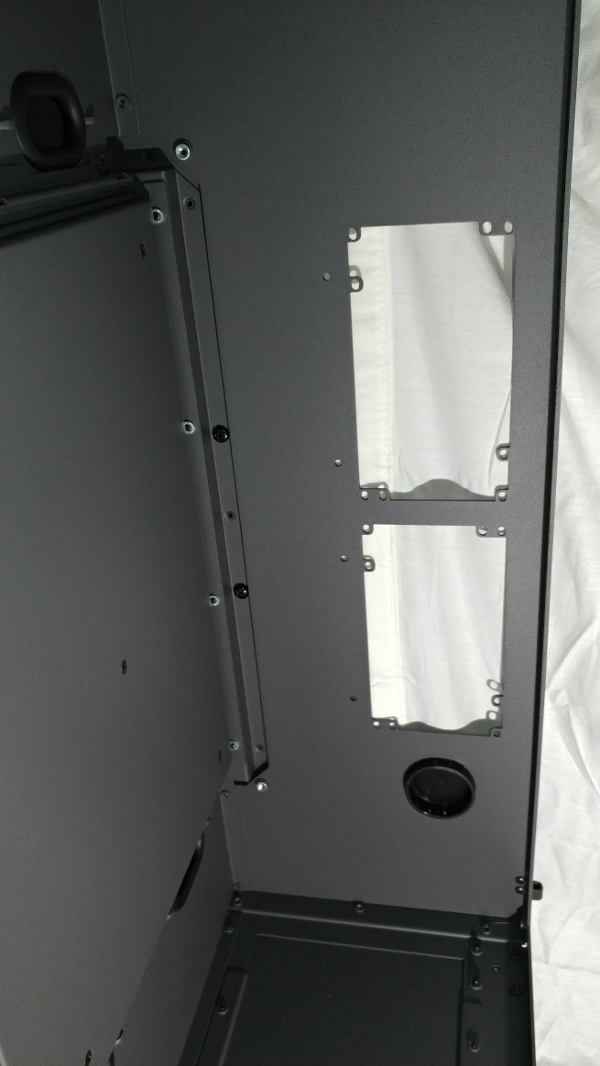
Case
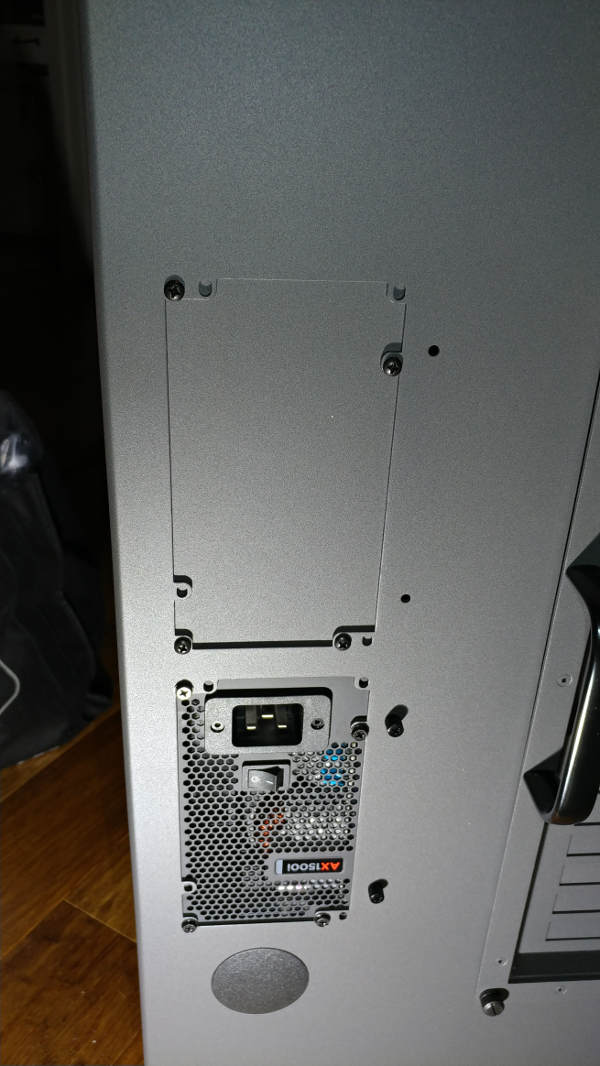
The case has two positions for mounting PSUs. In my case, I am going to mount to the bottom position.
Of course, this means I will probably need to do something about that top hole – we’ll cover that later.
Here’s where it is to be mounted.
The PSU Mount mounts to the case using the two screws provided. You’ll notice the nuts on the inside of the bracket, indicating that the thumb screws go on the outside of the case.
Unboxing the PSU
The PSU is packaged really well.
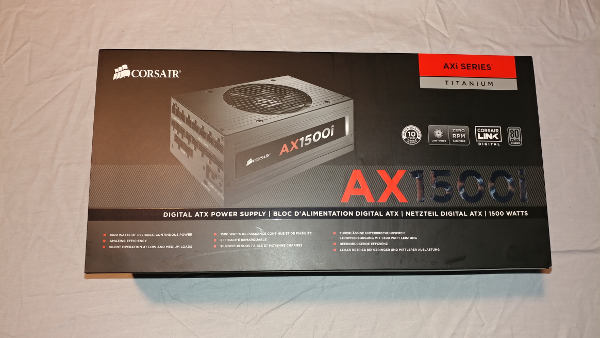
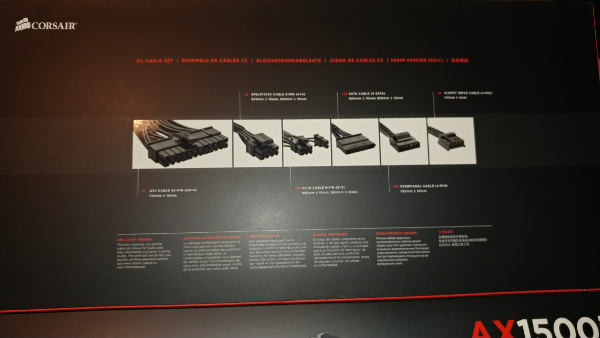
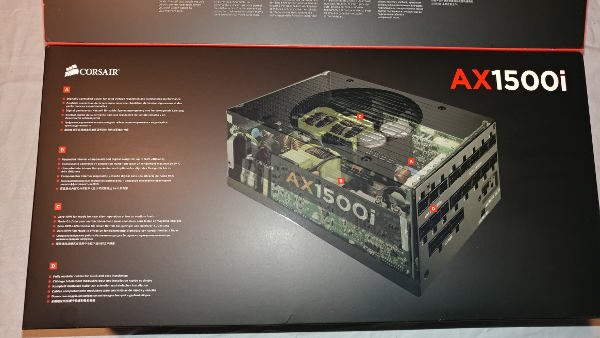
Outside Box
The outside marketing box is informational.
Inside Box
Inside of that box is another:


Contents
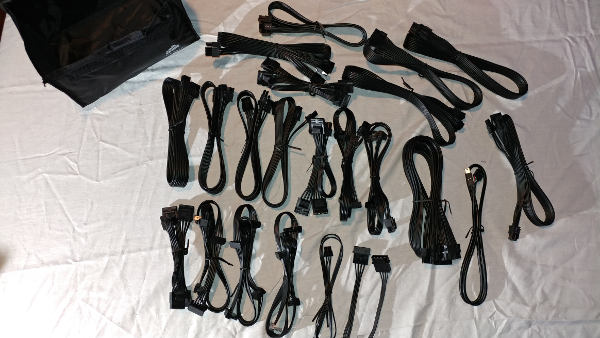
The contents inside the box are packaged nicely. There is a bag containing all of the cables except the power cable. The power supply itself is inside a bag, which is then sandwiched between two hefty pieces of foam.
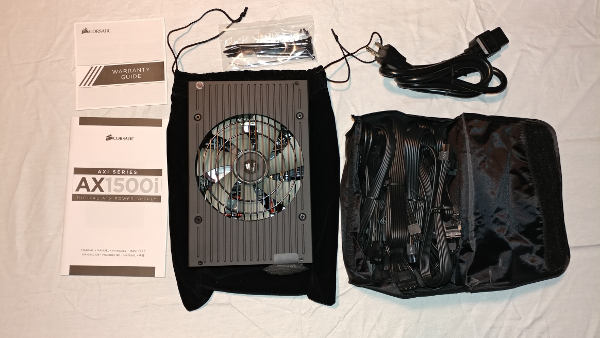
It’s a bit difficult to get the cables to fit inside that case again once you pull them out.
The PSU
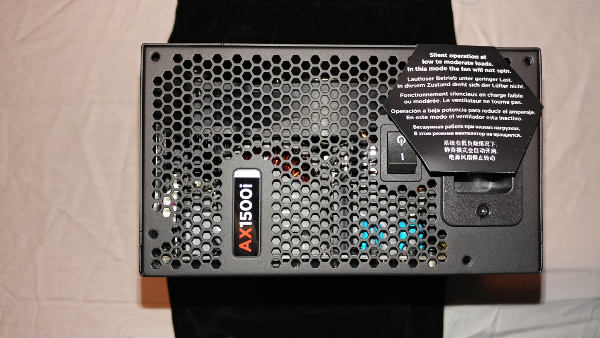
There is a warning on the PSU regarding silent mode.
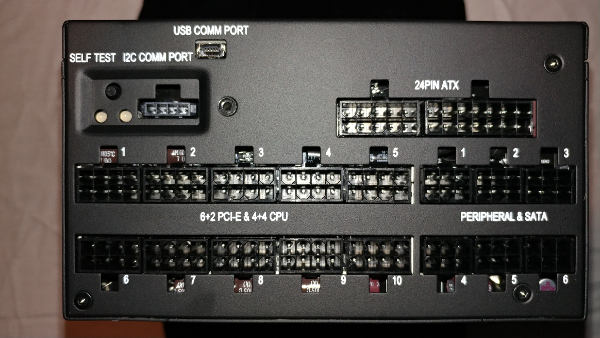
While the back of the PSU has the normal jacks, it has a few others. I especially liked to see the Self Test button.
Mounting the PSU
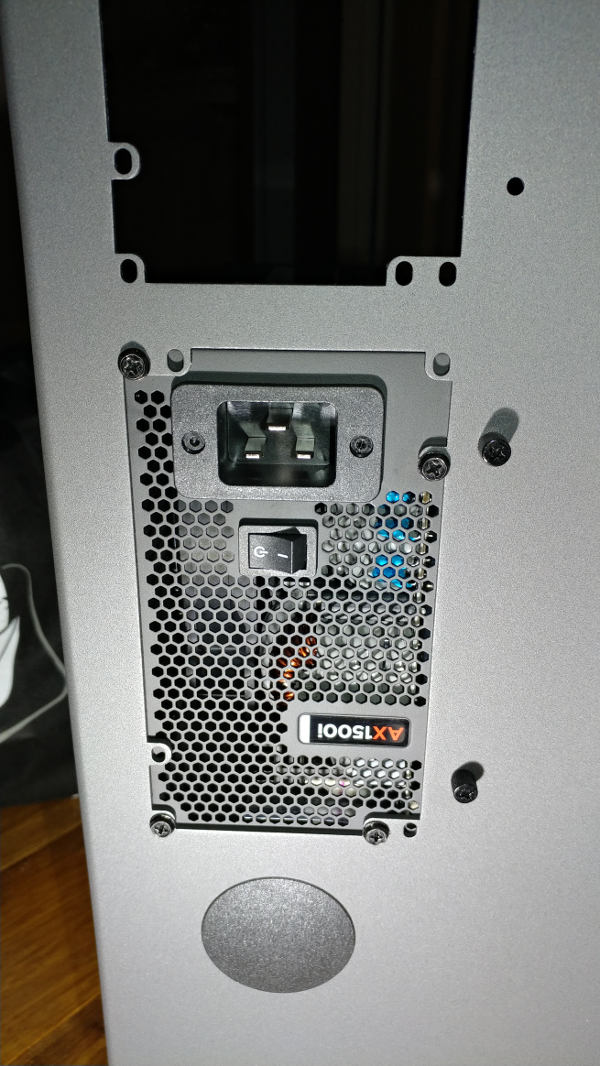
At first glance, you are probably wondering why I mounted the PSU upside down. Not only is the label upside down, but the switch is below the cable. Obviously that is not ideal. Why did I do it?

As you can see, the spacing on each side of the PSU is above the same. Between the case and the PSU is about the same as between the bracket and the PSU.
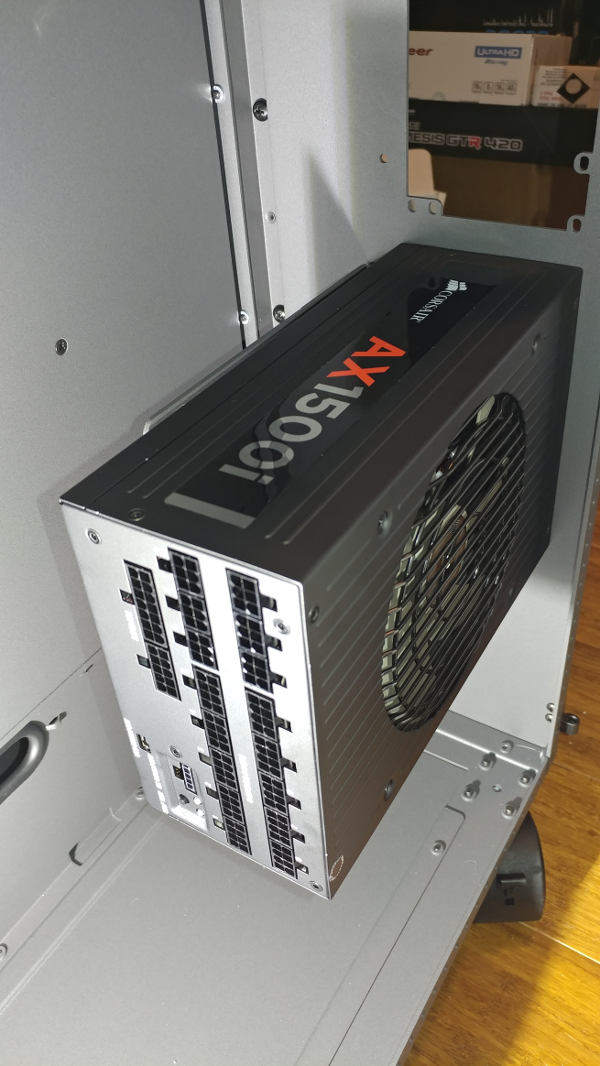
But there are three things you might be able to determine from that picture.
-
This orientation allows the motherboard cables to be as close as possible to the motherboard.
-
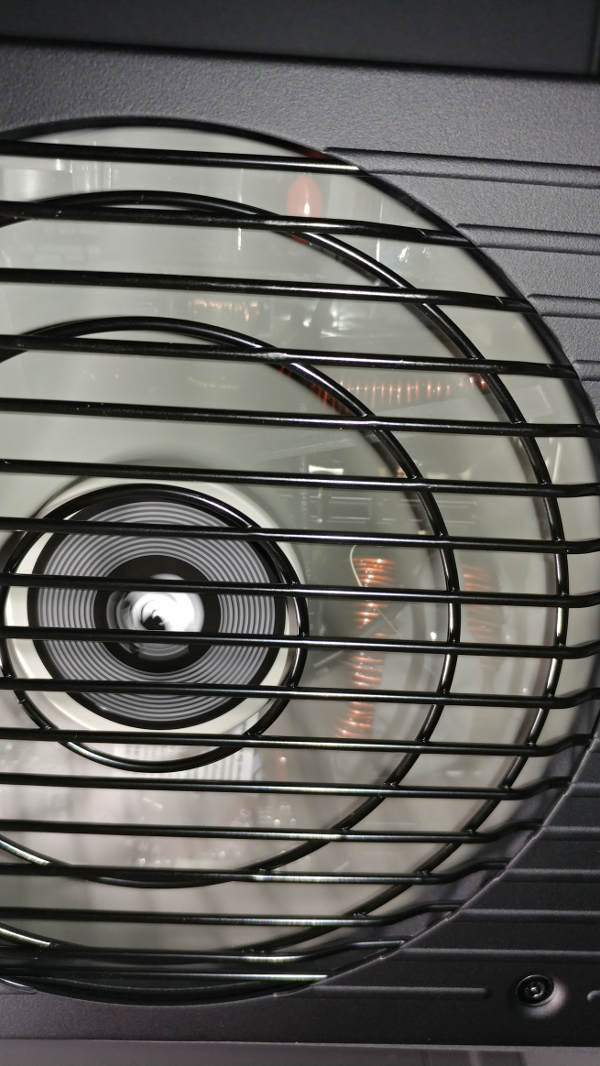
This orientation will allow the air to be sucked in from the top or bottom of the case into the fan. If it was facing the bracket, it would only be able to suck air in from the top.
-
This orientation also allows you to read the labels right side up when you are looking into the case.
If this ends up being a problem, I may flip the PSU over and cut holes in the bracket.
Self Test
Since it has it, why not? Plug in the power, flip the switch, hold down (not just push) the button on the back and voila!
Plugging the Second Hold
Looking through the remaining parts in my CaseLabs box, I found this:
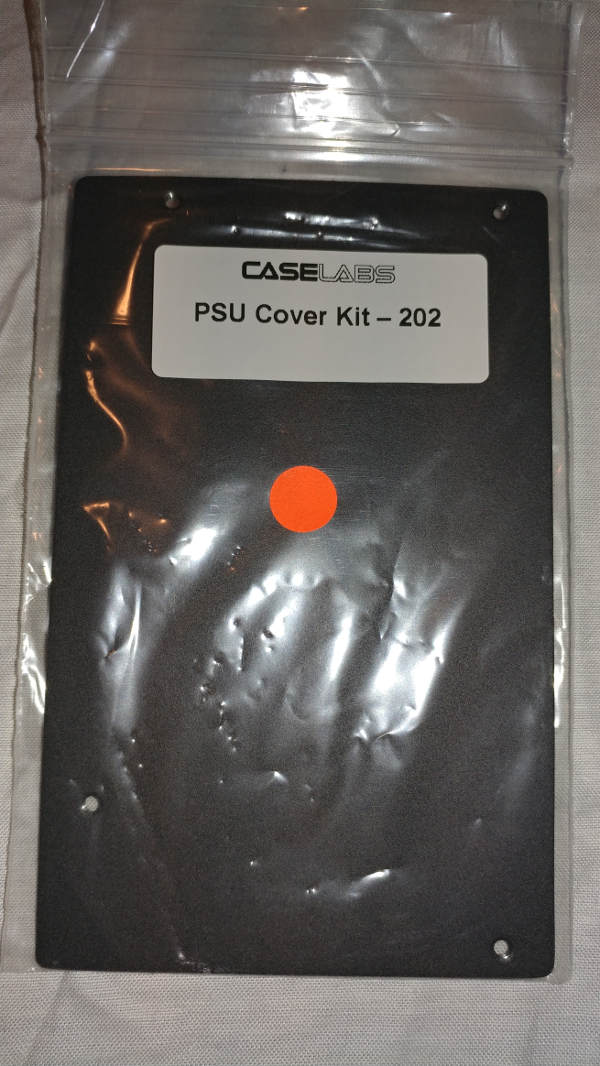
There are some screws taped to the back of the package which can be used to install it.