Conducting a Water Leak Test
on Odin
Motivation
While I have done a watercooled build before, I have not done a hardline build. Not only is the type of tubes and fittings different, the act of bending them different, but the flexibility when installing them is completely different as well.
As such, even if it were not for common sense, I would want to do a water leak test to make sure I did things right.
Not only that, but I am doing the leak test after installing the most expensive components (because I need their water blocks installed). While I do not have the wiring in place or a couple of front-facing drives, almost all of the components are inside the case at this point. It’s imperative that I reduce risk.
Preparations
Pump
In order to run this test, the pump is going to need power.
Bridging the Power Supply
I attached a Phobya ATX-bridging Plug (24 Pin) to the end of my power supply cable. Yes, of course you could buy a plug and a piece of wire and make it yourself. It was only $2.50.
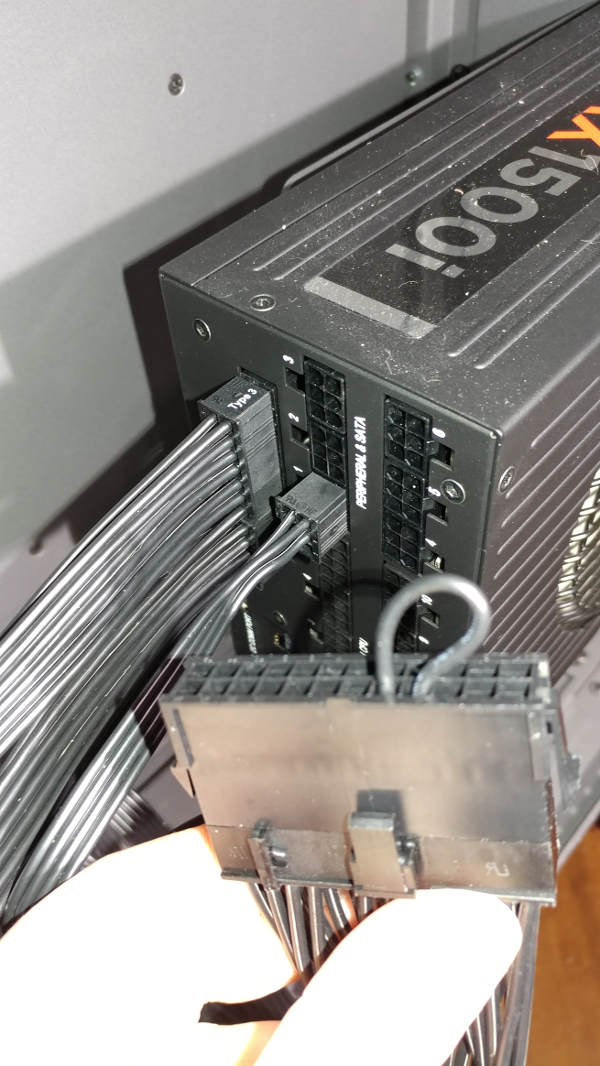
Pump to Power Supply
The EK-XTOP Revo Dual D5 PWM Serial is dual-headed, so we have two sets of wires. I had previously bought a spare Phobya 4-Pin PWM to 8x 4-Pin PWM Splitter and attached both of the pump PWM cables to it.
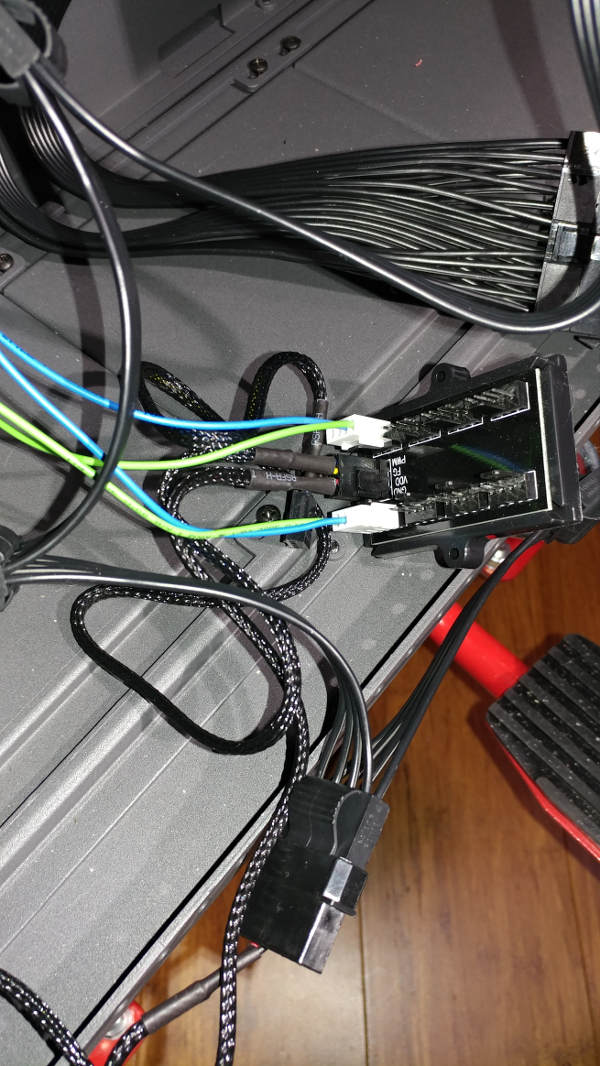
I then attached the molex from the splitter, along with the two molex connectors from the pump to a single 6-pin PSU cable.
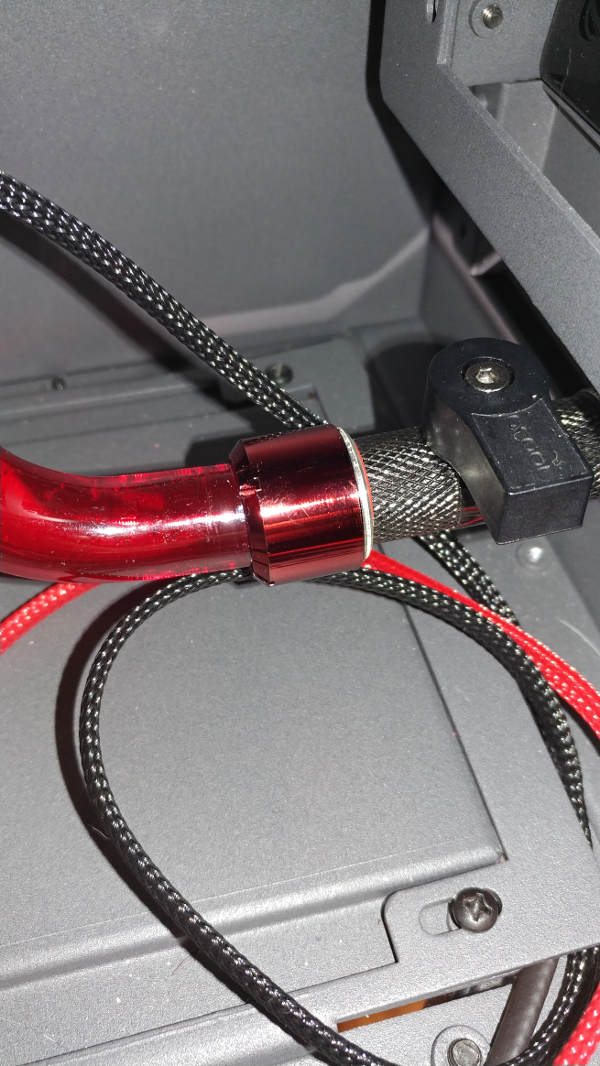
Drain
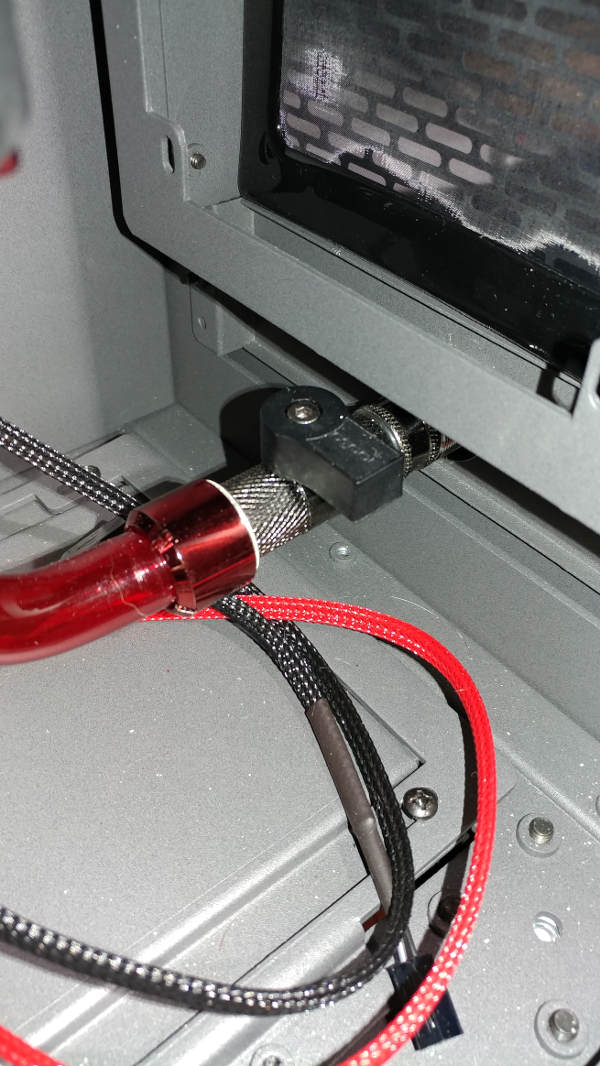
You can imagine the water trying to go the direction of the handle; IE, if the handle is lined up with the tube, the water will flow through it.
However, if you just can’t remember which direction is correct, shining a flashlight through the end will illuminate the tube if it is open.
In this case, you want the valve shut, as shown in the picture above.
Of course, when ready, we will want to drain the loop - so have a bucket ready below the drain.
To make this easier, I put the computer on the motorcycle jack.
One of the things I like about having the bulkhead fitting for the drain is the ability to have hardline on the inside of soft tubing on the outside.
Fillport

For filling the loop, I used a Phobya Flexible Thread Funnel.
After awhile, the funnel stopped draining on it’s own. The most efficient way I found to get it to drain was to put my palm over the top, creating a suction, then letting go.
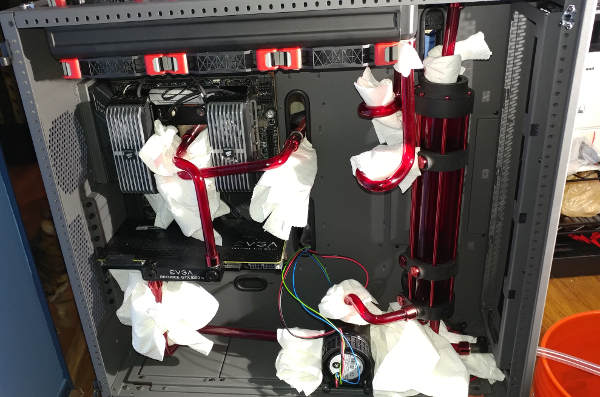
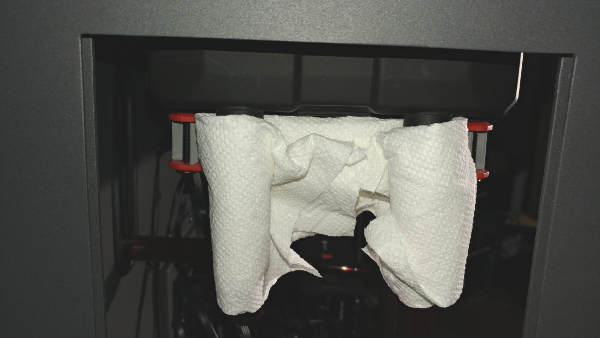
Paper Towels
I put paper towels everywhere. I wrapped each fitting, or put a wad of paper towels under each one. The goal was not to stop a gallon of water from ruining a component - but rather to try to see any leaks early on. More on this later.
Process
“Cold” Filling
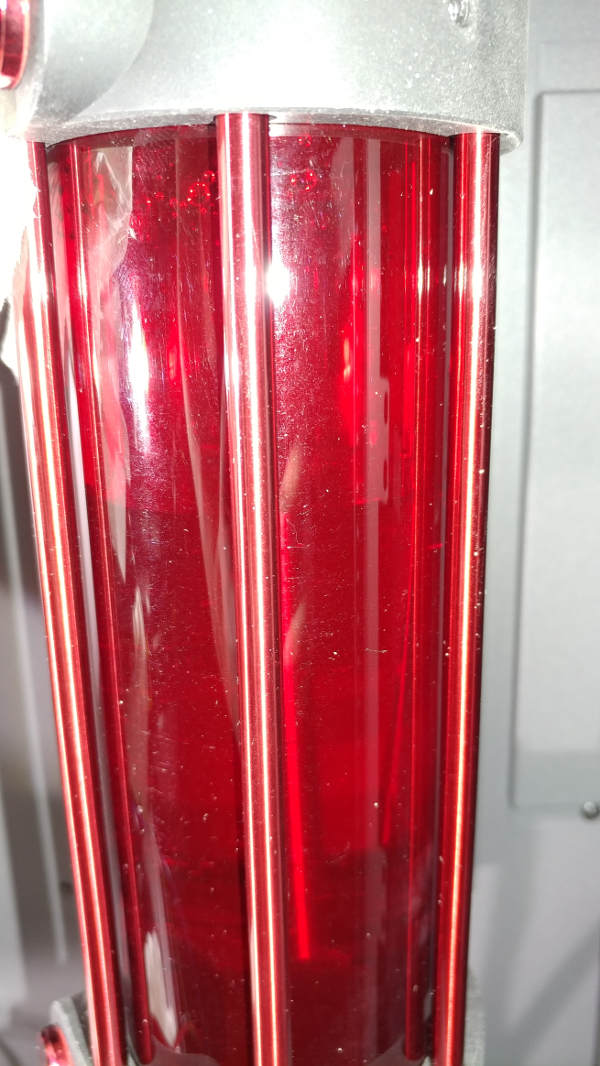
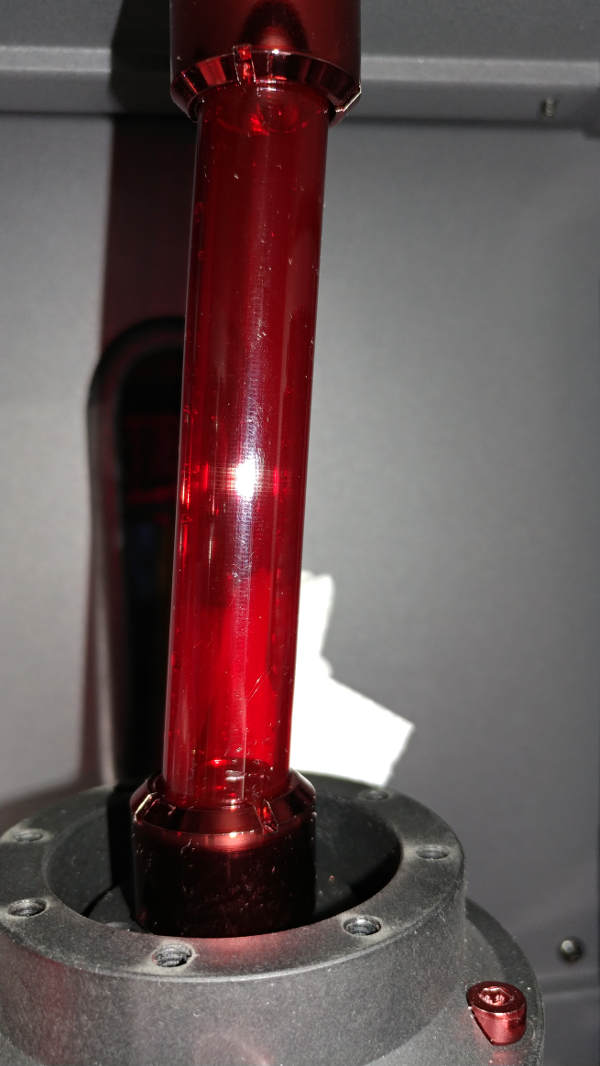
I wasn’t sure how far up I should fill the reservoir. Initially, I was filling the reservoir just below where the radiator drained into it.
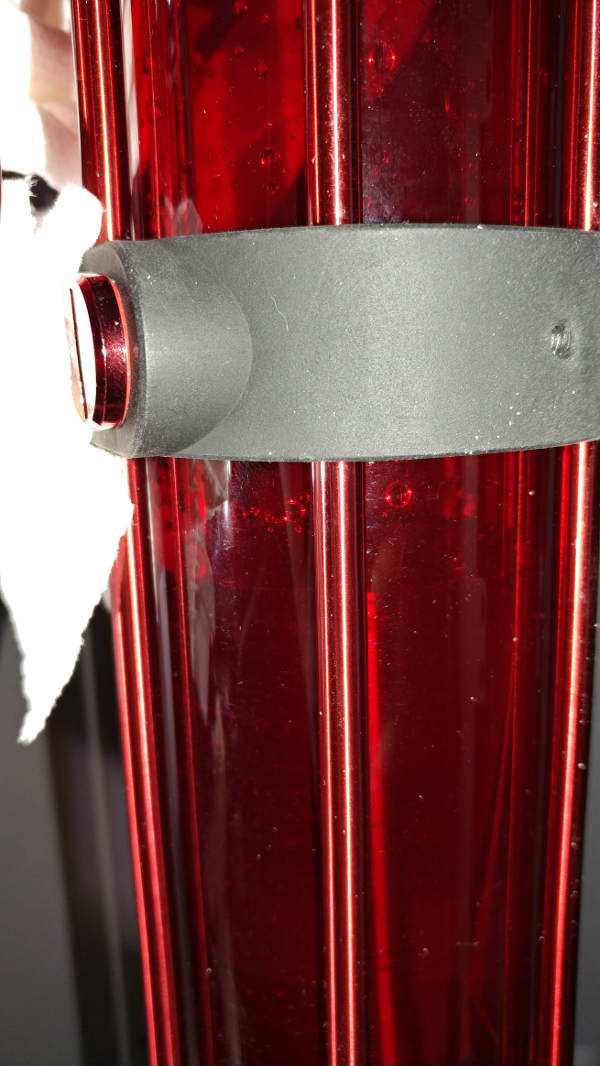
When I turned the pump on, it drained down to here:
But then it stopped draining. I didn’t see any water coming in from above, didn’t see any leaks, and the pump didn’t sound right. I turned it off.
I refilled back up to the same point, turned if on for a second, then stopped.
I repeated this process a few times.
Eventually, when I turned it on, it sucked the water out at warp speed. I barely turned it off before it ran dry.
I made sure there were no leaks anywhere. I think that would be when the radiators finally filled up.
“Hot” Filling
Eventually, turning it on didn’t completely drain it. It was low, but moving and water was draining into it from above.
At that point, I filled it while it was running.
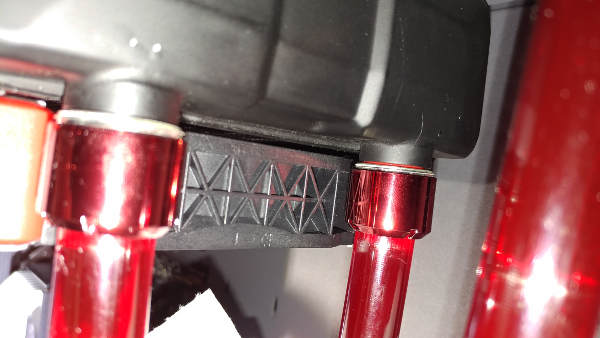
Even though I had an anti-vortex piece from Monsoon in the bottom, it still created a pretty wild whirlpool. I think that is because the tube coming into the side is curved, as that is the direction the water was flowing.
I ended up putting about 2/3 gallon of water in the loop.
Leak Check
None of the paper towels looked obviously wet, but when I started removing them I found a couple.
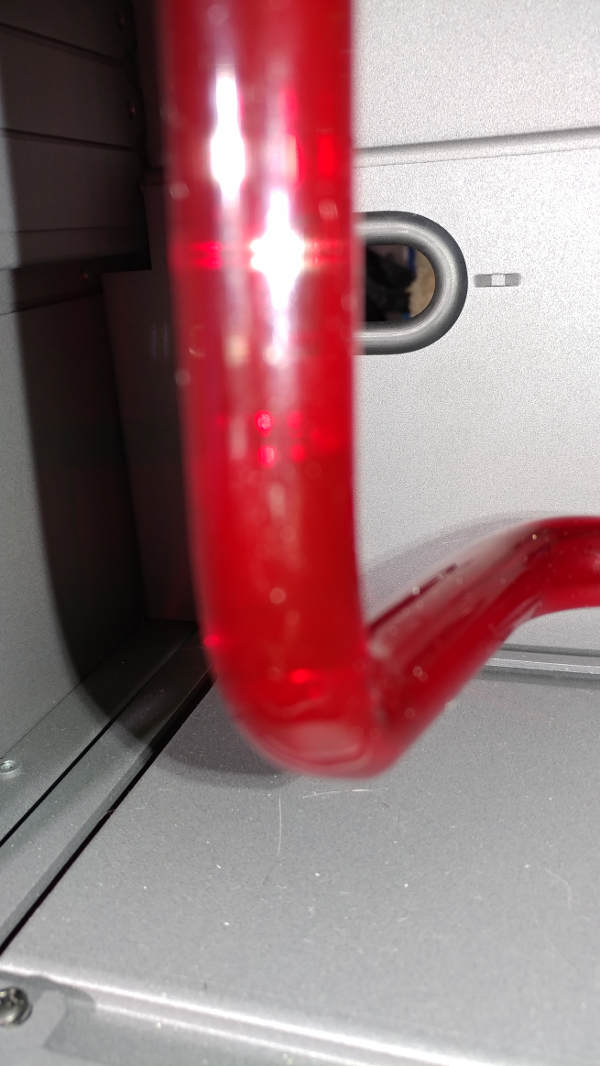
The first was a slow drip where the EV2 connected to the drain T-valve. There didn’t seem to be a leak on the other side. It’s possible that I could just redo the fitting – but as this was my very first tube, maybe I should try to redo the tube with the RFB.
The second one is a little more interesting. There was some water near the fill tube. Now, on one hand, there was some spillage, so that could account for it. Also, the funnel kept refusing to drain, so that could account for it. And, well, it’s at a slight angle… However, since this tube is not in use during normal operations and it is a complete pain to change out - I might try leaving this one at the moment.
The third leak was the fitting between the two radiators. I couldn’t see any water dripping, but the paper towel was wet. I might just need to redo those last 2 tubes I did.
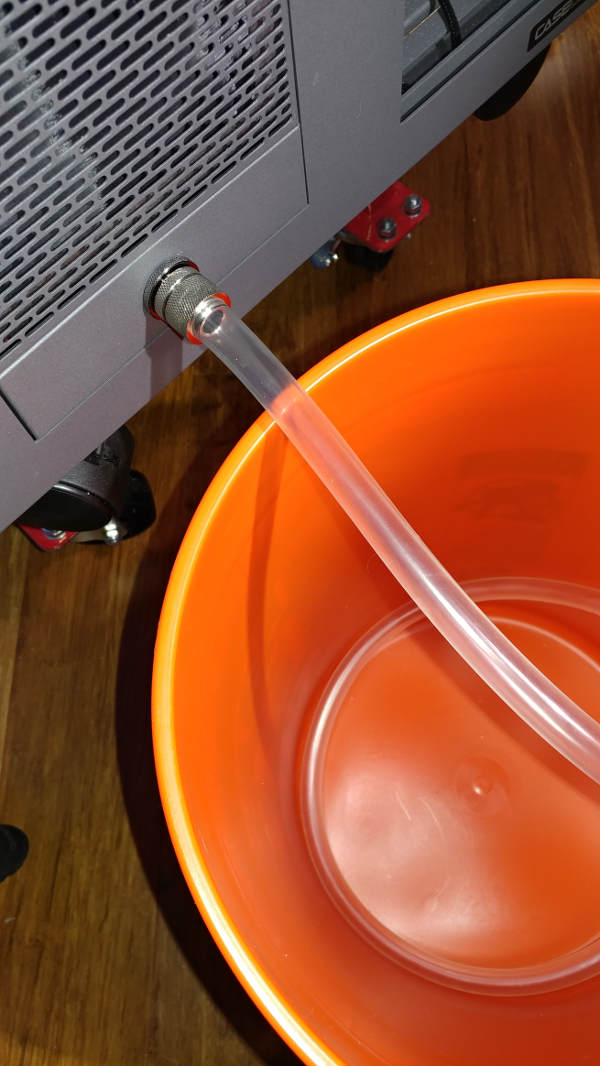
Draining
Once I opened the T-valve, the water started draining. At this point, I had replaced the funnel with the pressure relief valve, so it was hissing a little. Removing that allowed the water to come out much quicker. Jacking the computer up a little higher also helped.
However, a couple tubes did NOT drain.
For example, the tube between the pump and the GPU didn’t drain.
Also, the two tubes above the reservoir (connected to the radiator) didn’t drain.
Summary
So, I have a few things to work through - but I’d call this a successful leak test. Found some issues before they became major problems.


